Behind the Scenes | From Storage to Studio
Hello DLS readers! Have I got something new and exciting to share with all of you! I’ll be taking you through the behind the scenes journey of my interior design projects at Sherrell Design Studio. This is our first ever introduction to Behind the Scenes with SDS, and I couldn’t be more excited to share the design chronicles of projects currently in-progress and completed during the pandemic! If you follow my interior design feed on Instagram, you may be familiar with the projects I’ll periodically highlight through my insta stories. But this is something completely, insider for my DLS subscribers. It’s a lens into what goes on before the final styling and professional photography is captured. DLS, has always been a space where you can ask questions, share your design dilemmas and find inspiration, so don’t hesitate to drop us a line!
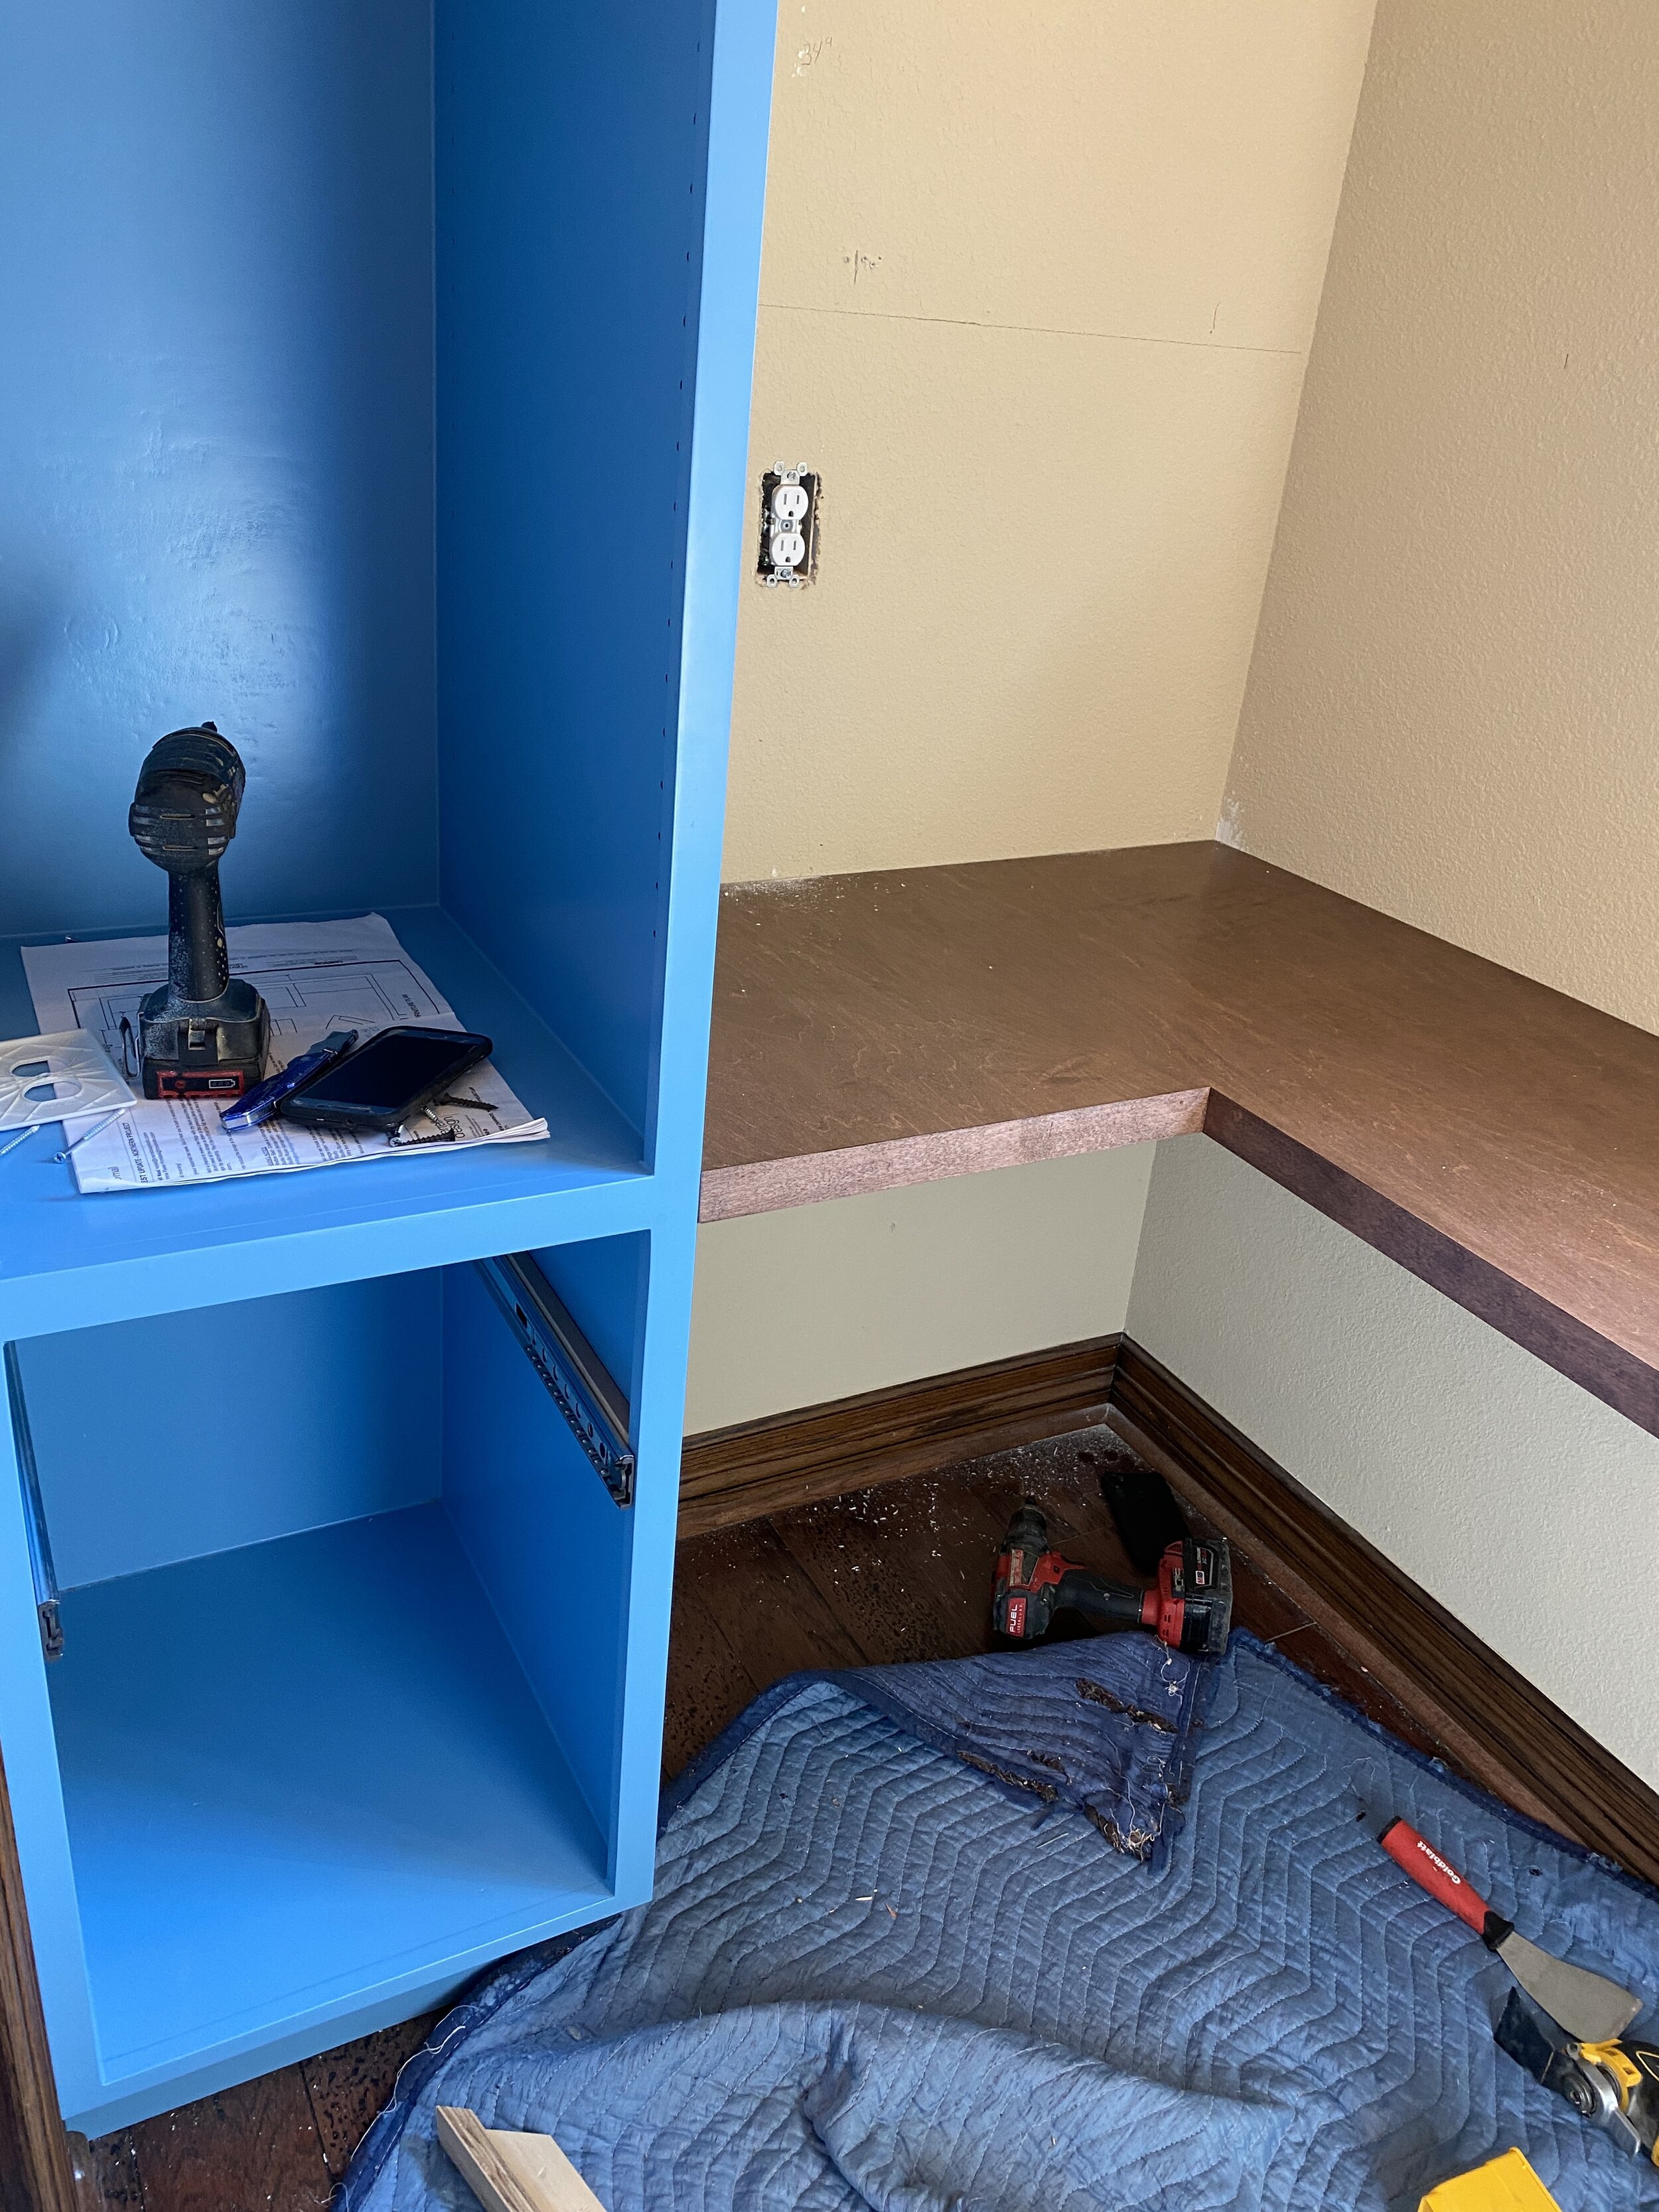
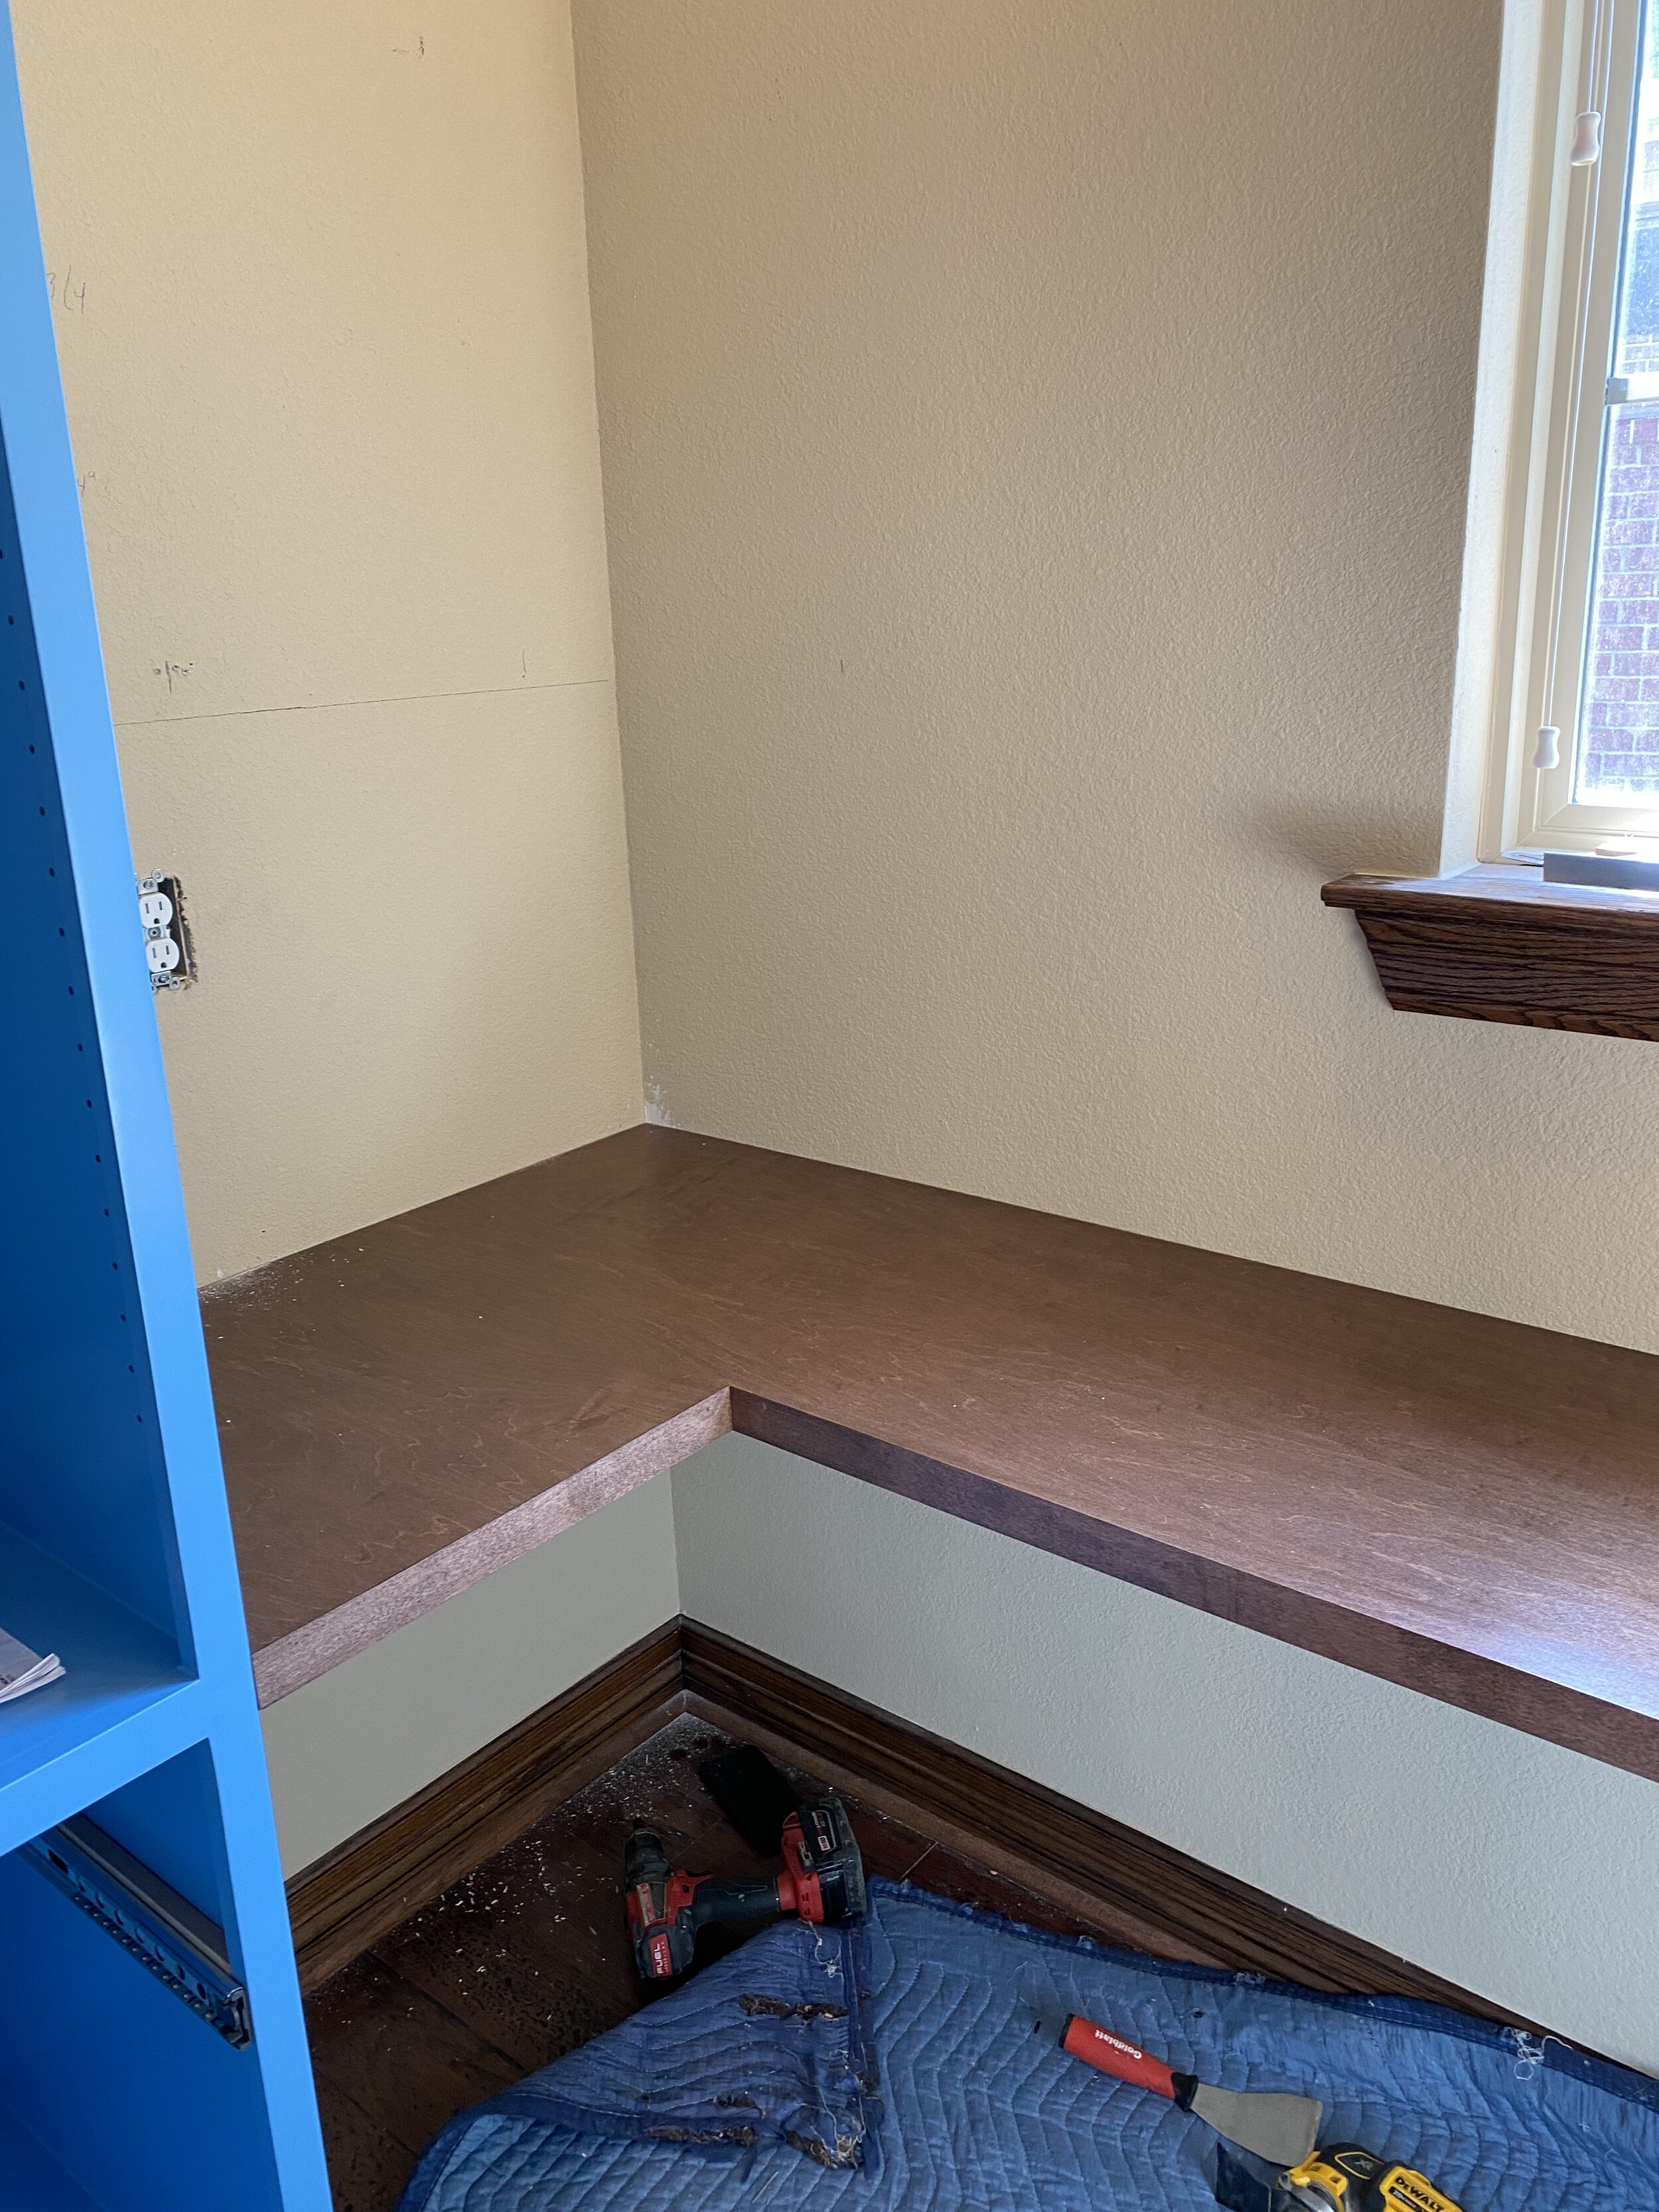
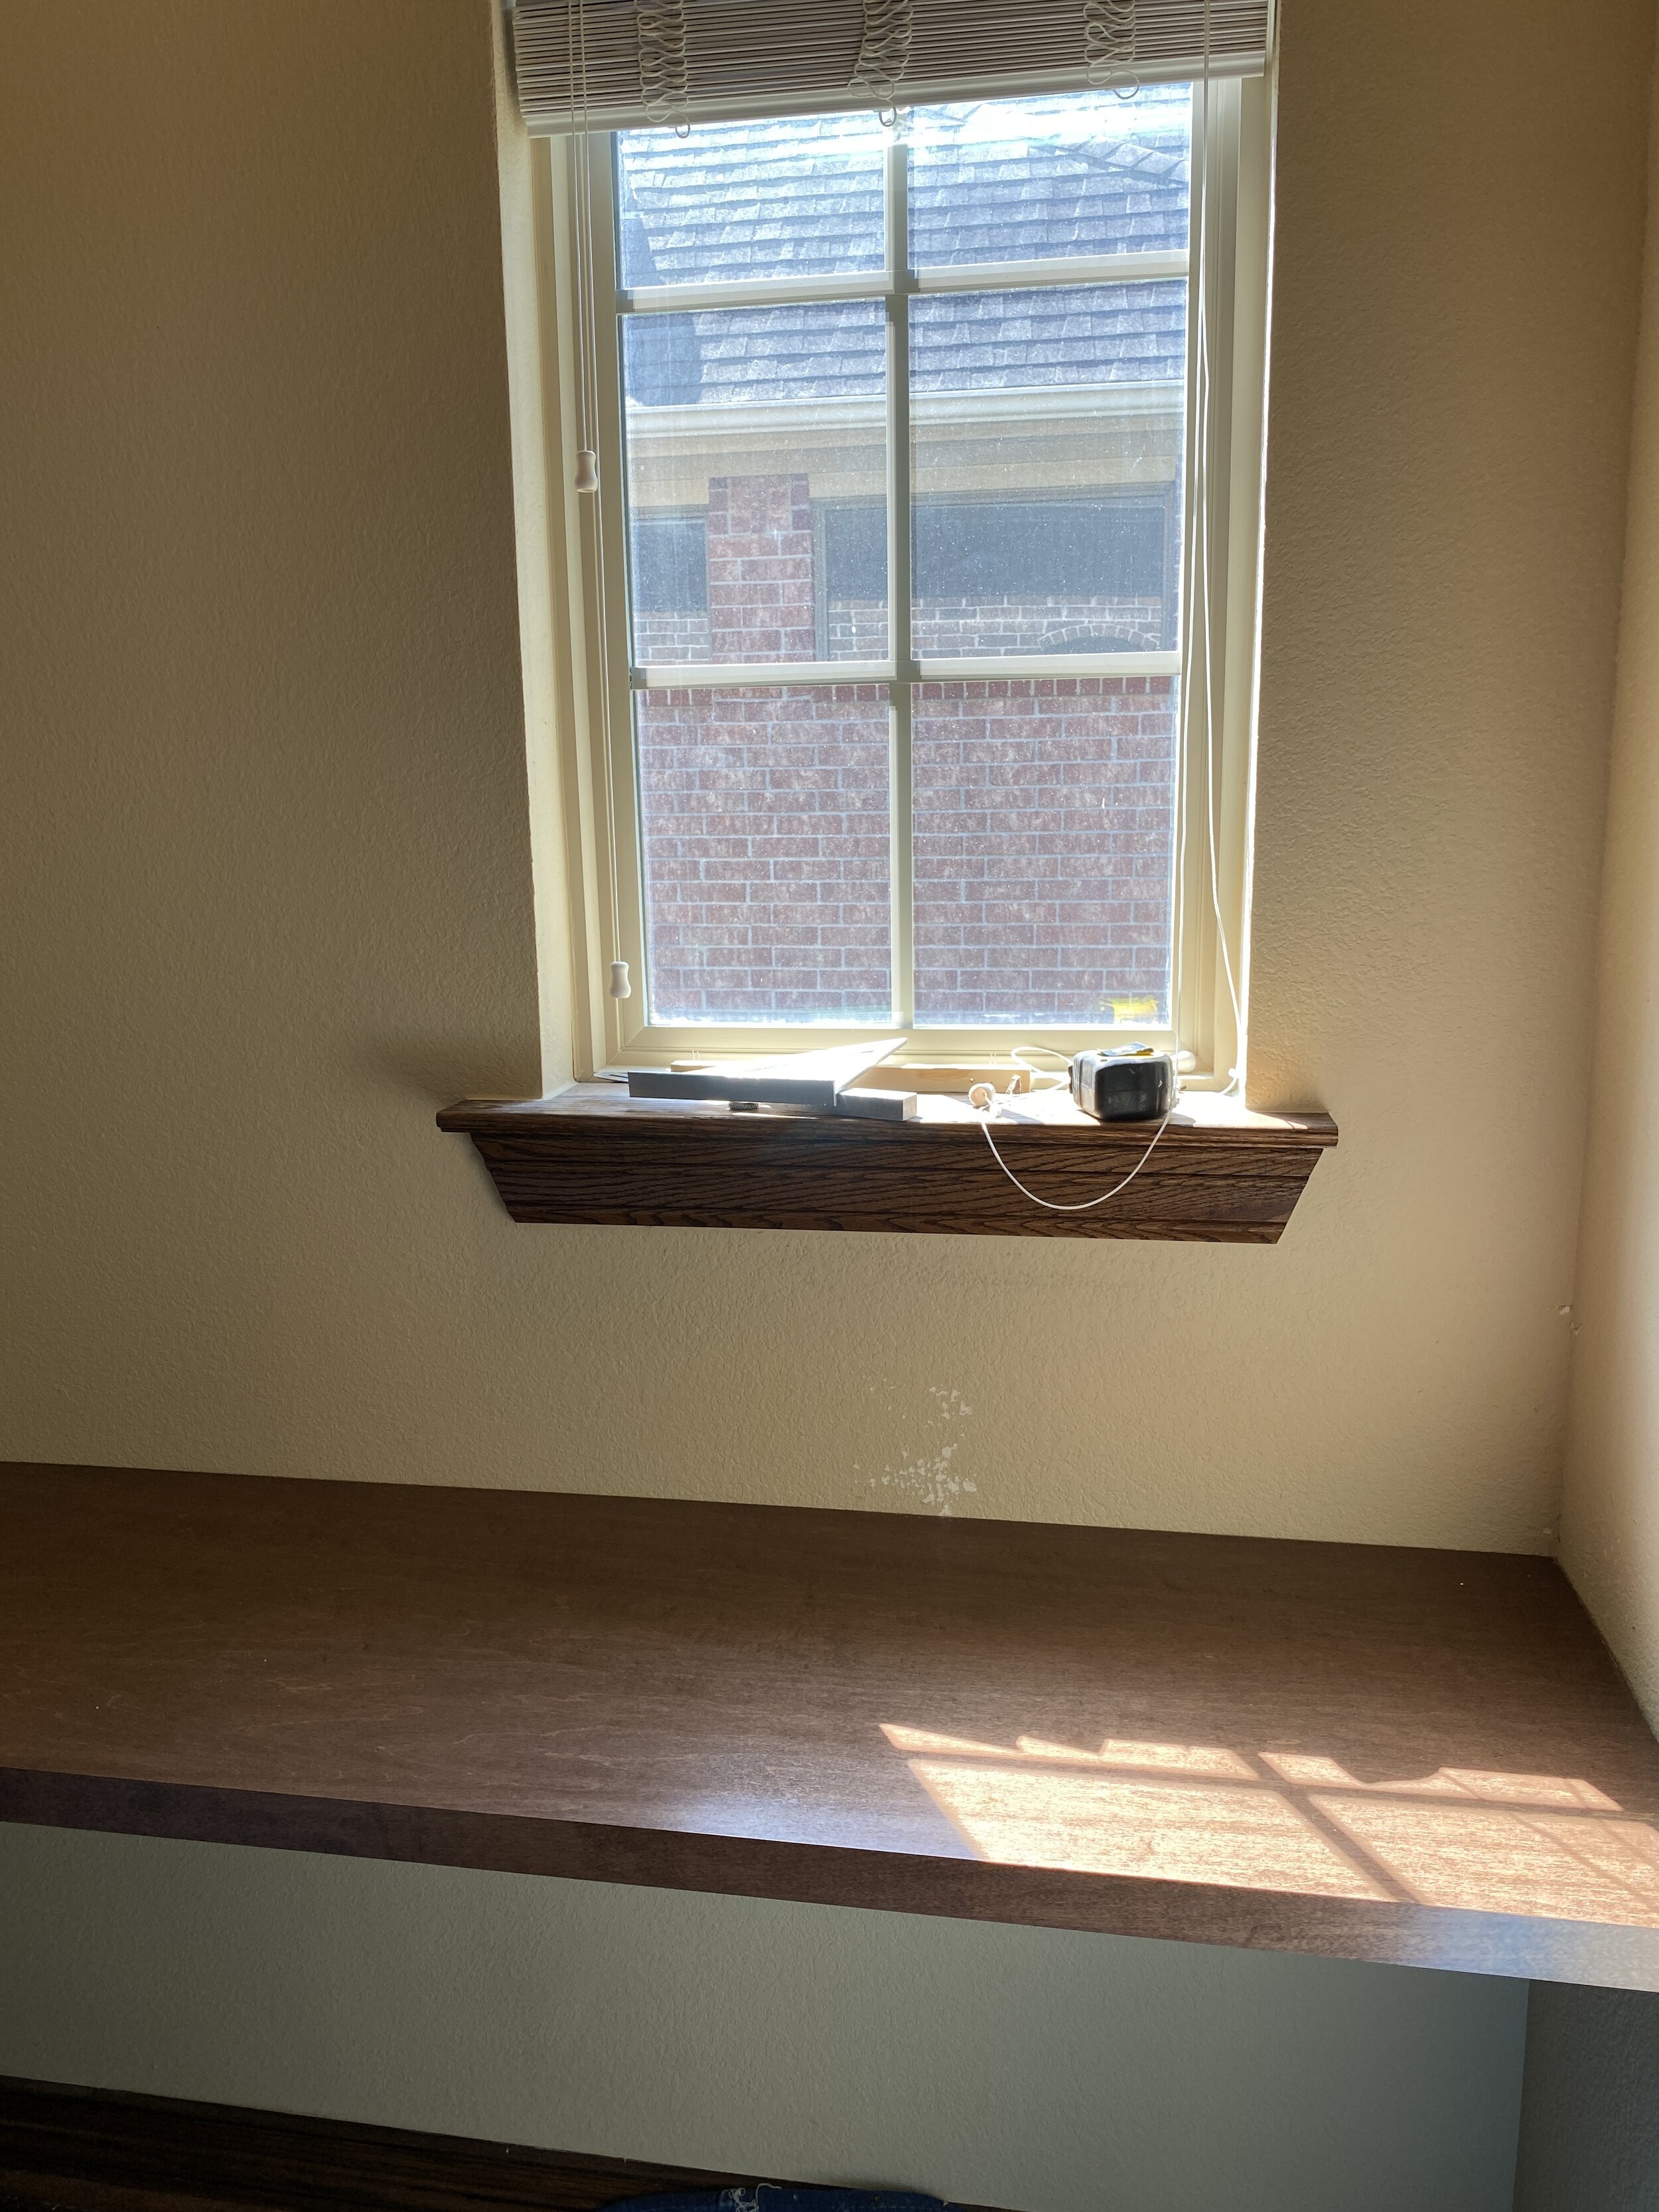
The pandemic has challenged the design community to be creative in how we provide services to our existing clients and in building relationships with new ones. So, this project is one of many favorites we started during the pandemic. To give a little backstory, in 2019 my long time client and I started conceptualizing on a few spaces in their home that needed some architectural updates and functional storage. It included a complete remodel of their current office which also accompanied a small storage room within it. Since the office was the larger of the two spaces, it was pretty clear this would become the new “work from home” office space the couple would share. But what about this awkward 4’ x 6’ storage room with the small window? Here are images of the storage room as it was in 2019.

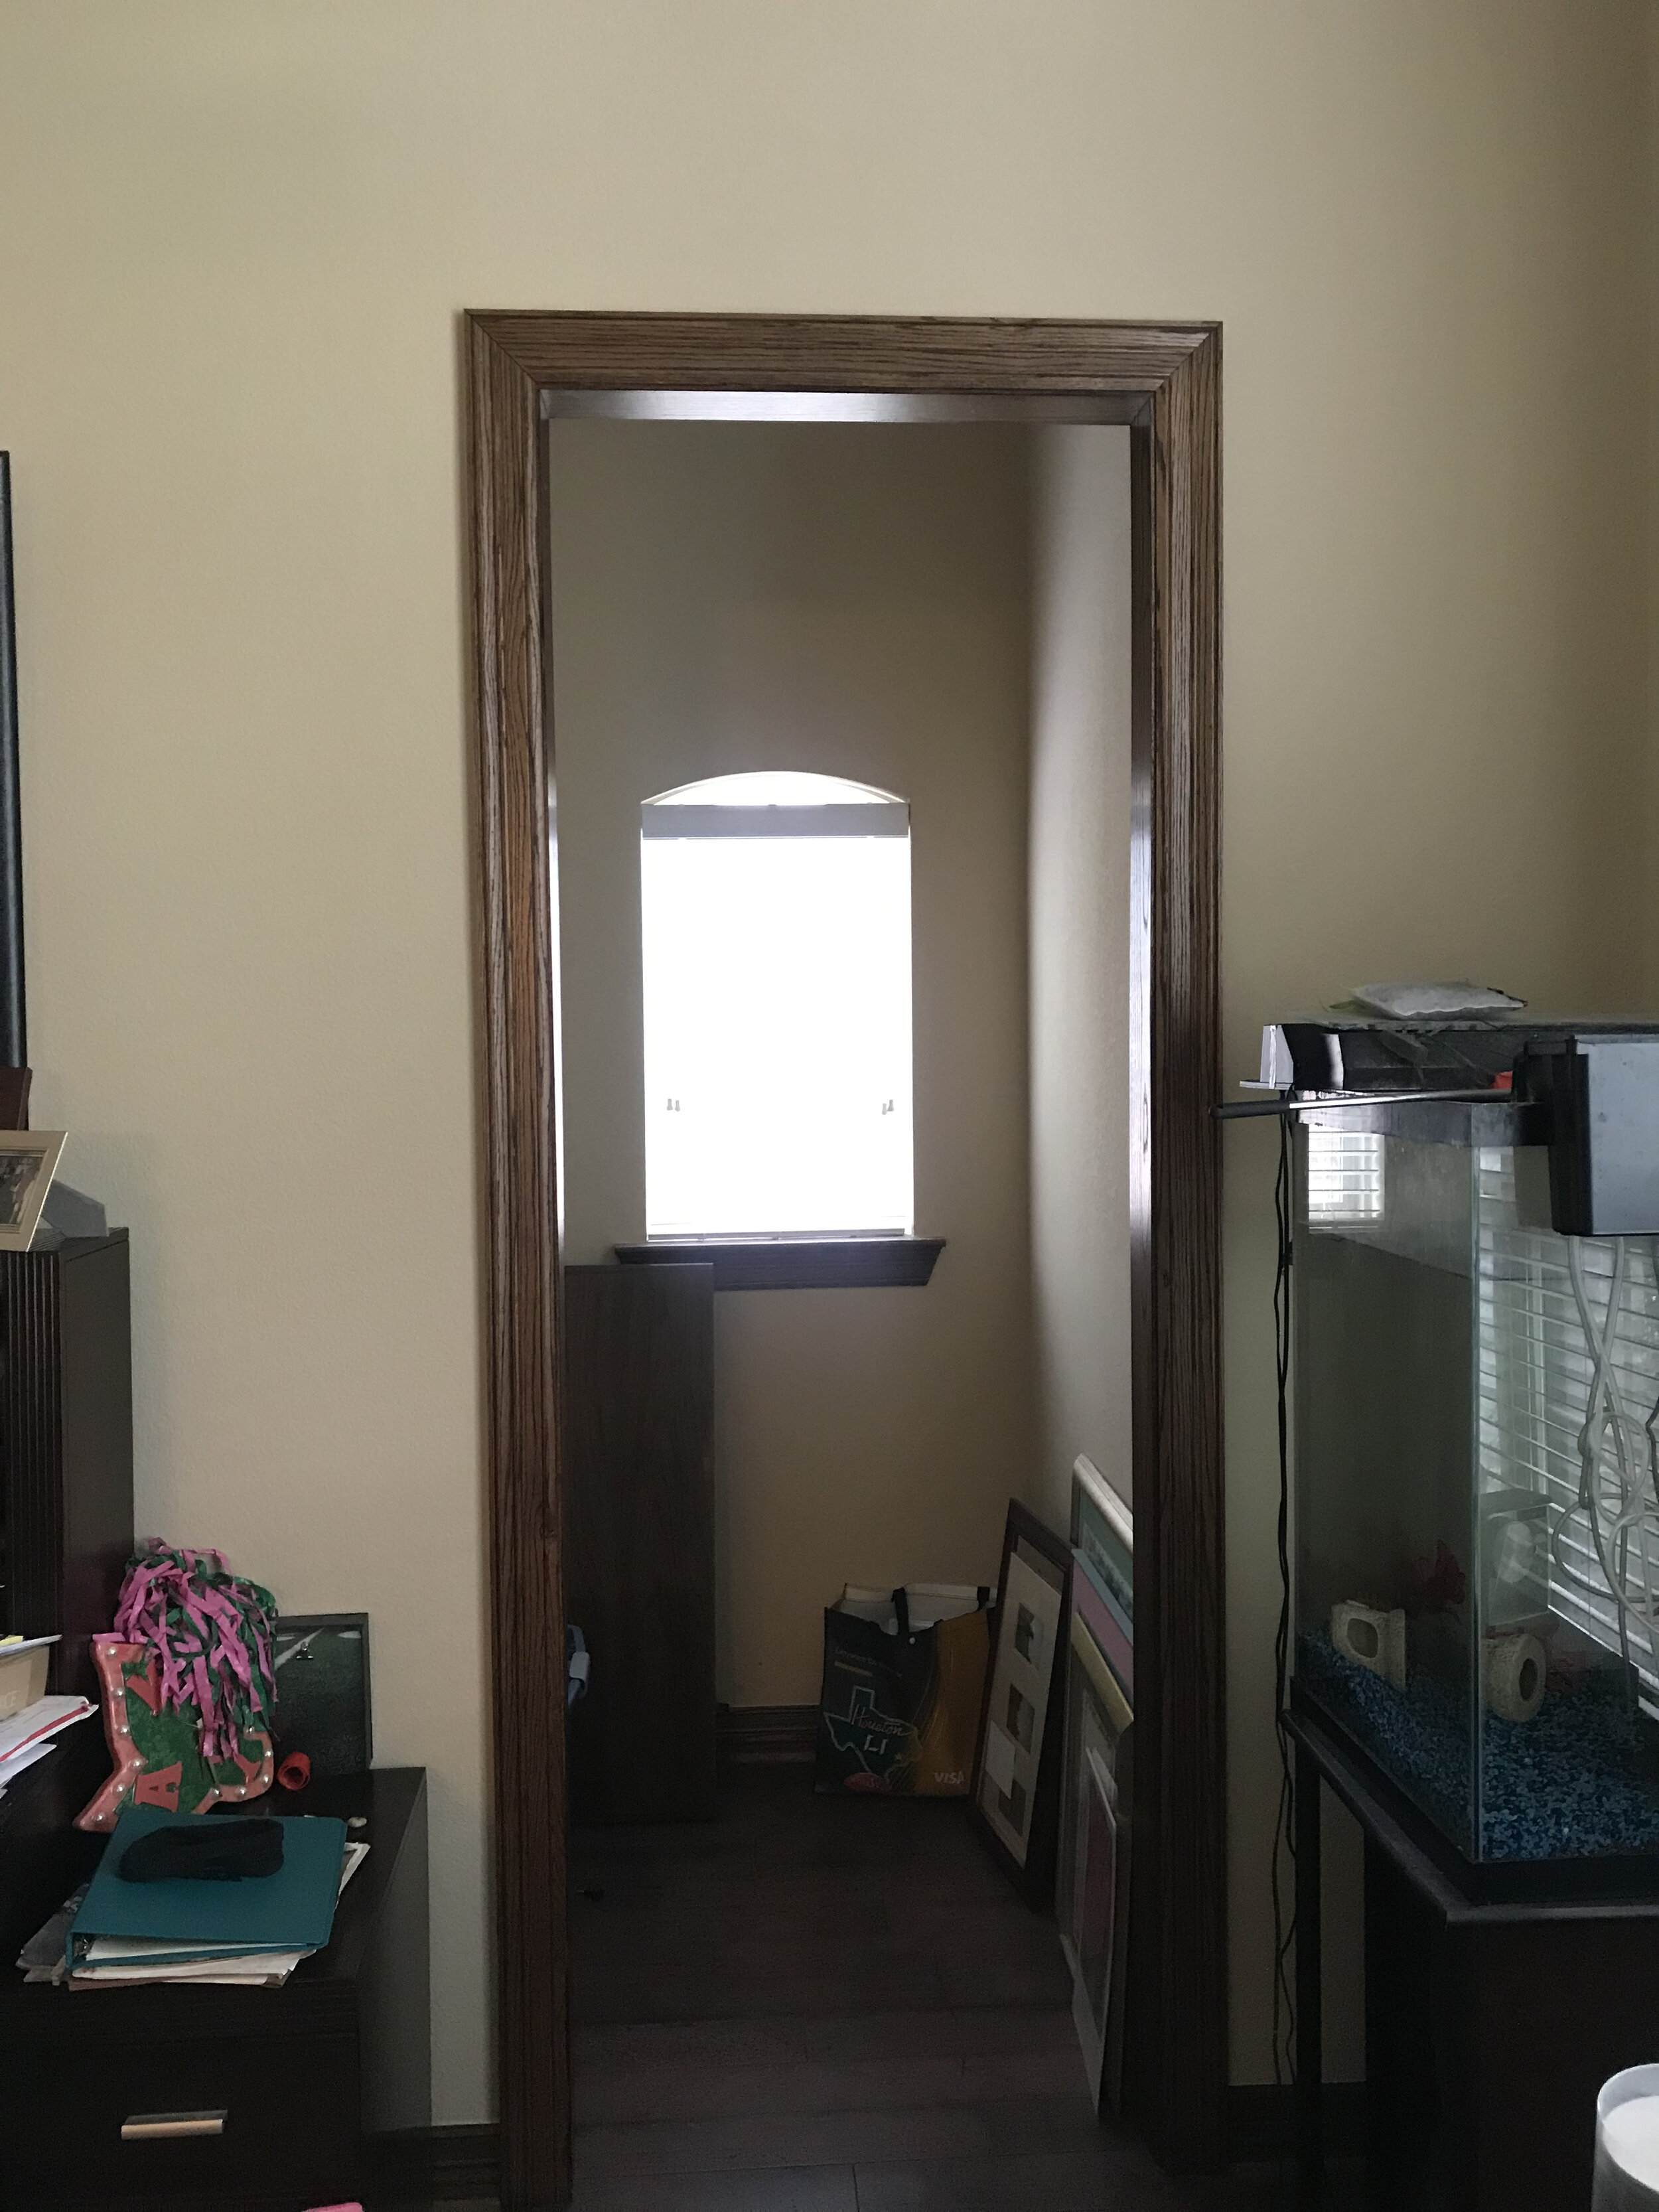
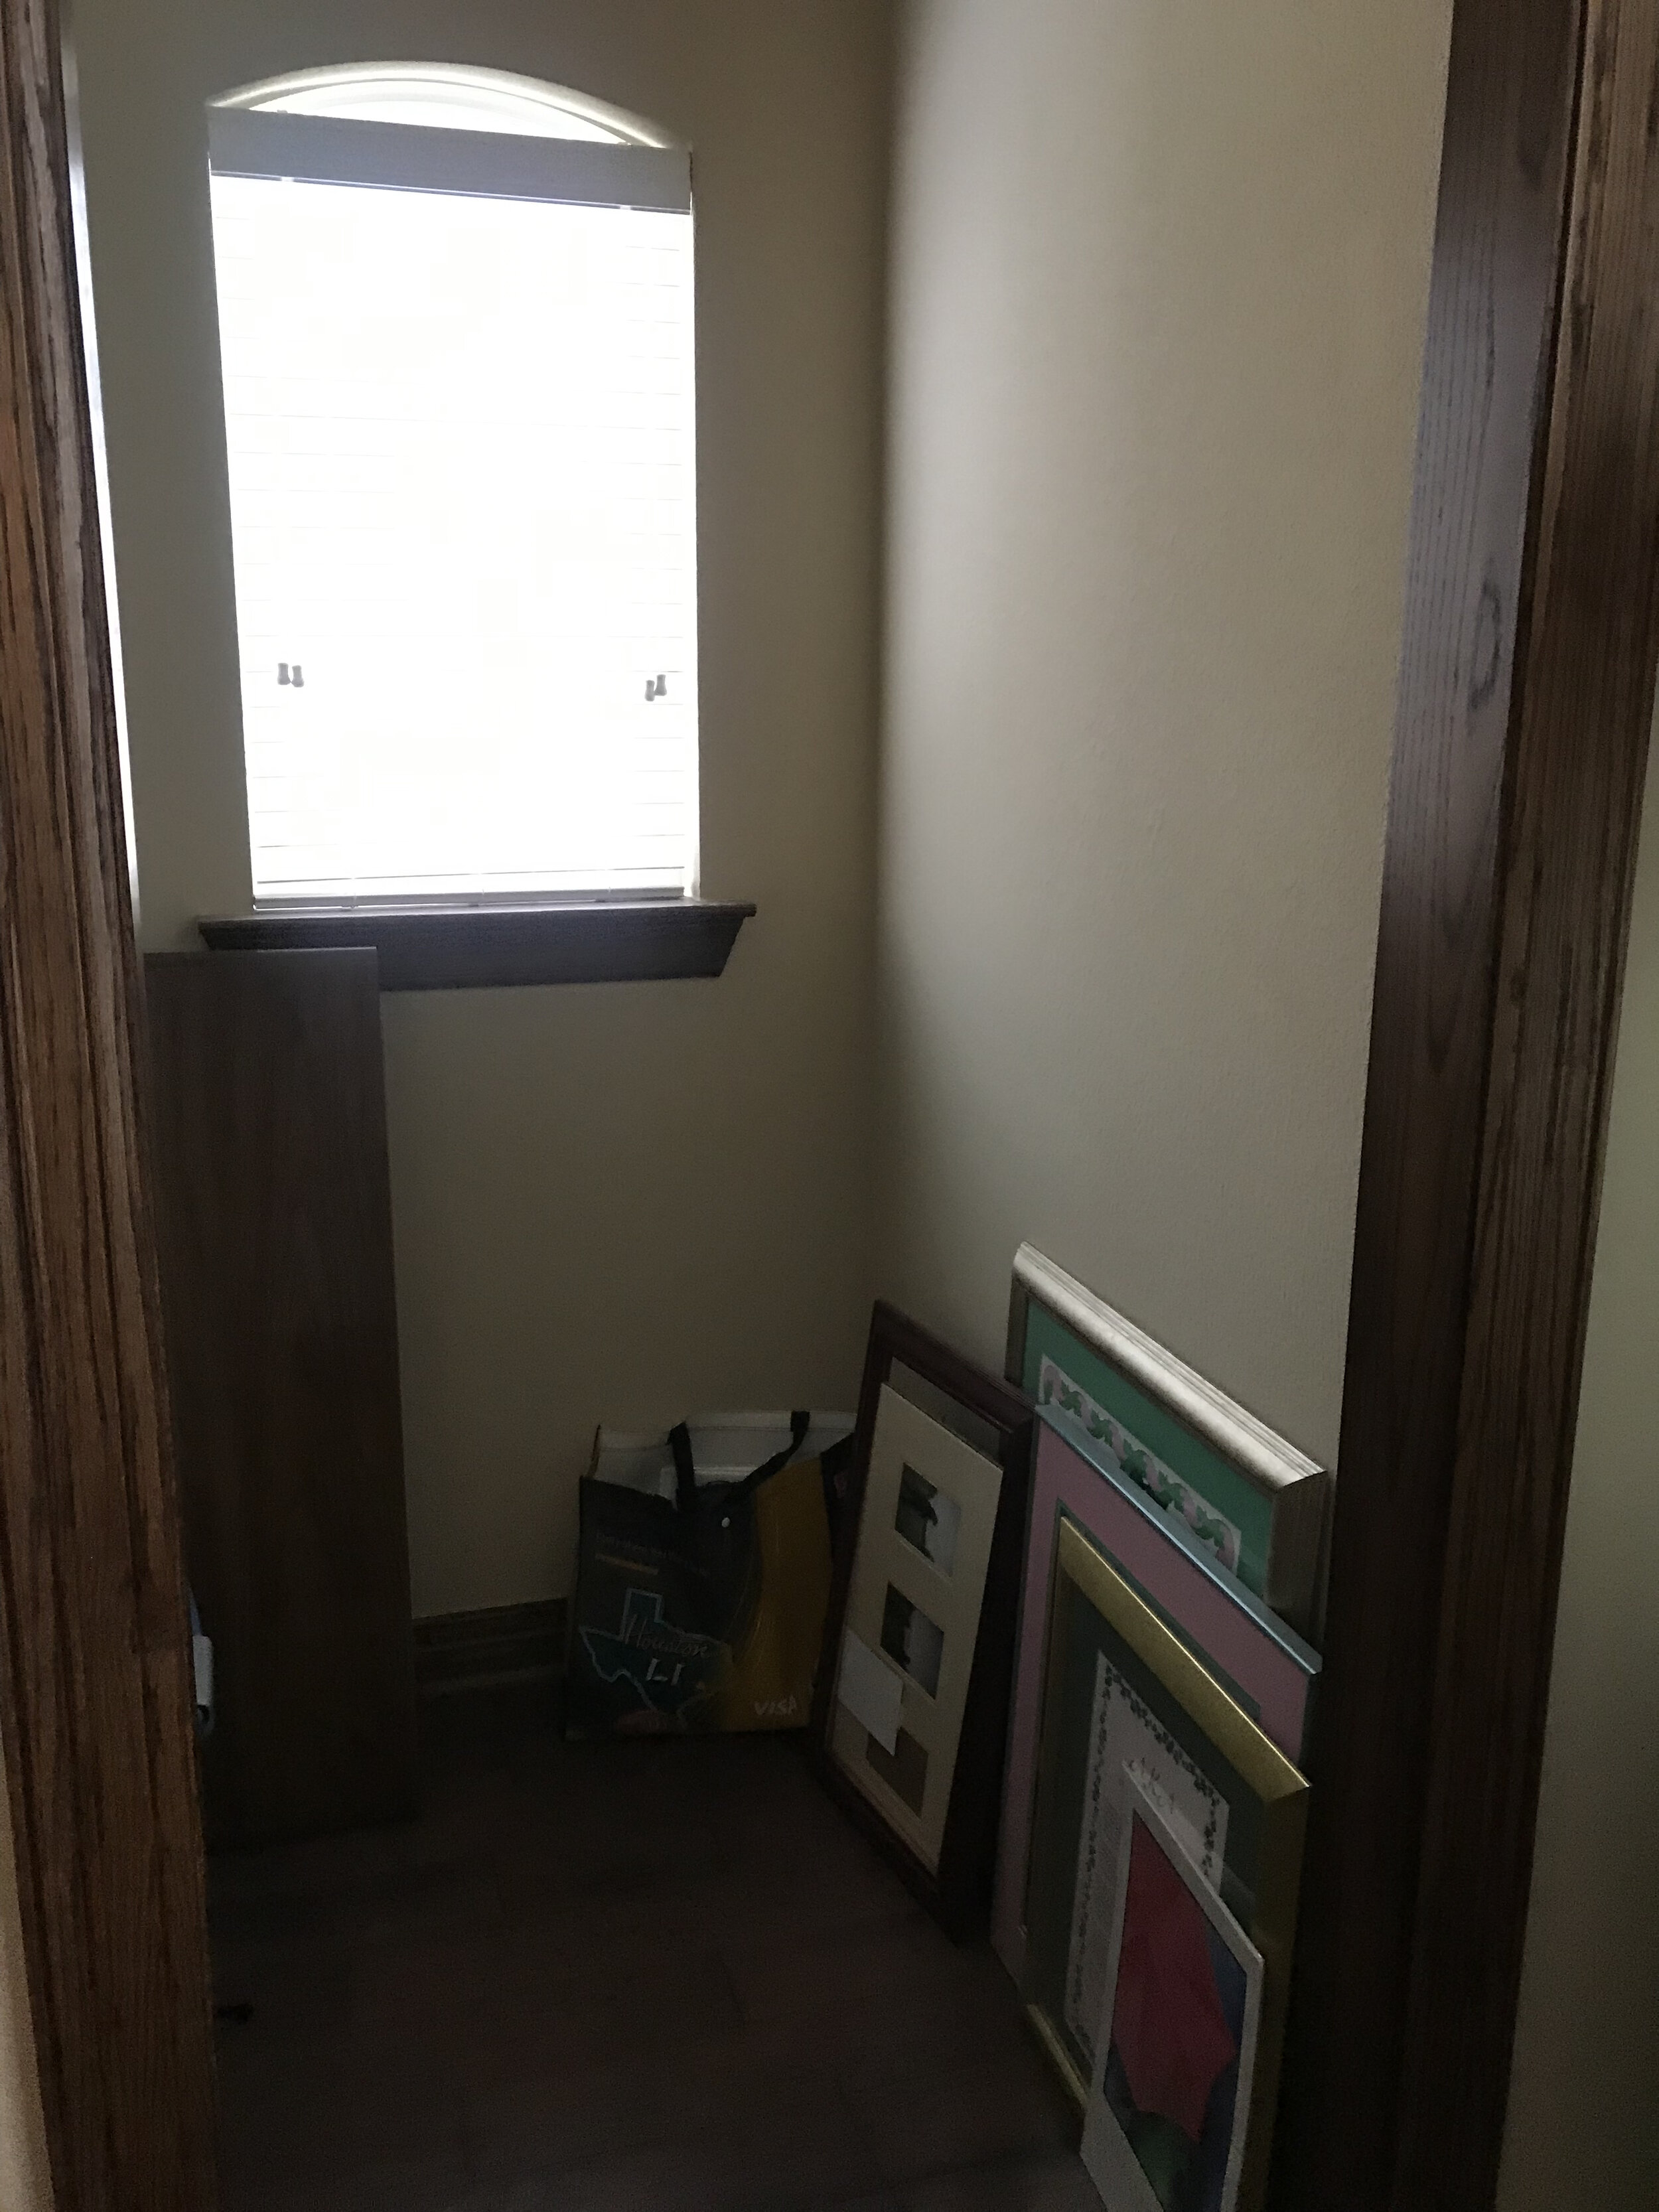
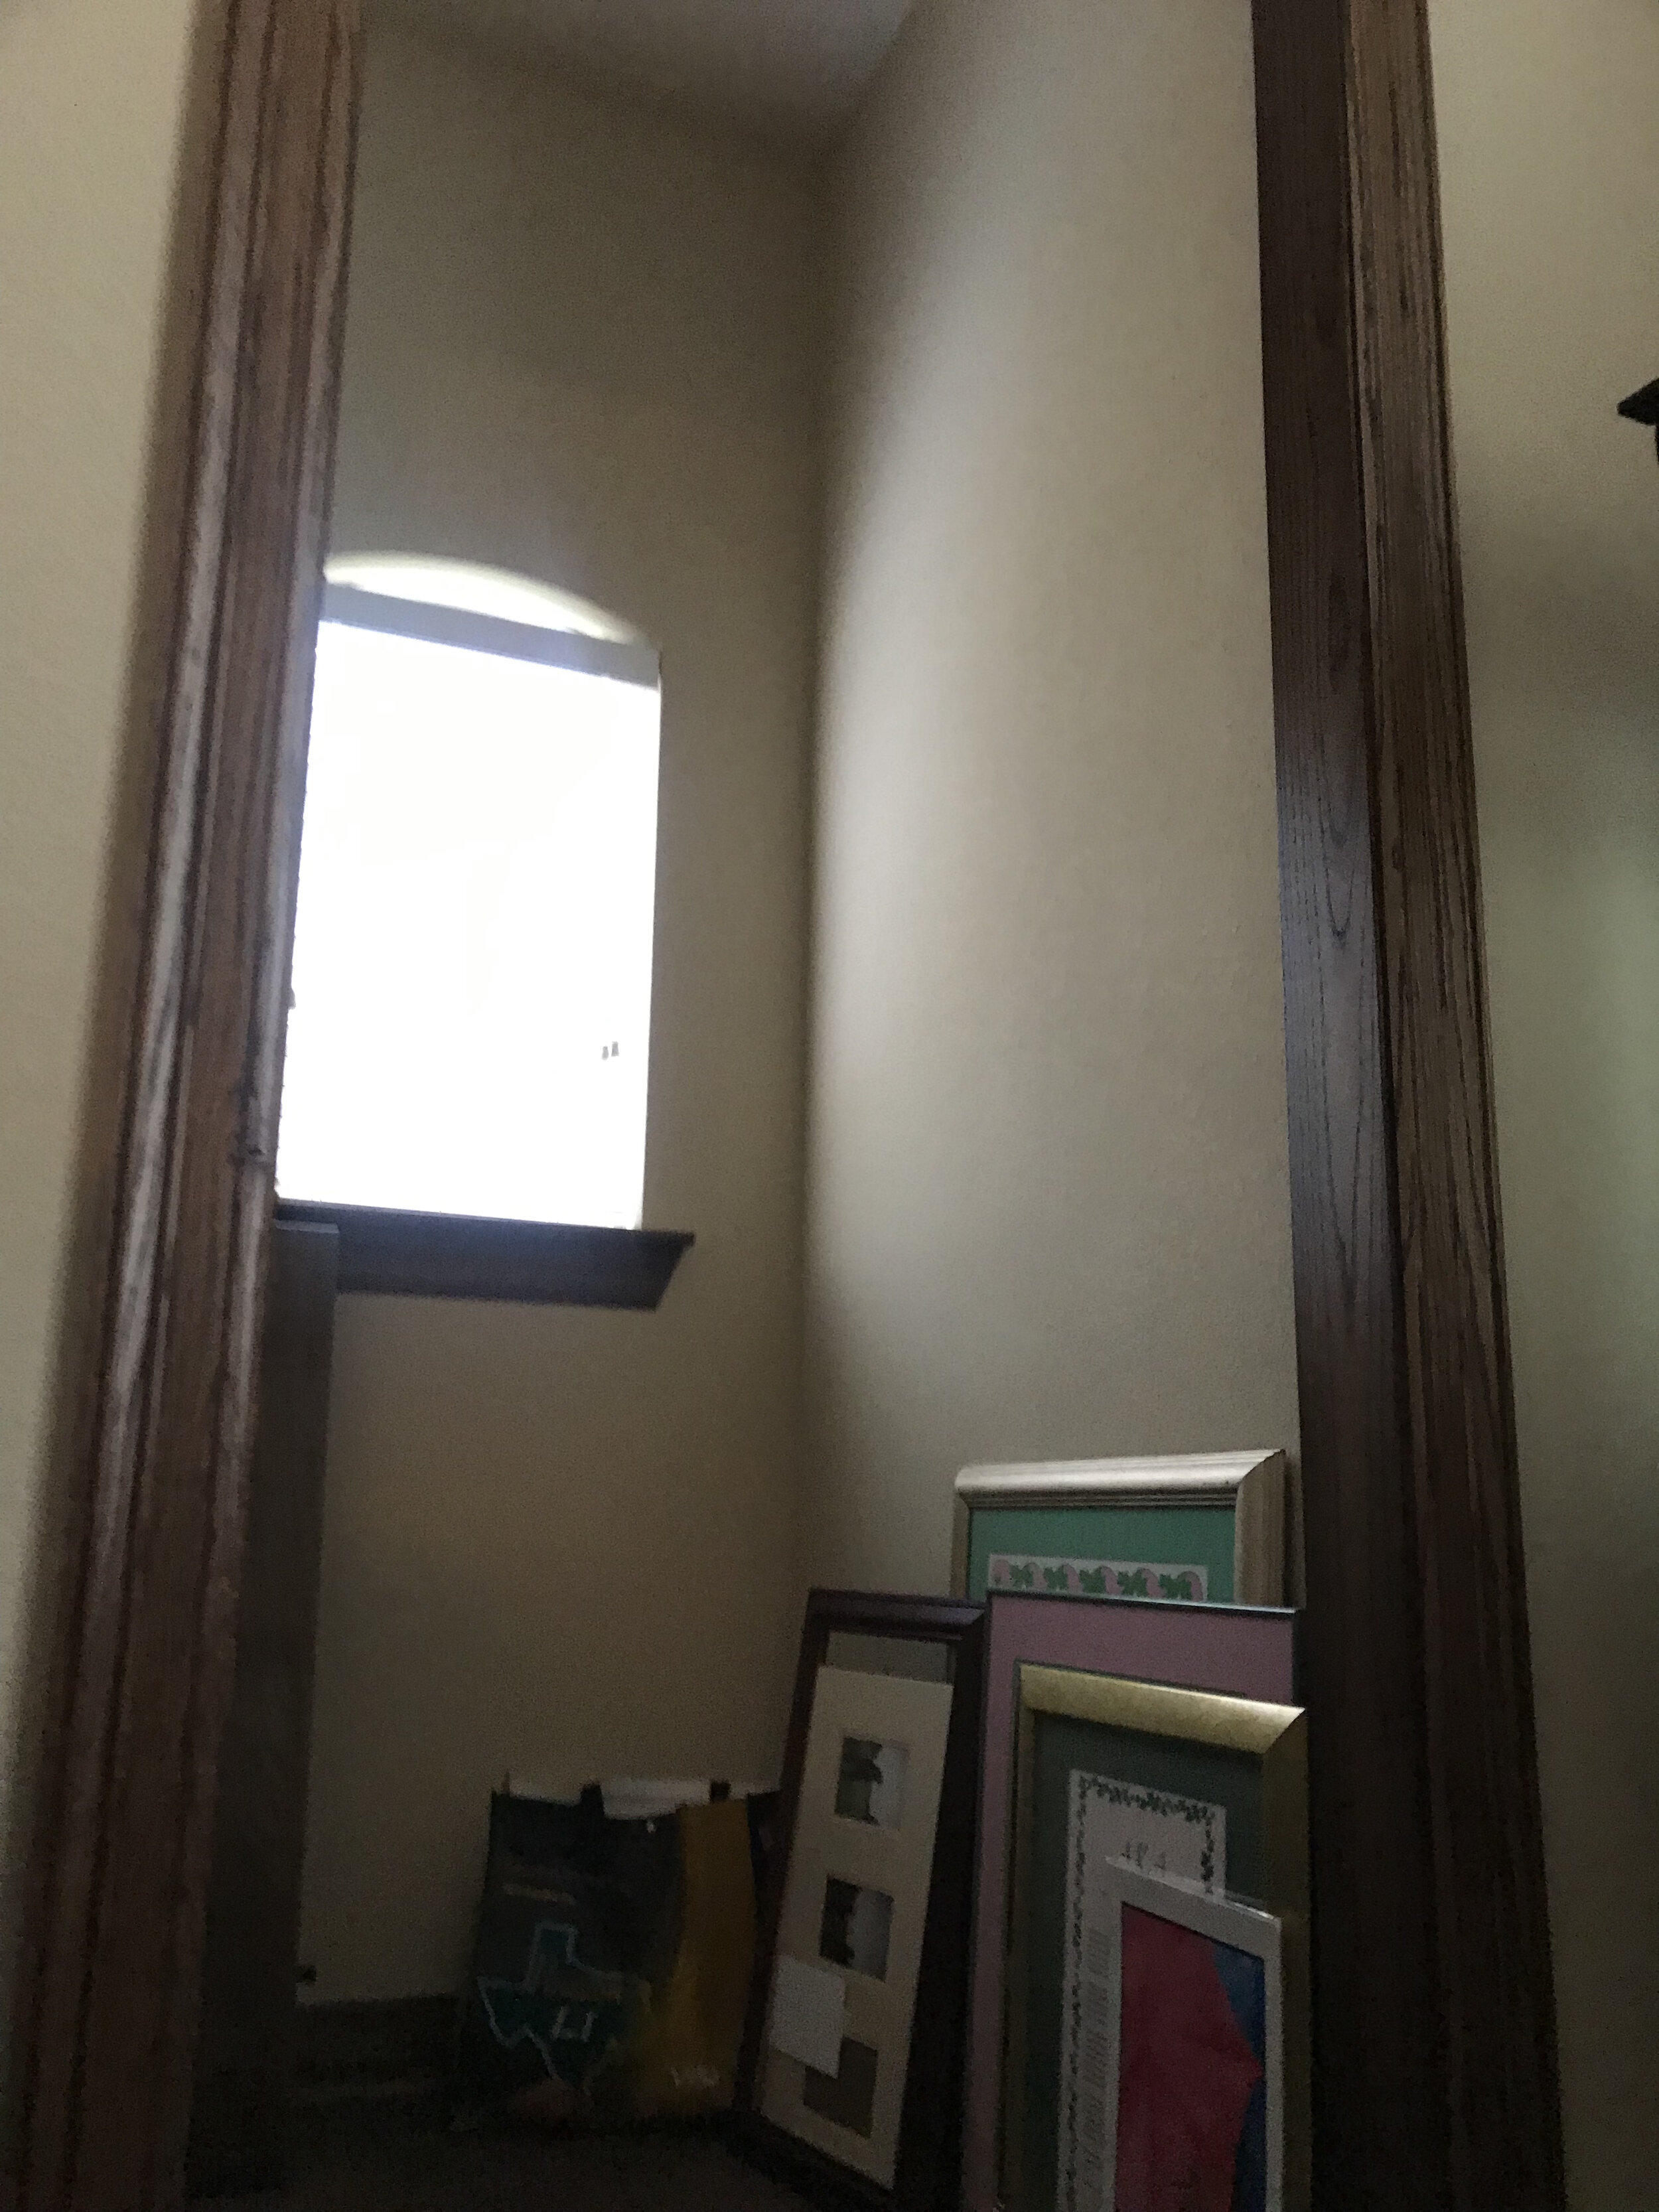
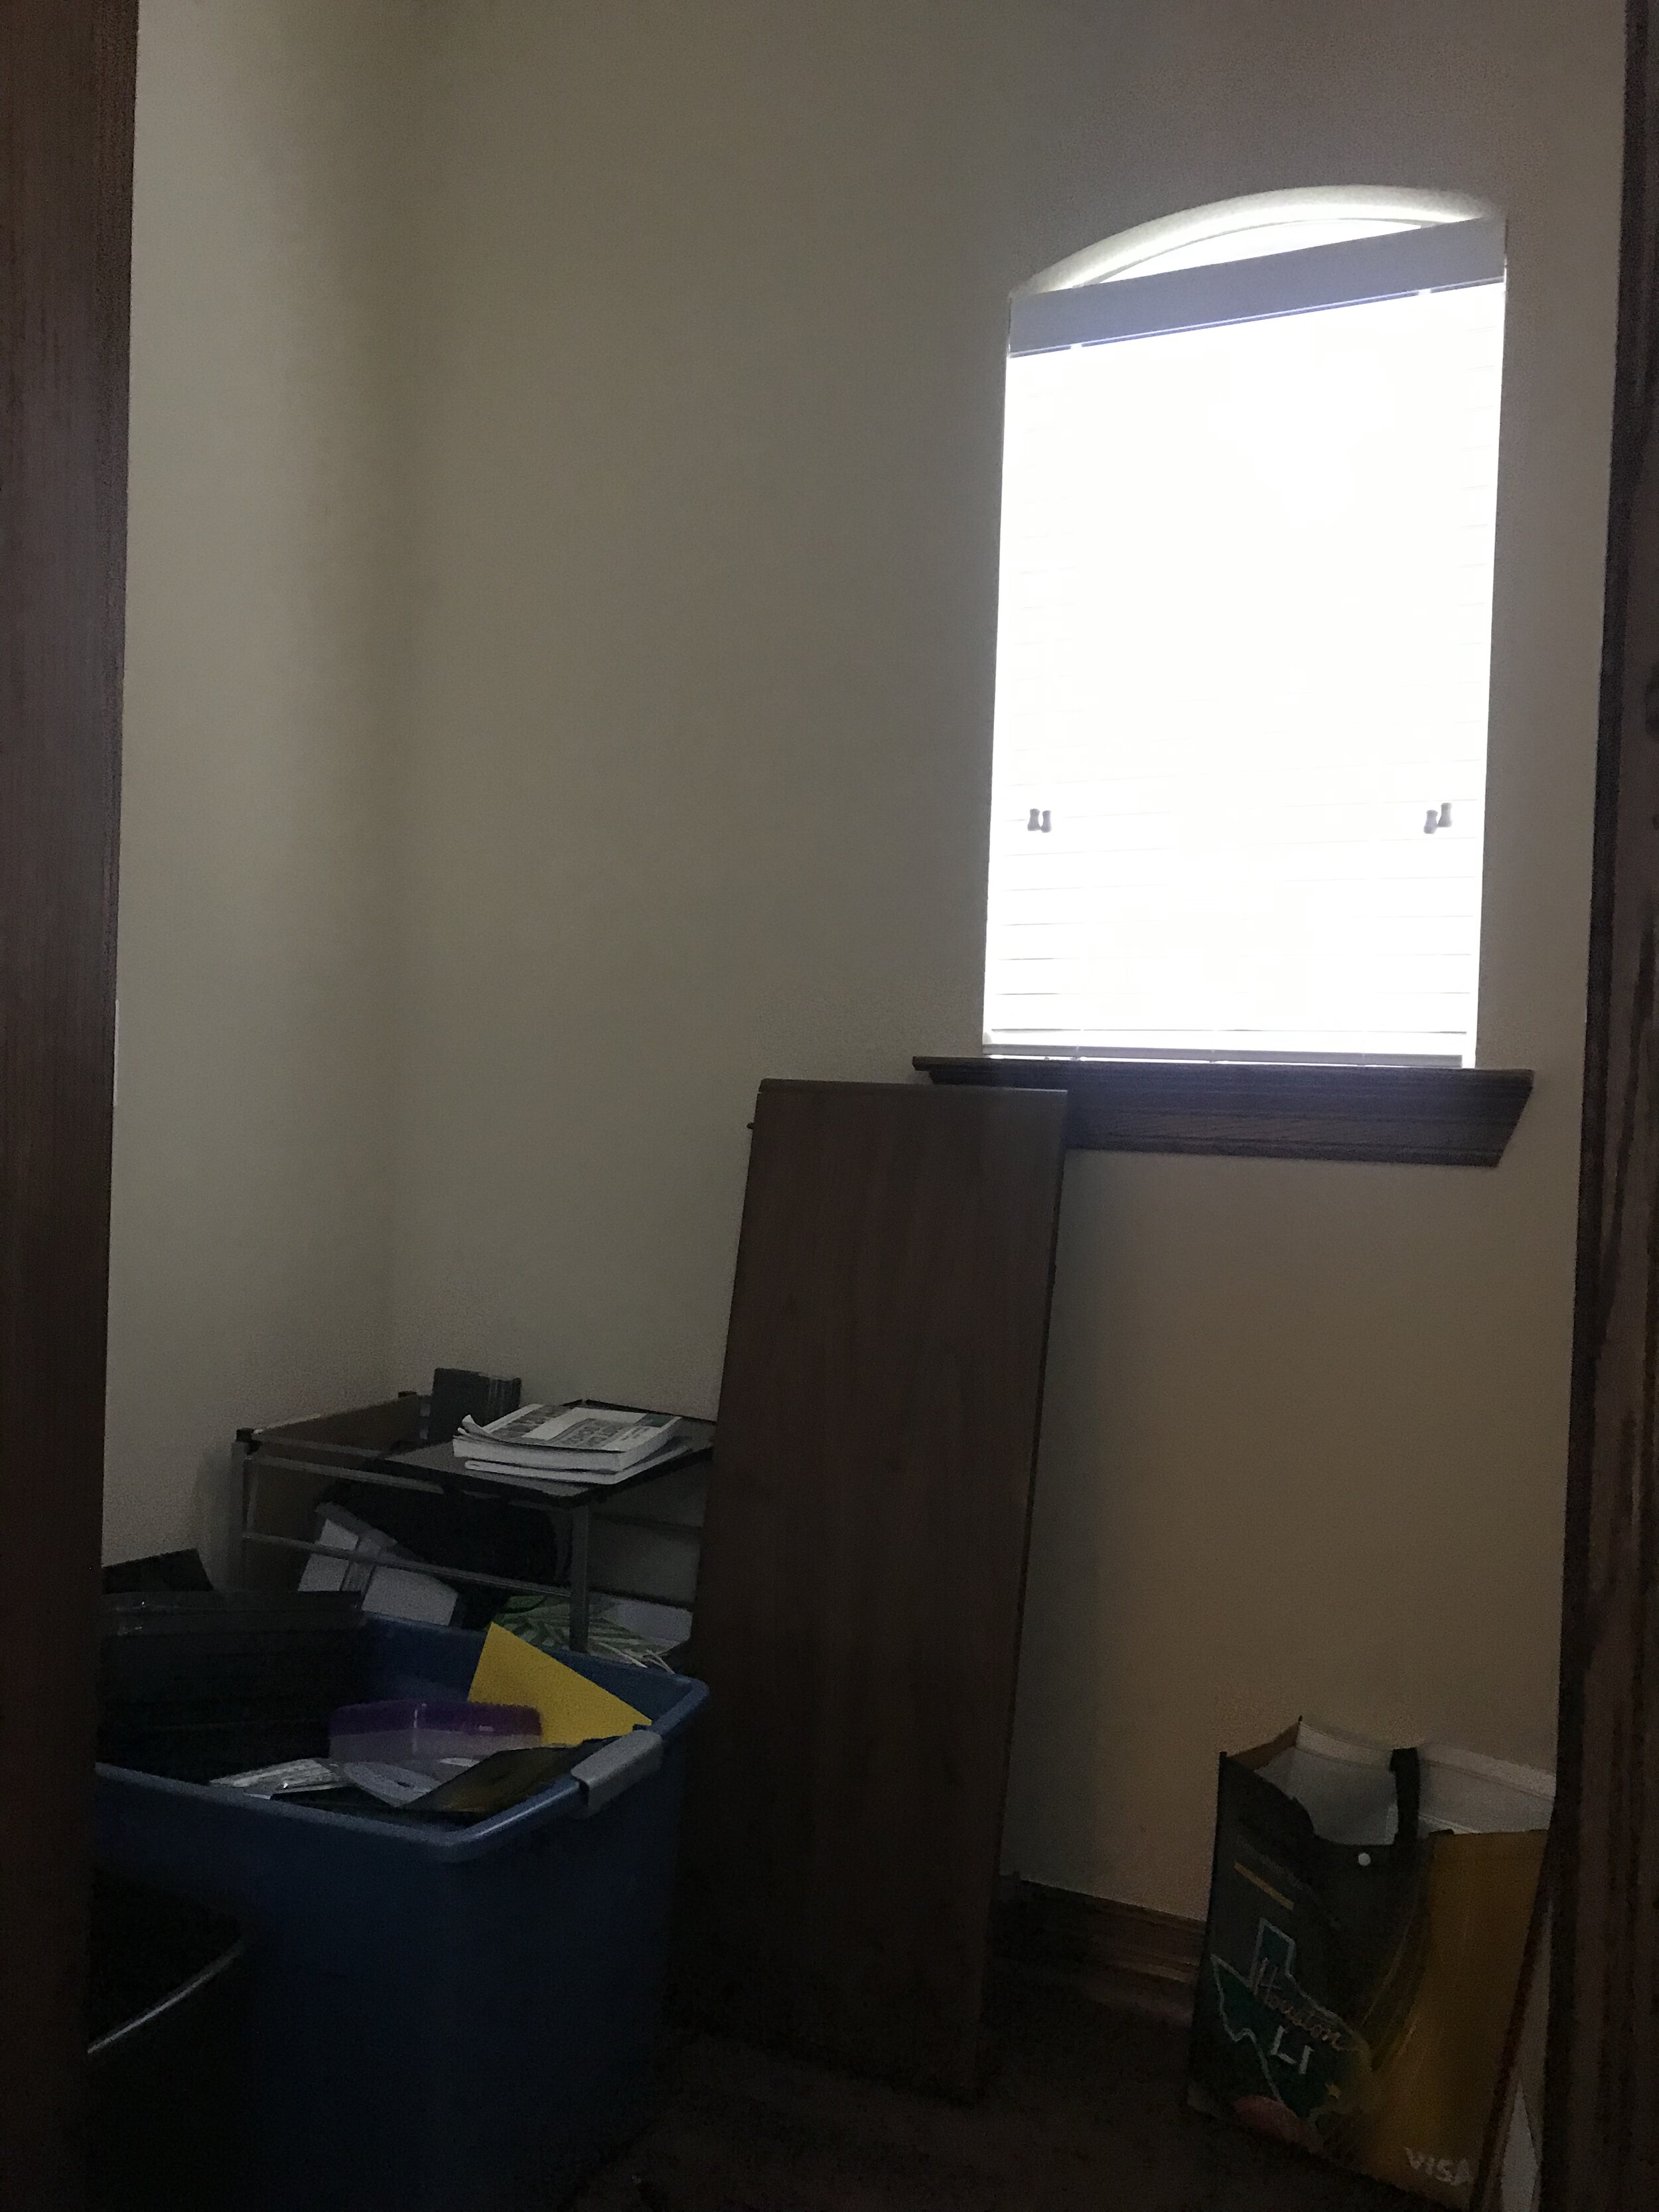
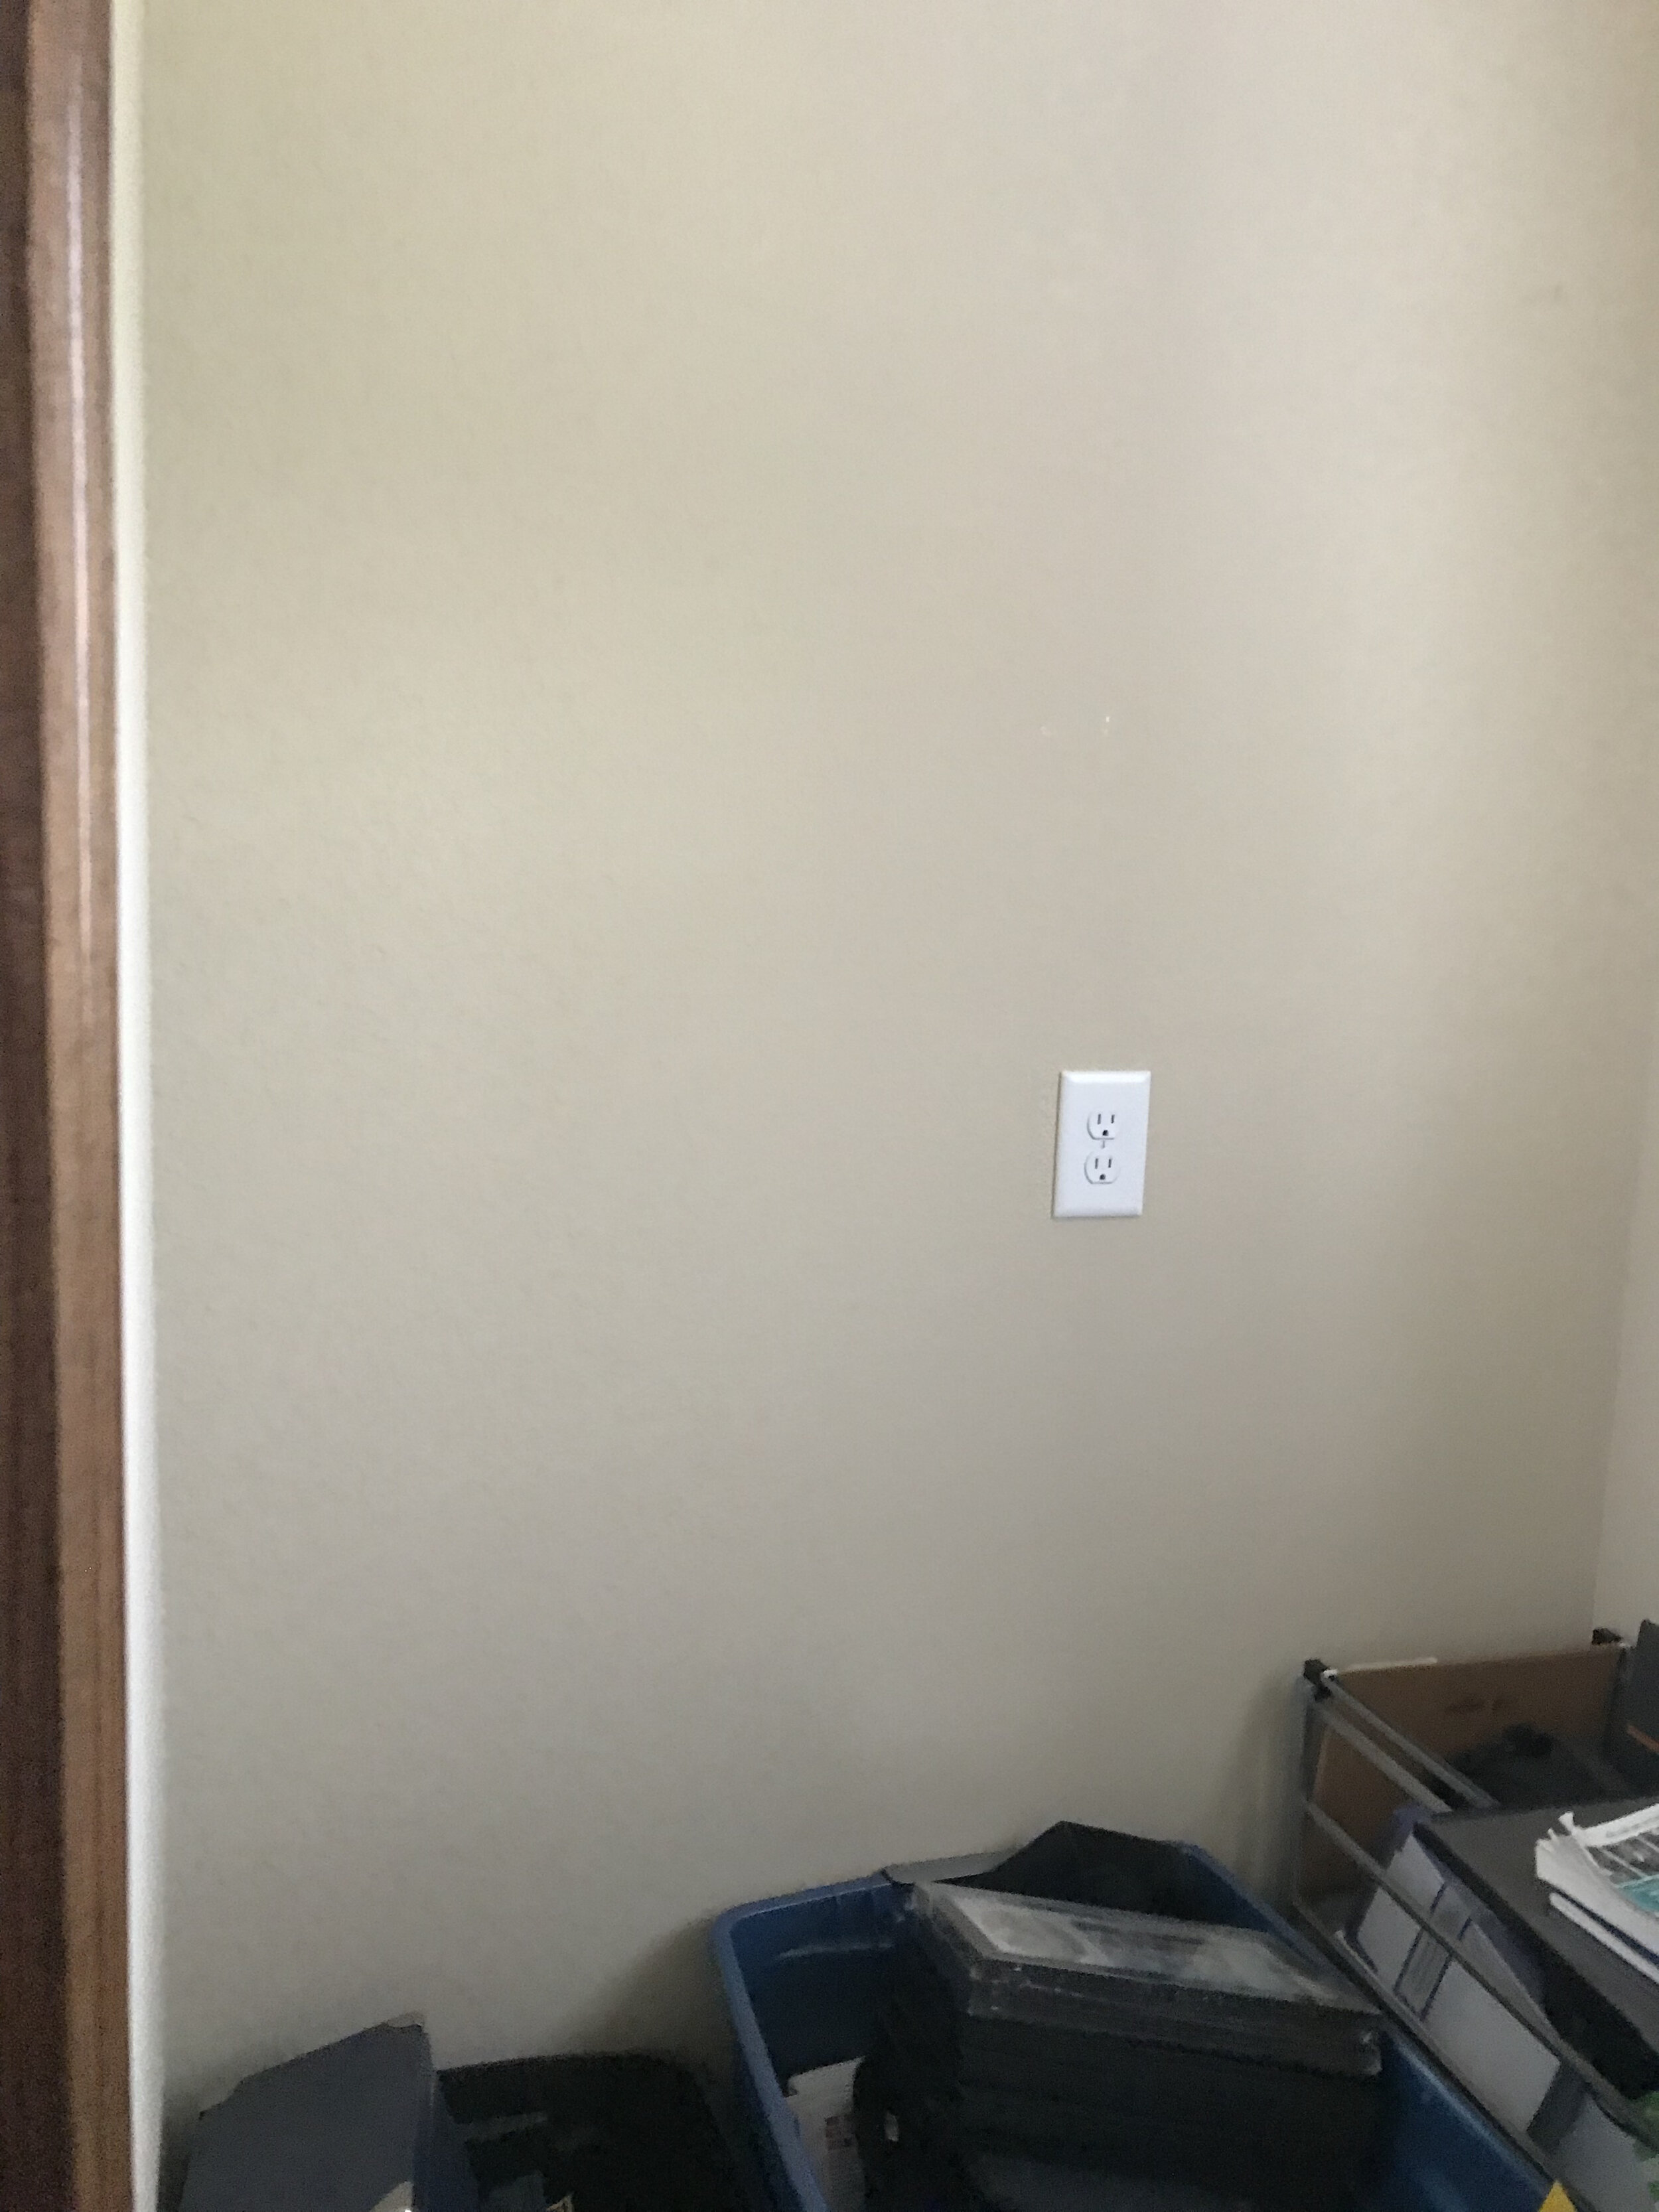
So you can see, it’s a very small space, but with 10-0’ ceilings and fortunately a window and an outlet. The answer soon came to me and I was ready to present the concept and drawings to my client. People always wonder why there’s value in hiring an interior designer. Well, since I’ve had a long continued relationship with my client, I understood how they lived and what practical solutions fit their lifestyle. So, it was clear their kids would love a space of their own right next to Mom and Dad. There was my answer! This will be a playful studio for the little emerging artist in the family. I knew storage and function would be important to address first with a space this small. And I would have to be creative in order to successfully bring these two important elements together.

Draft of the elevation drawings for the new studio room, “A Room of Her Own”.
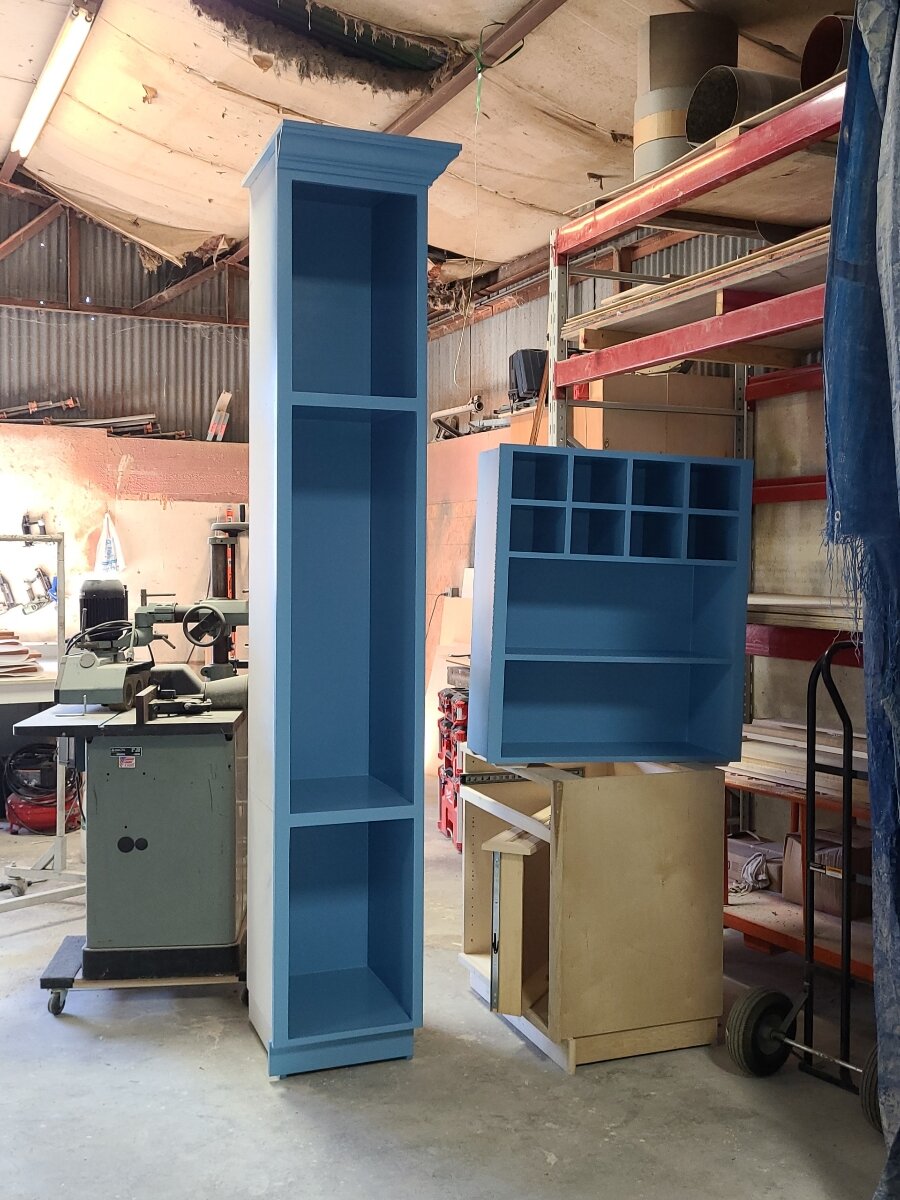
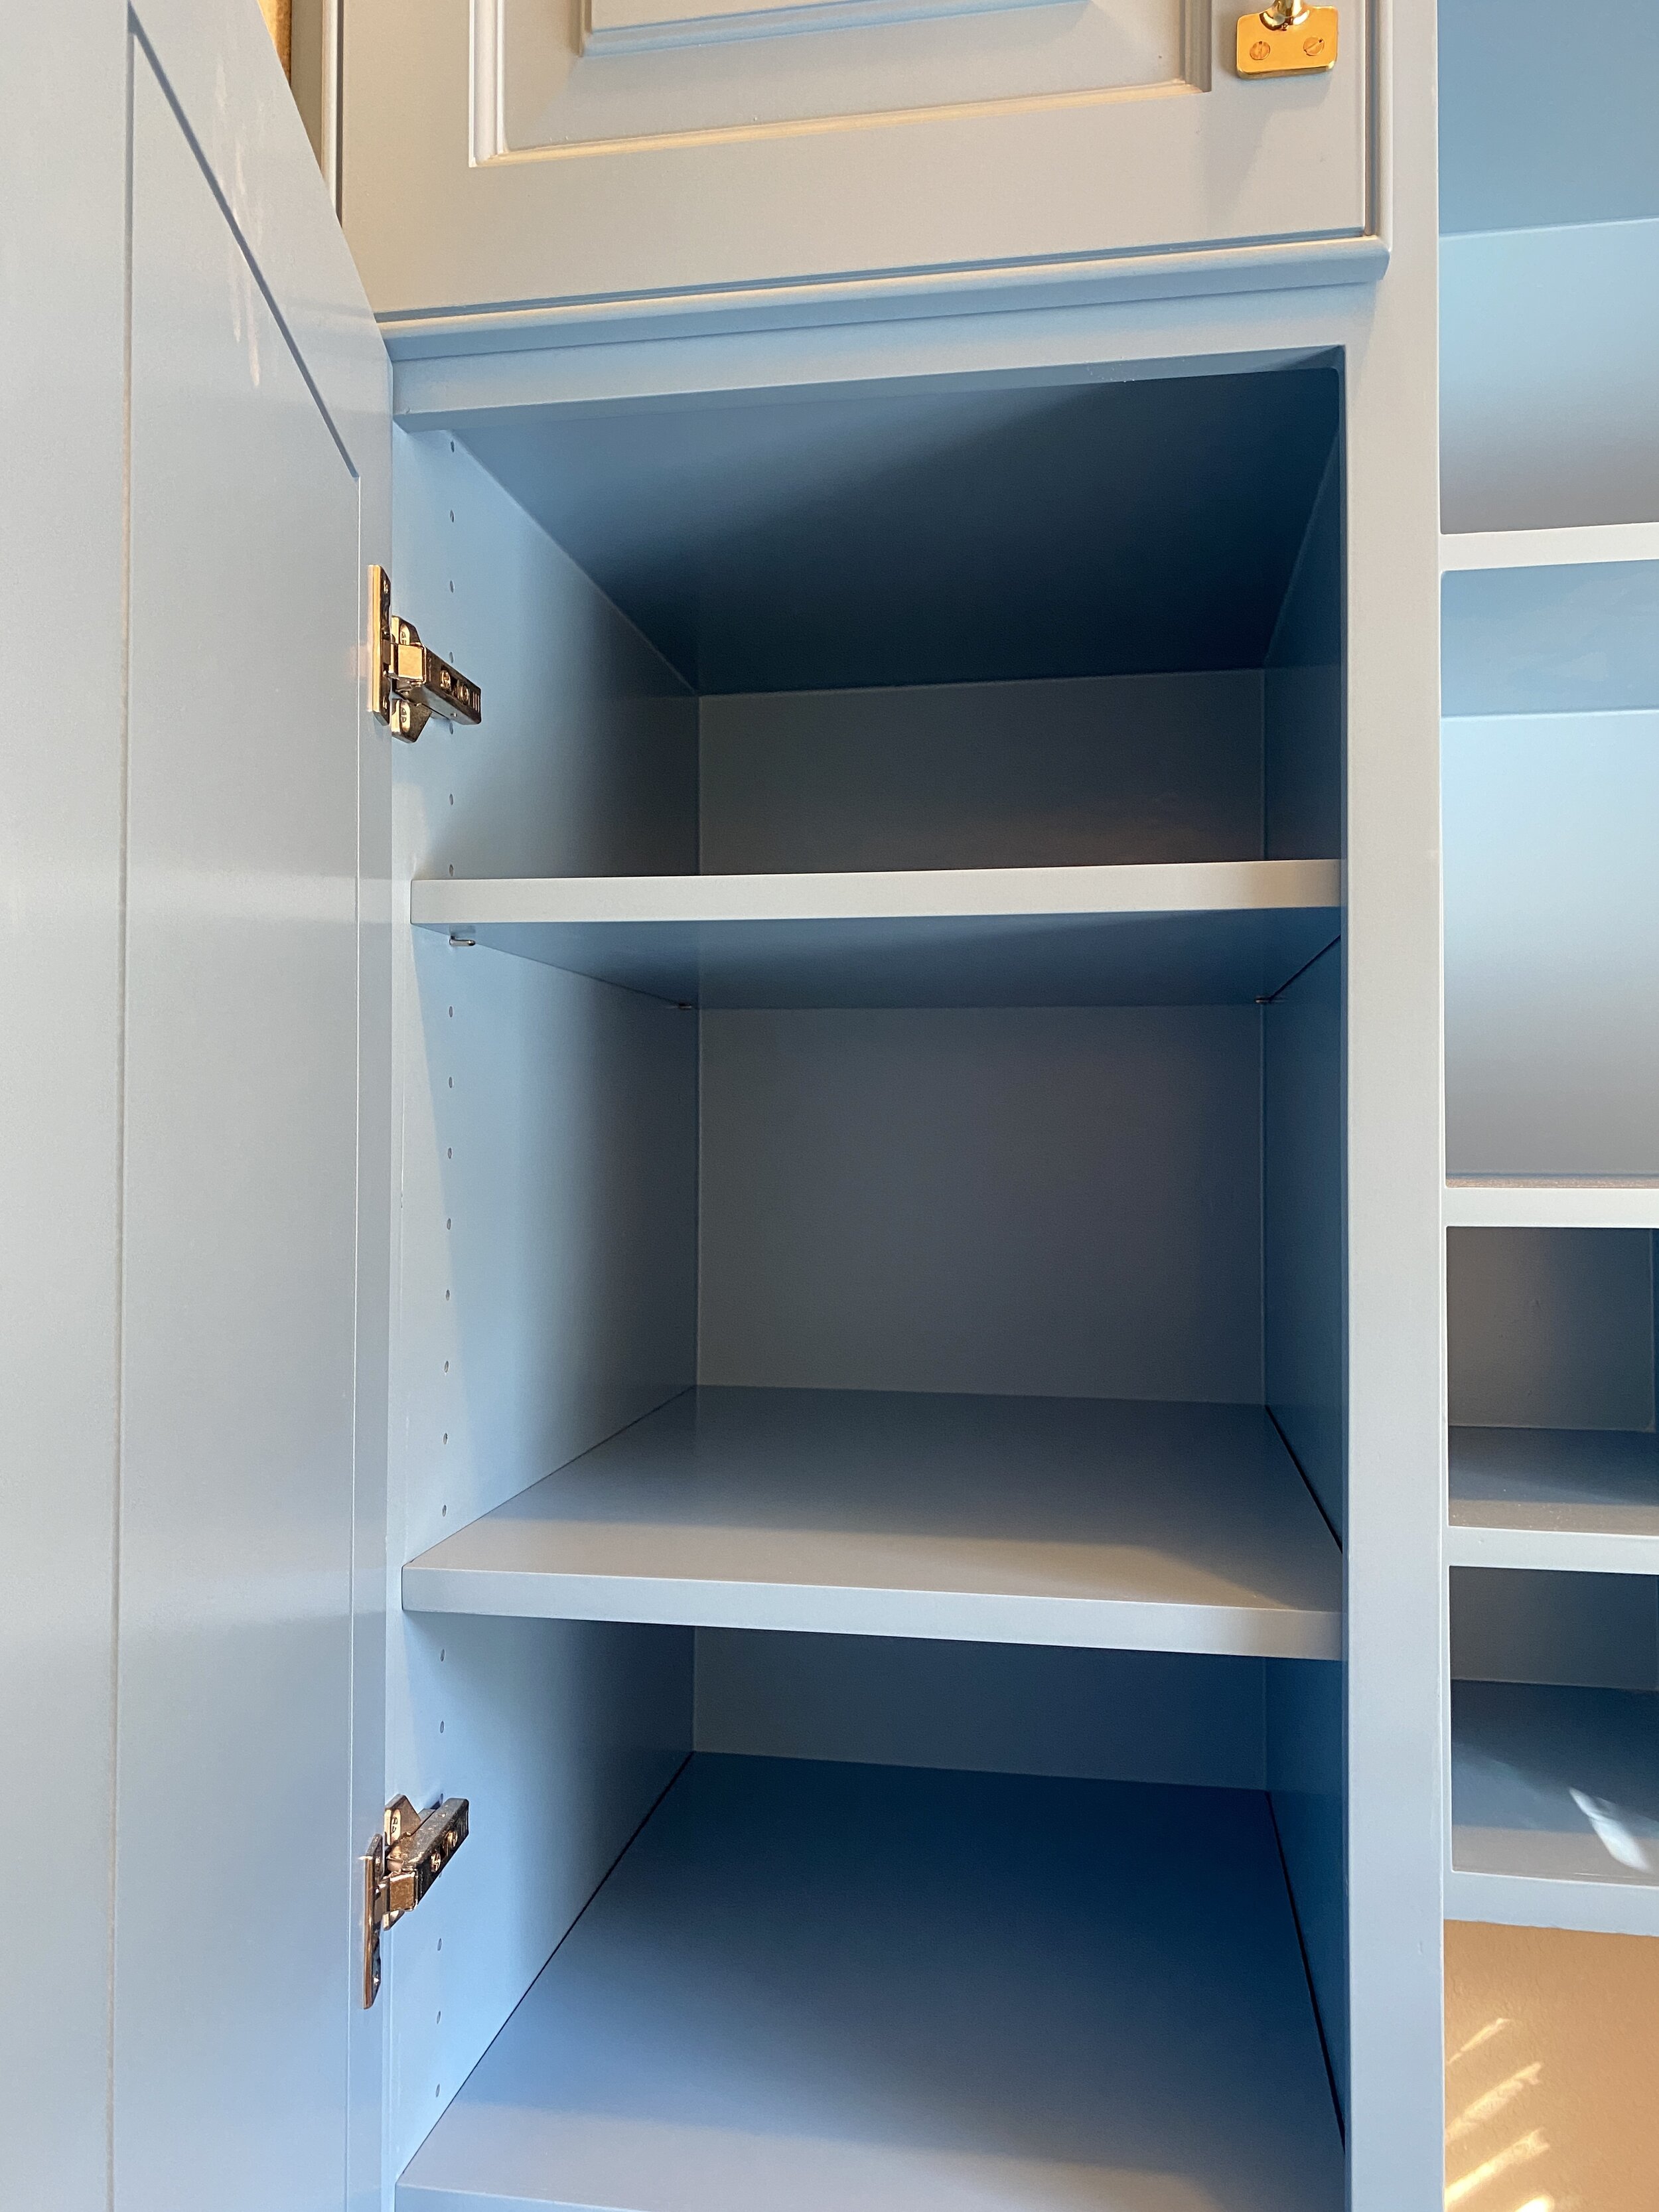
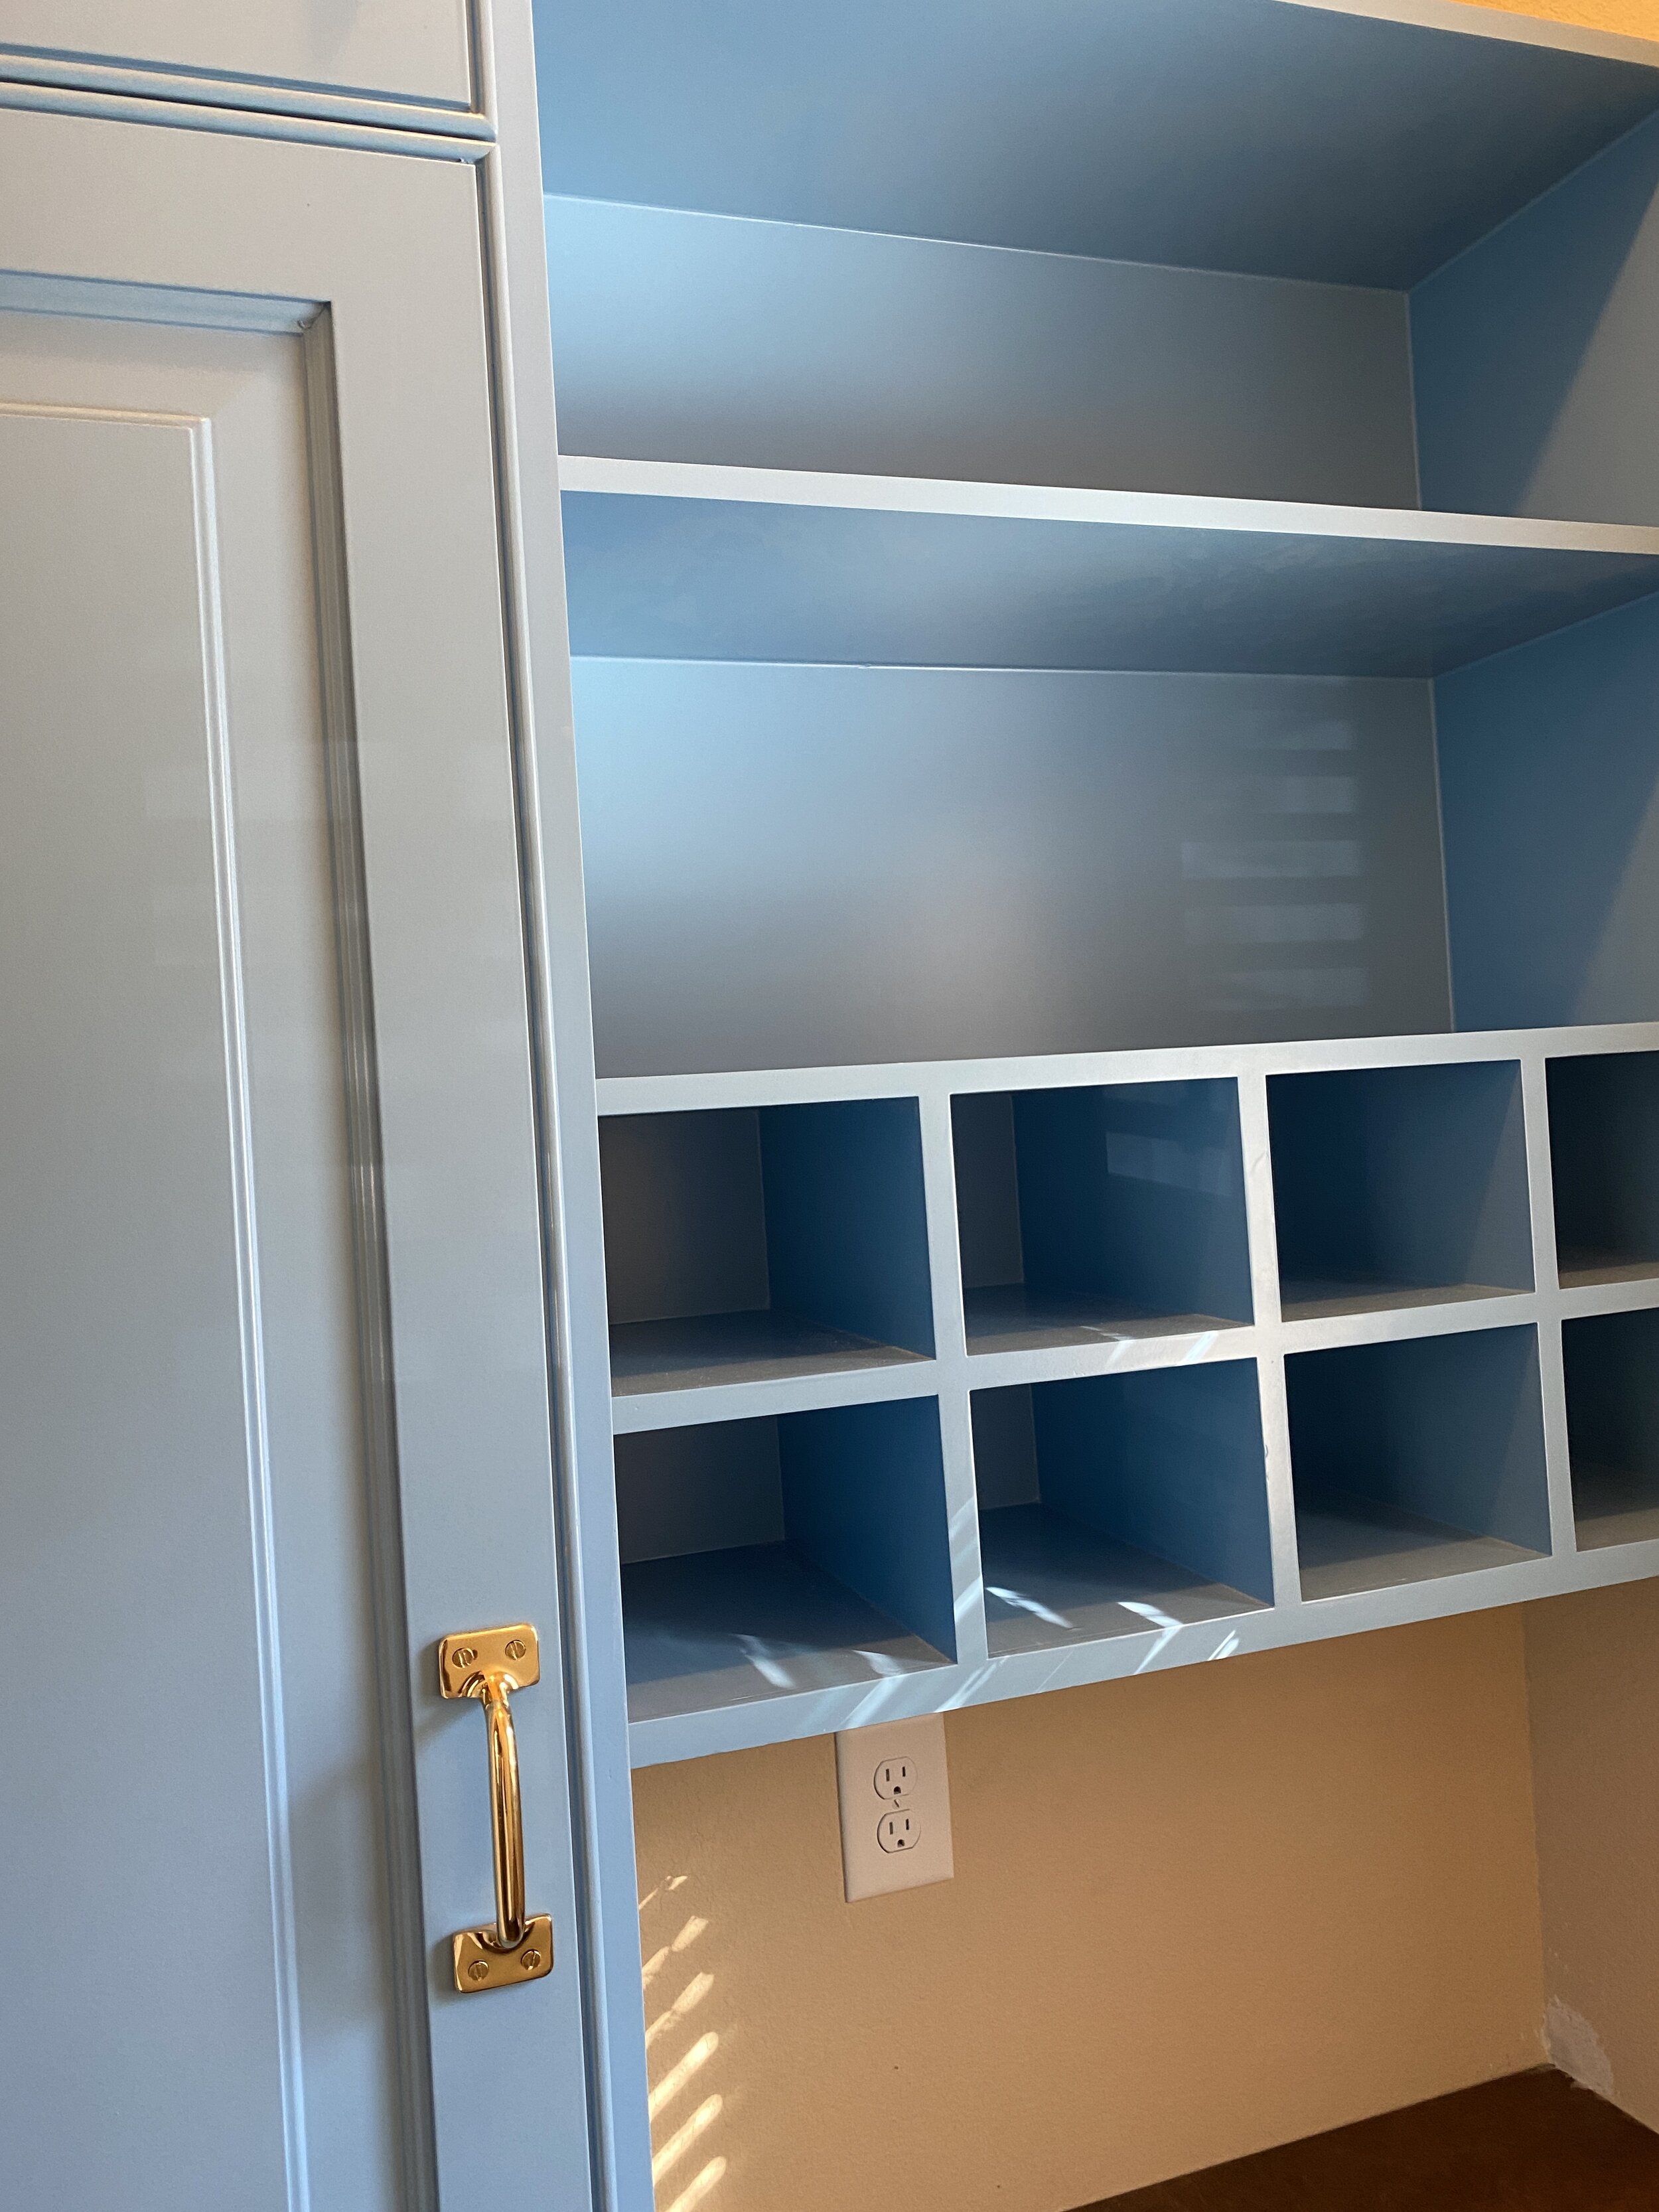
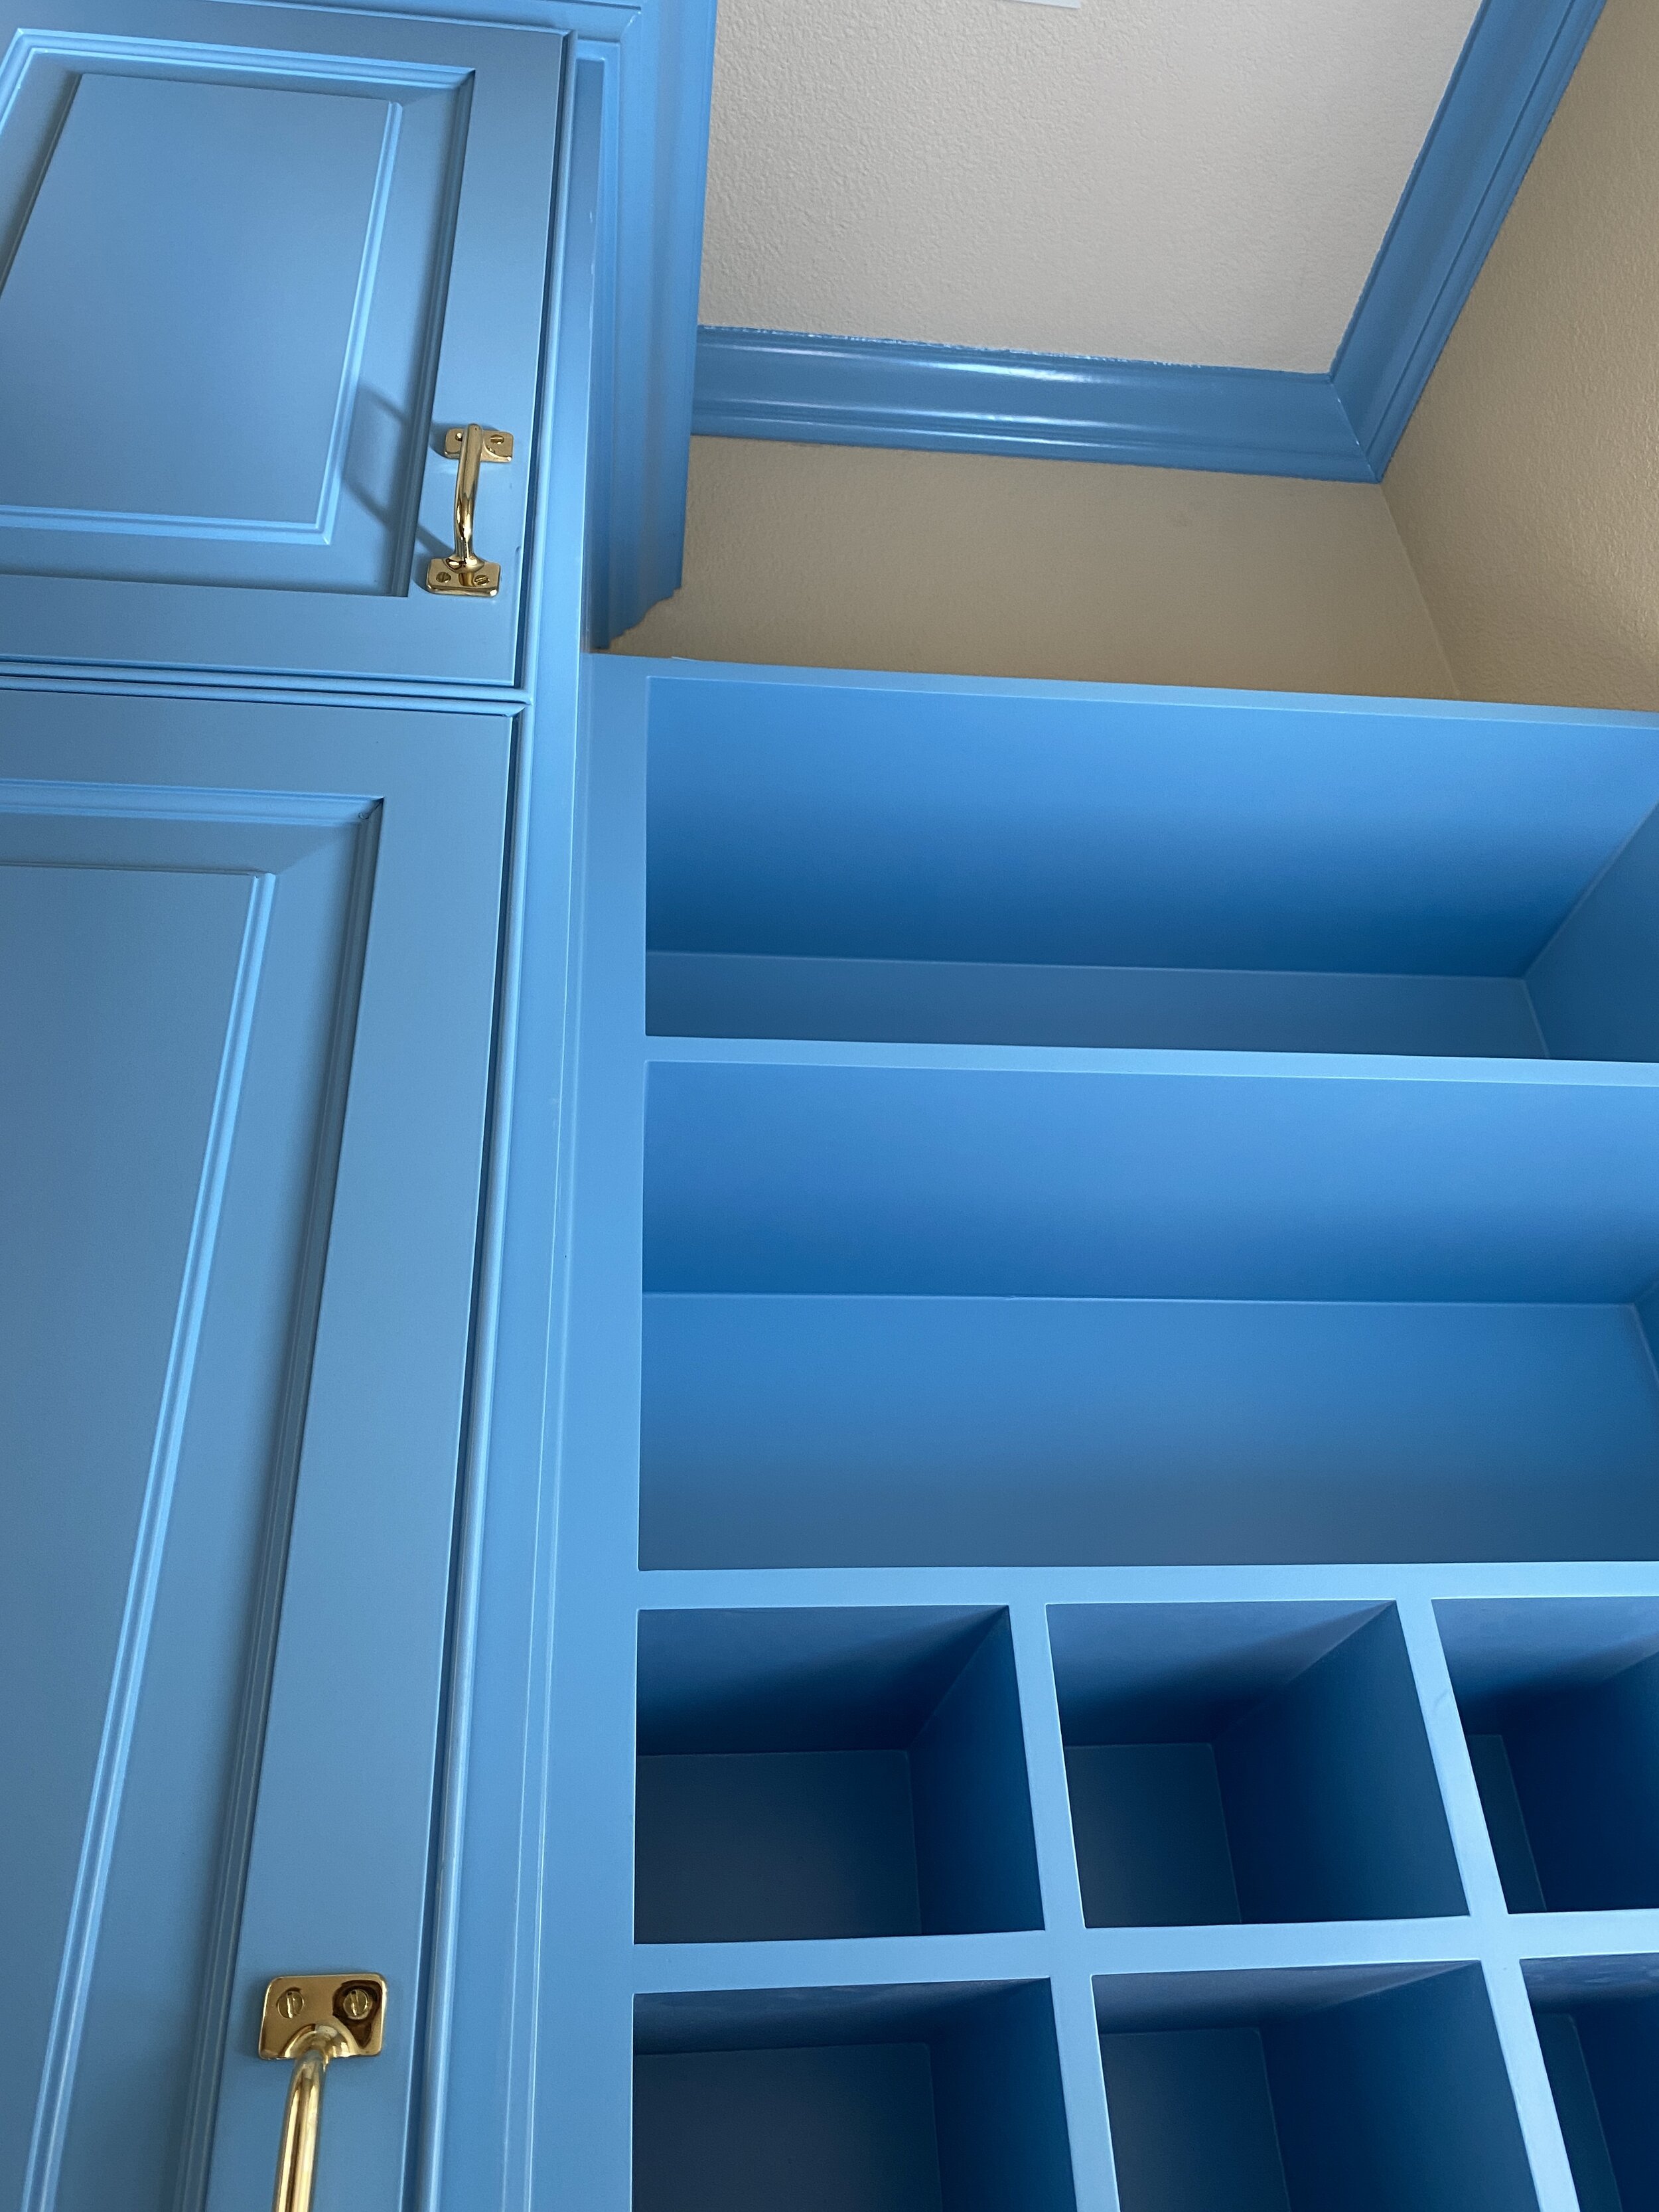
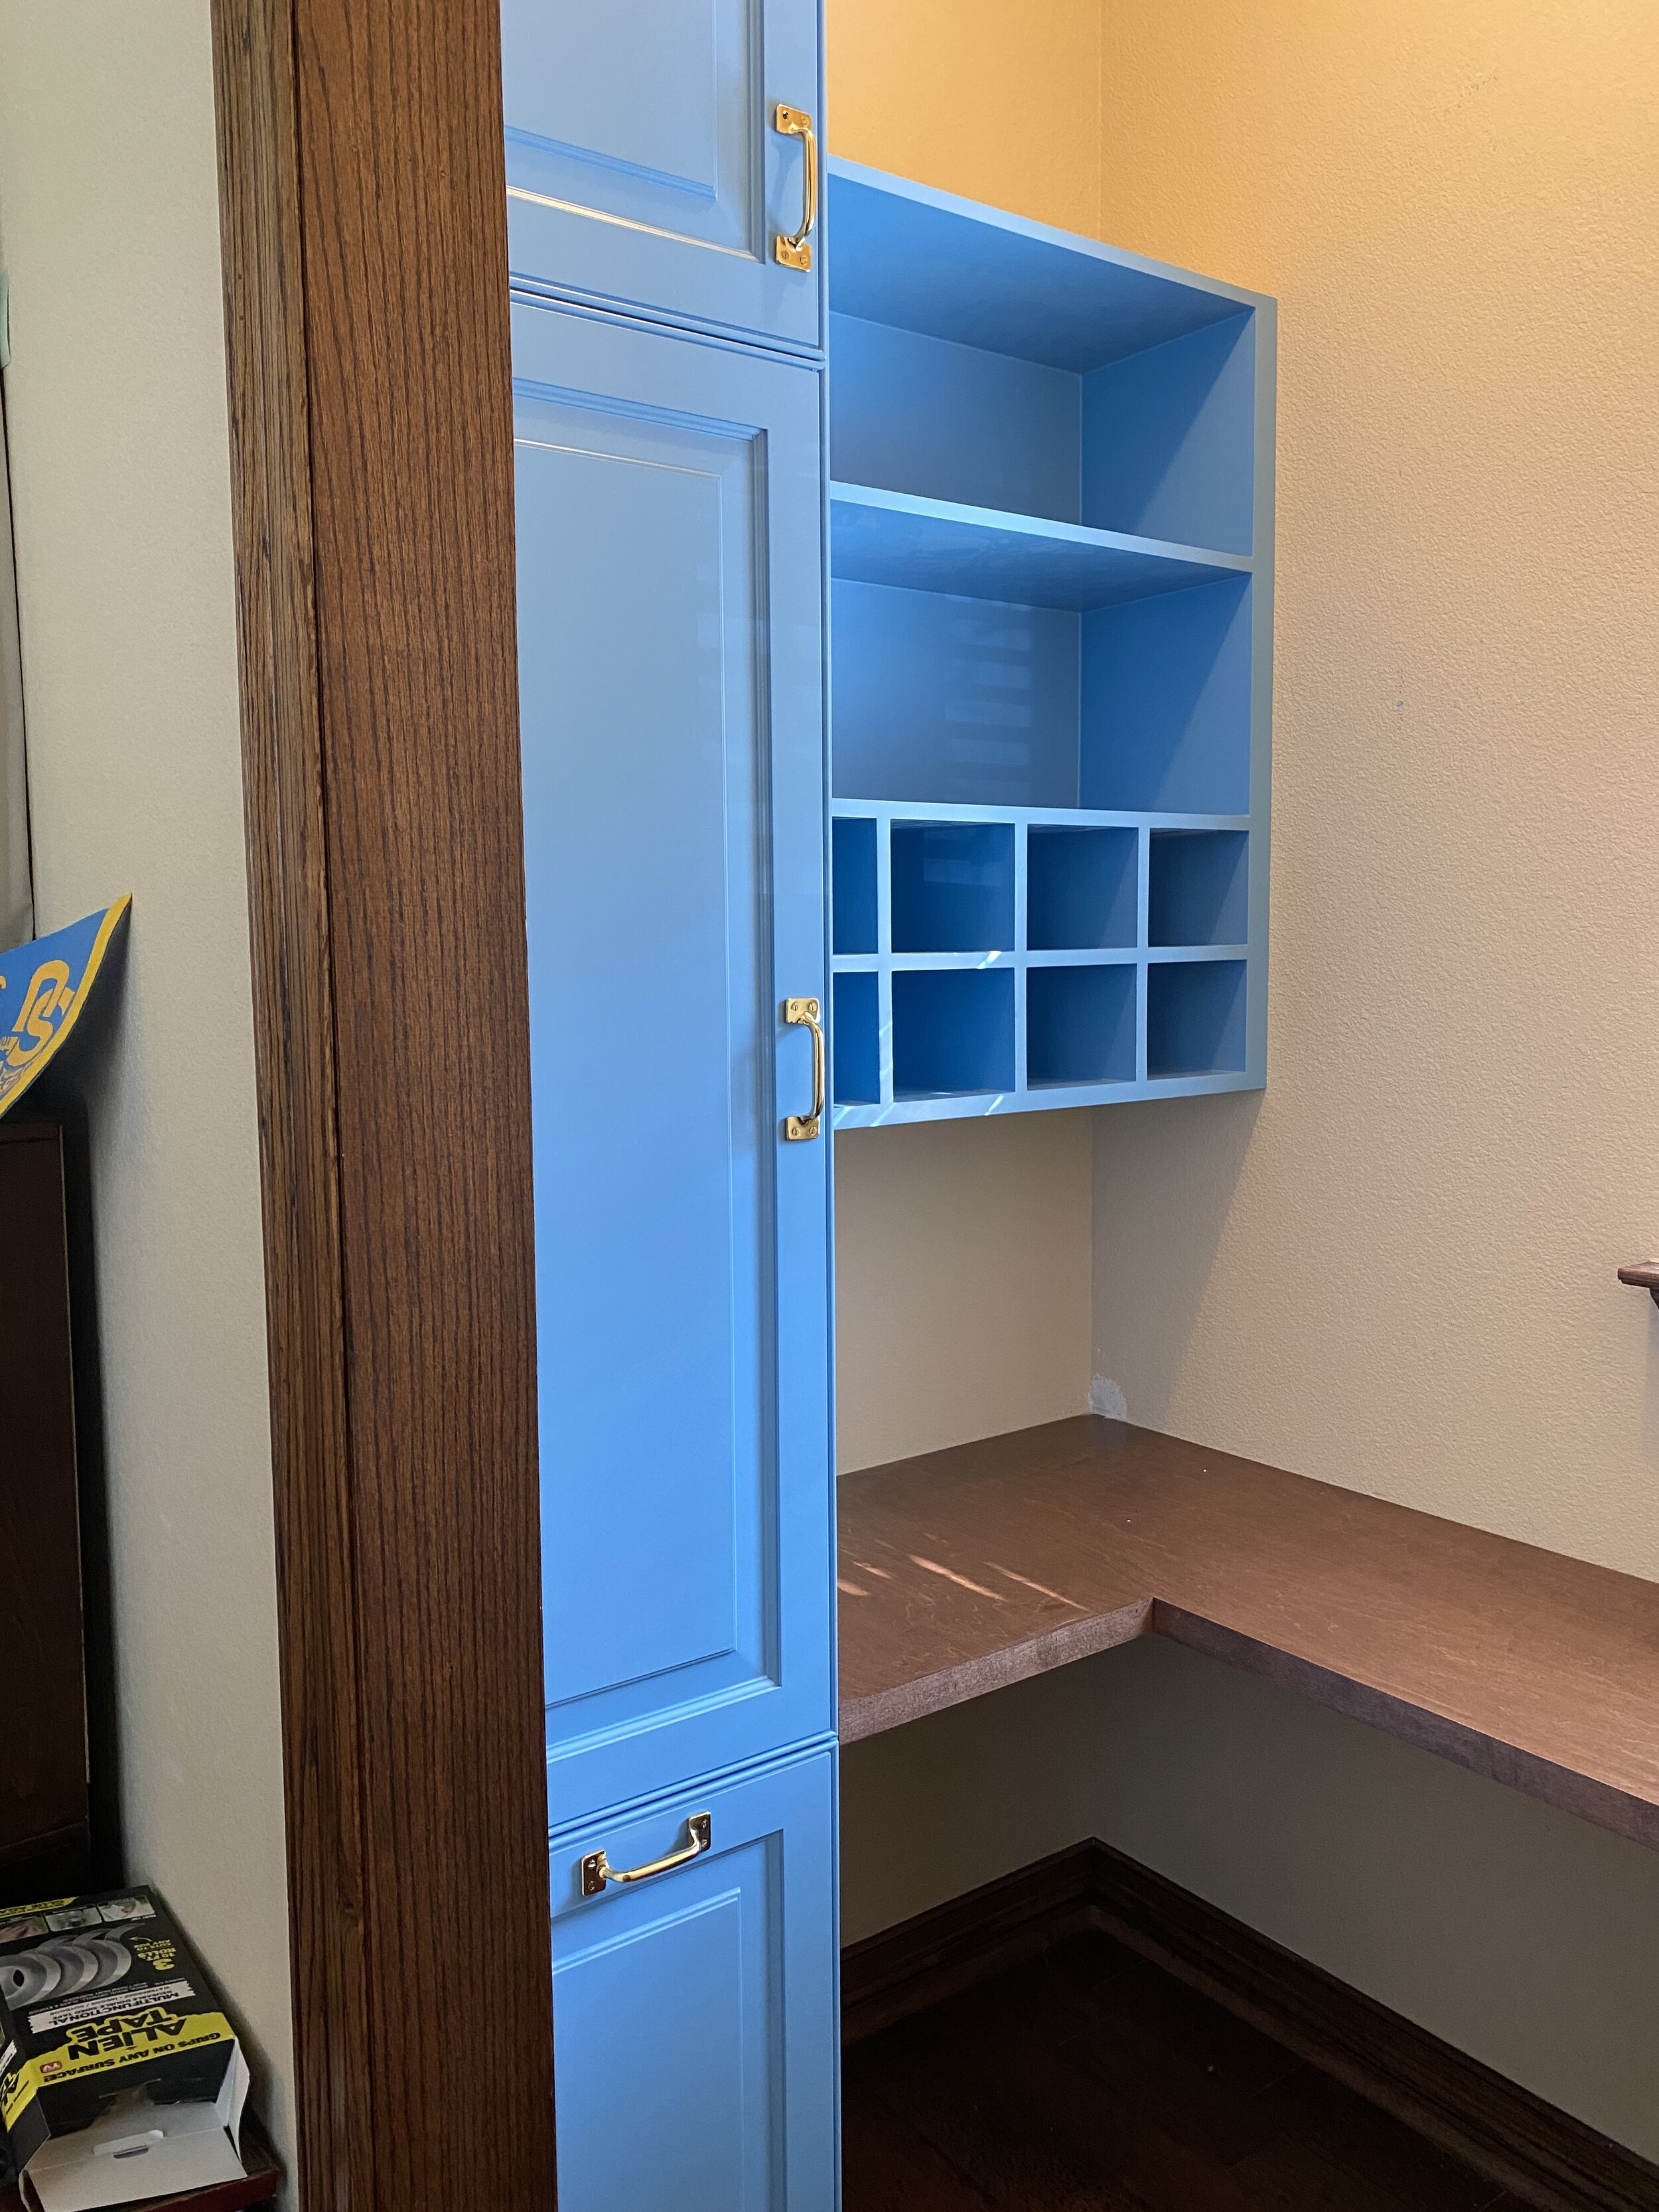
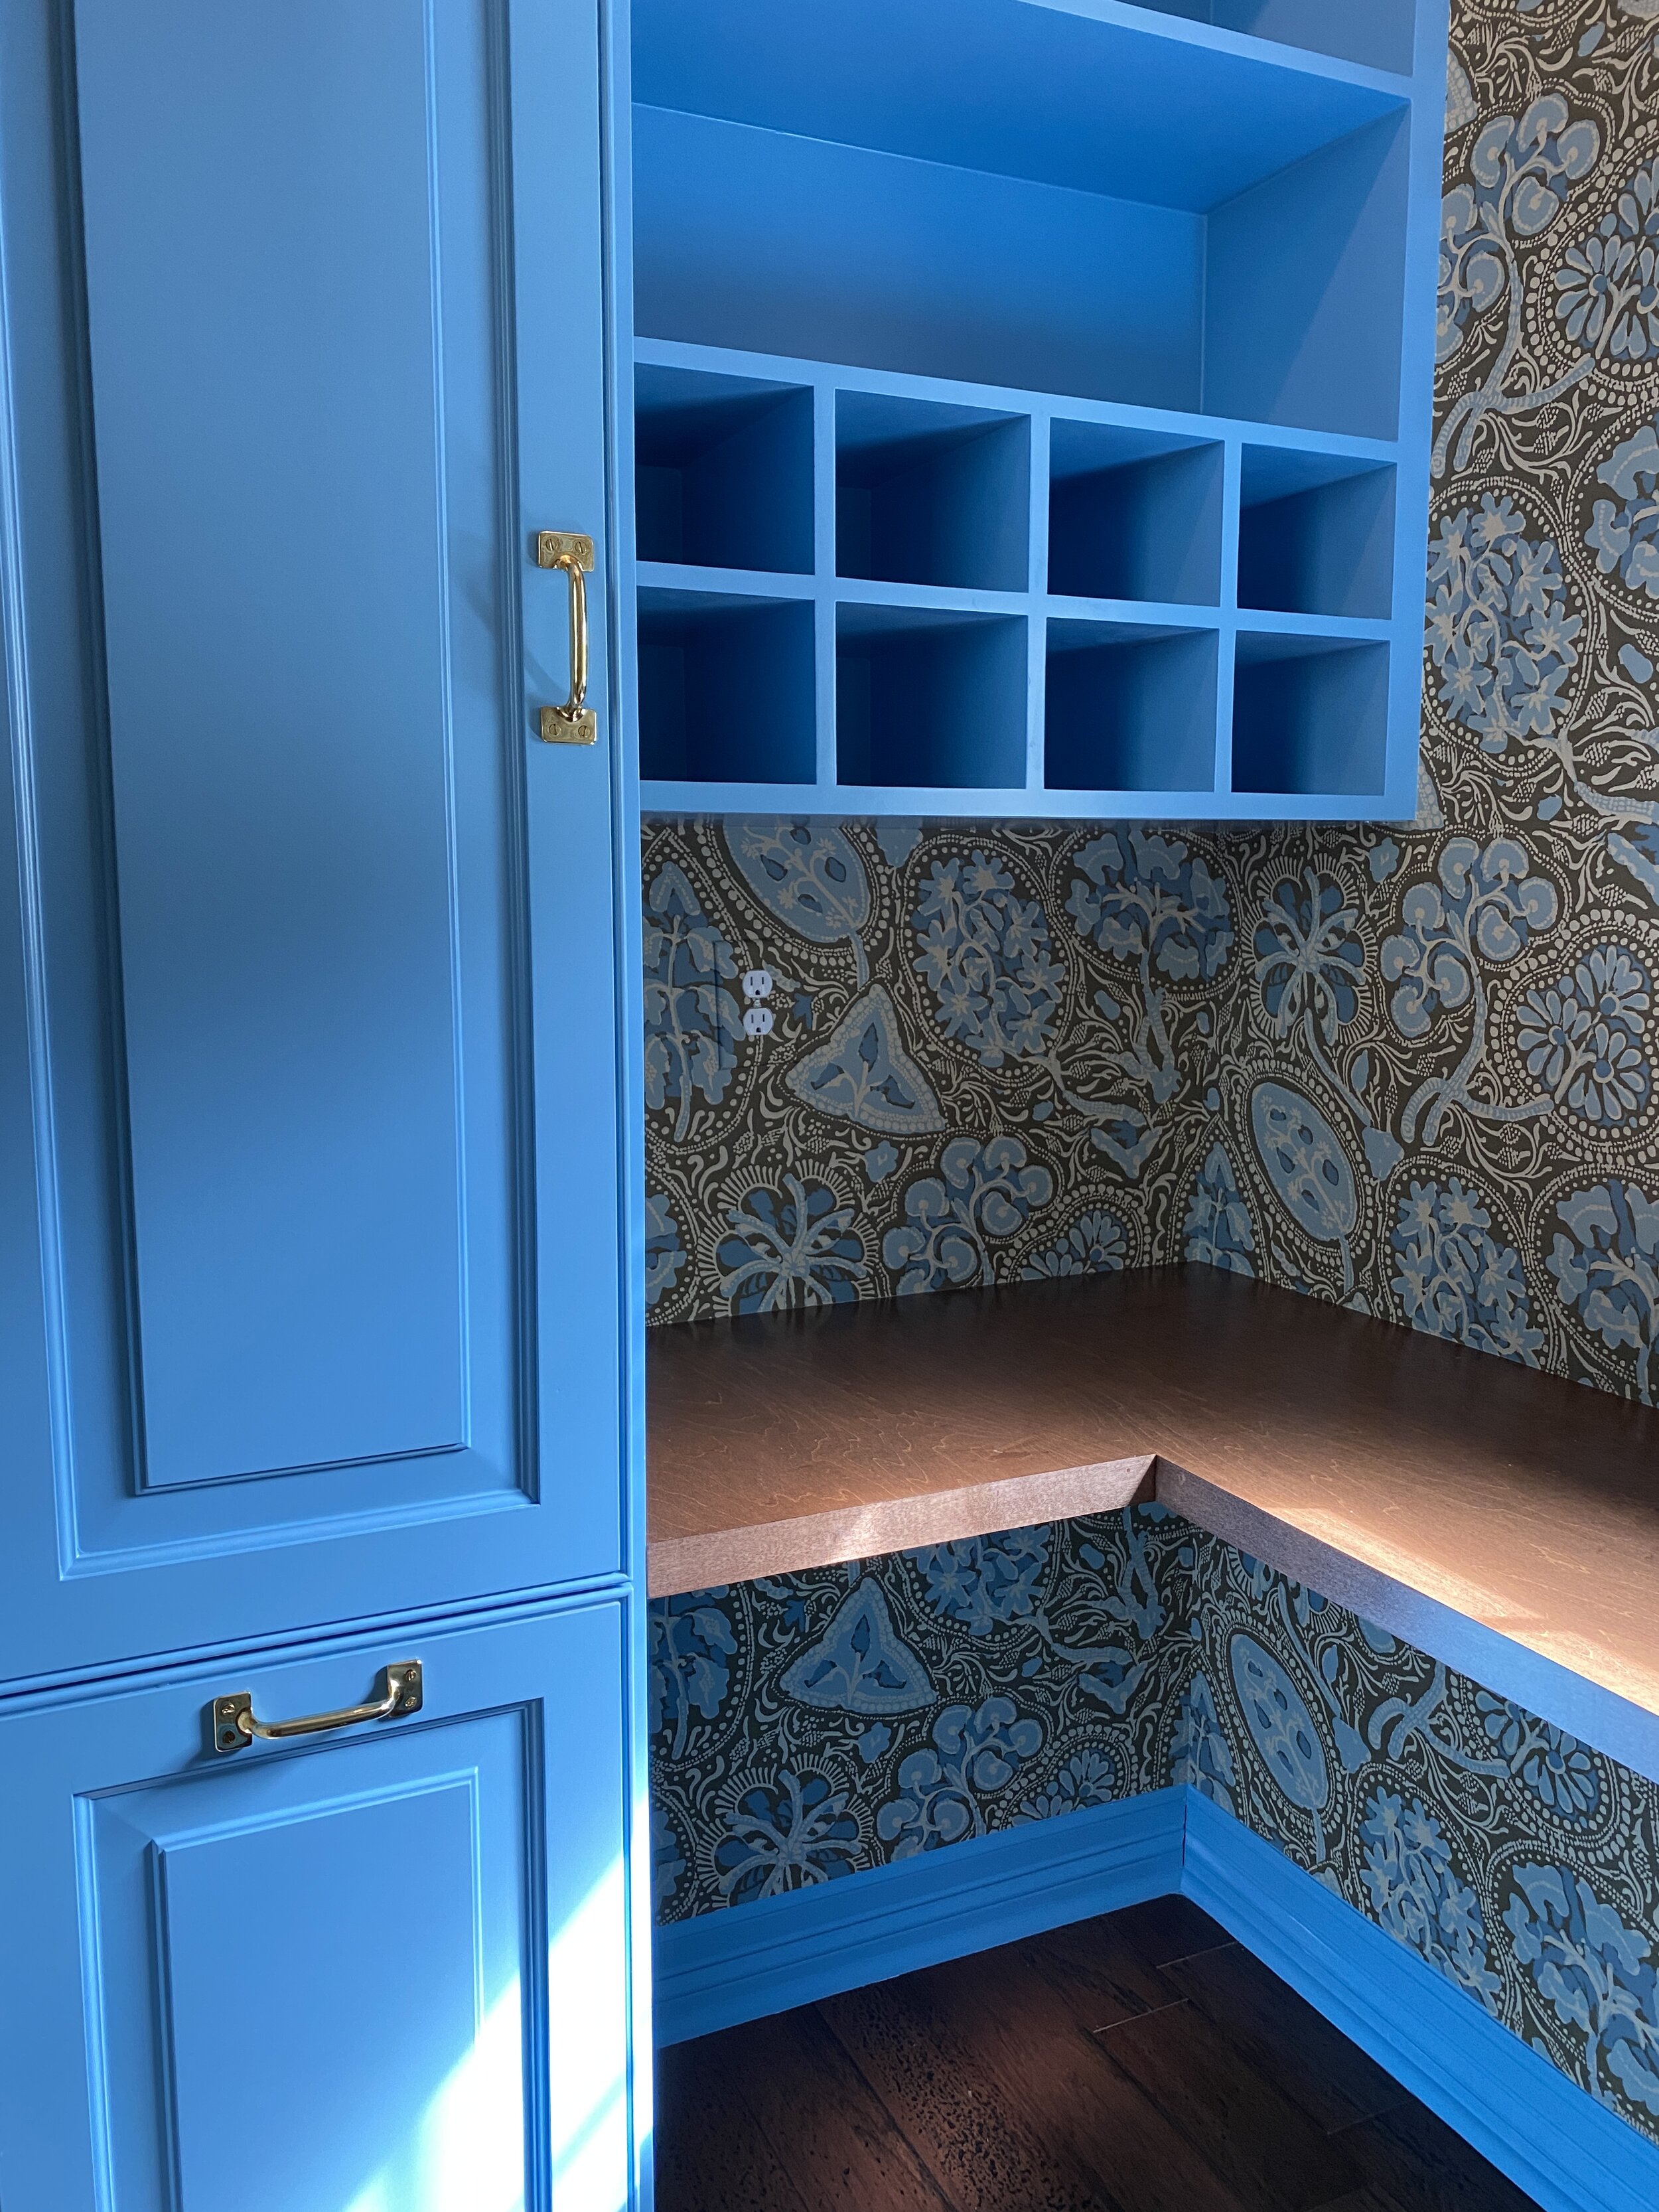
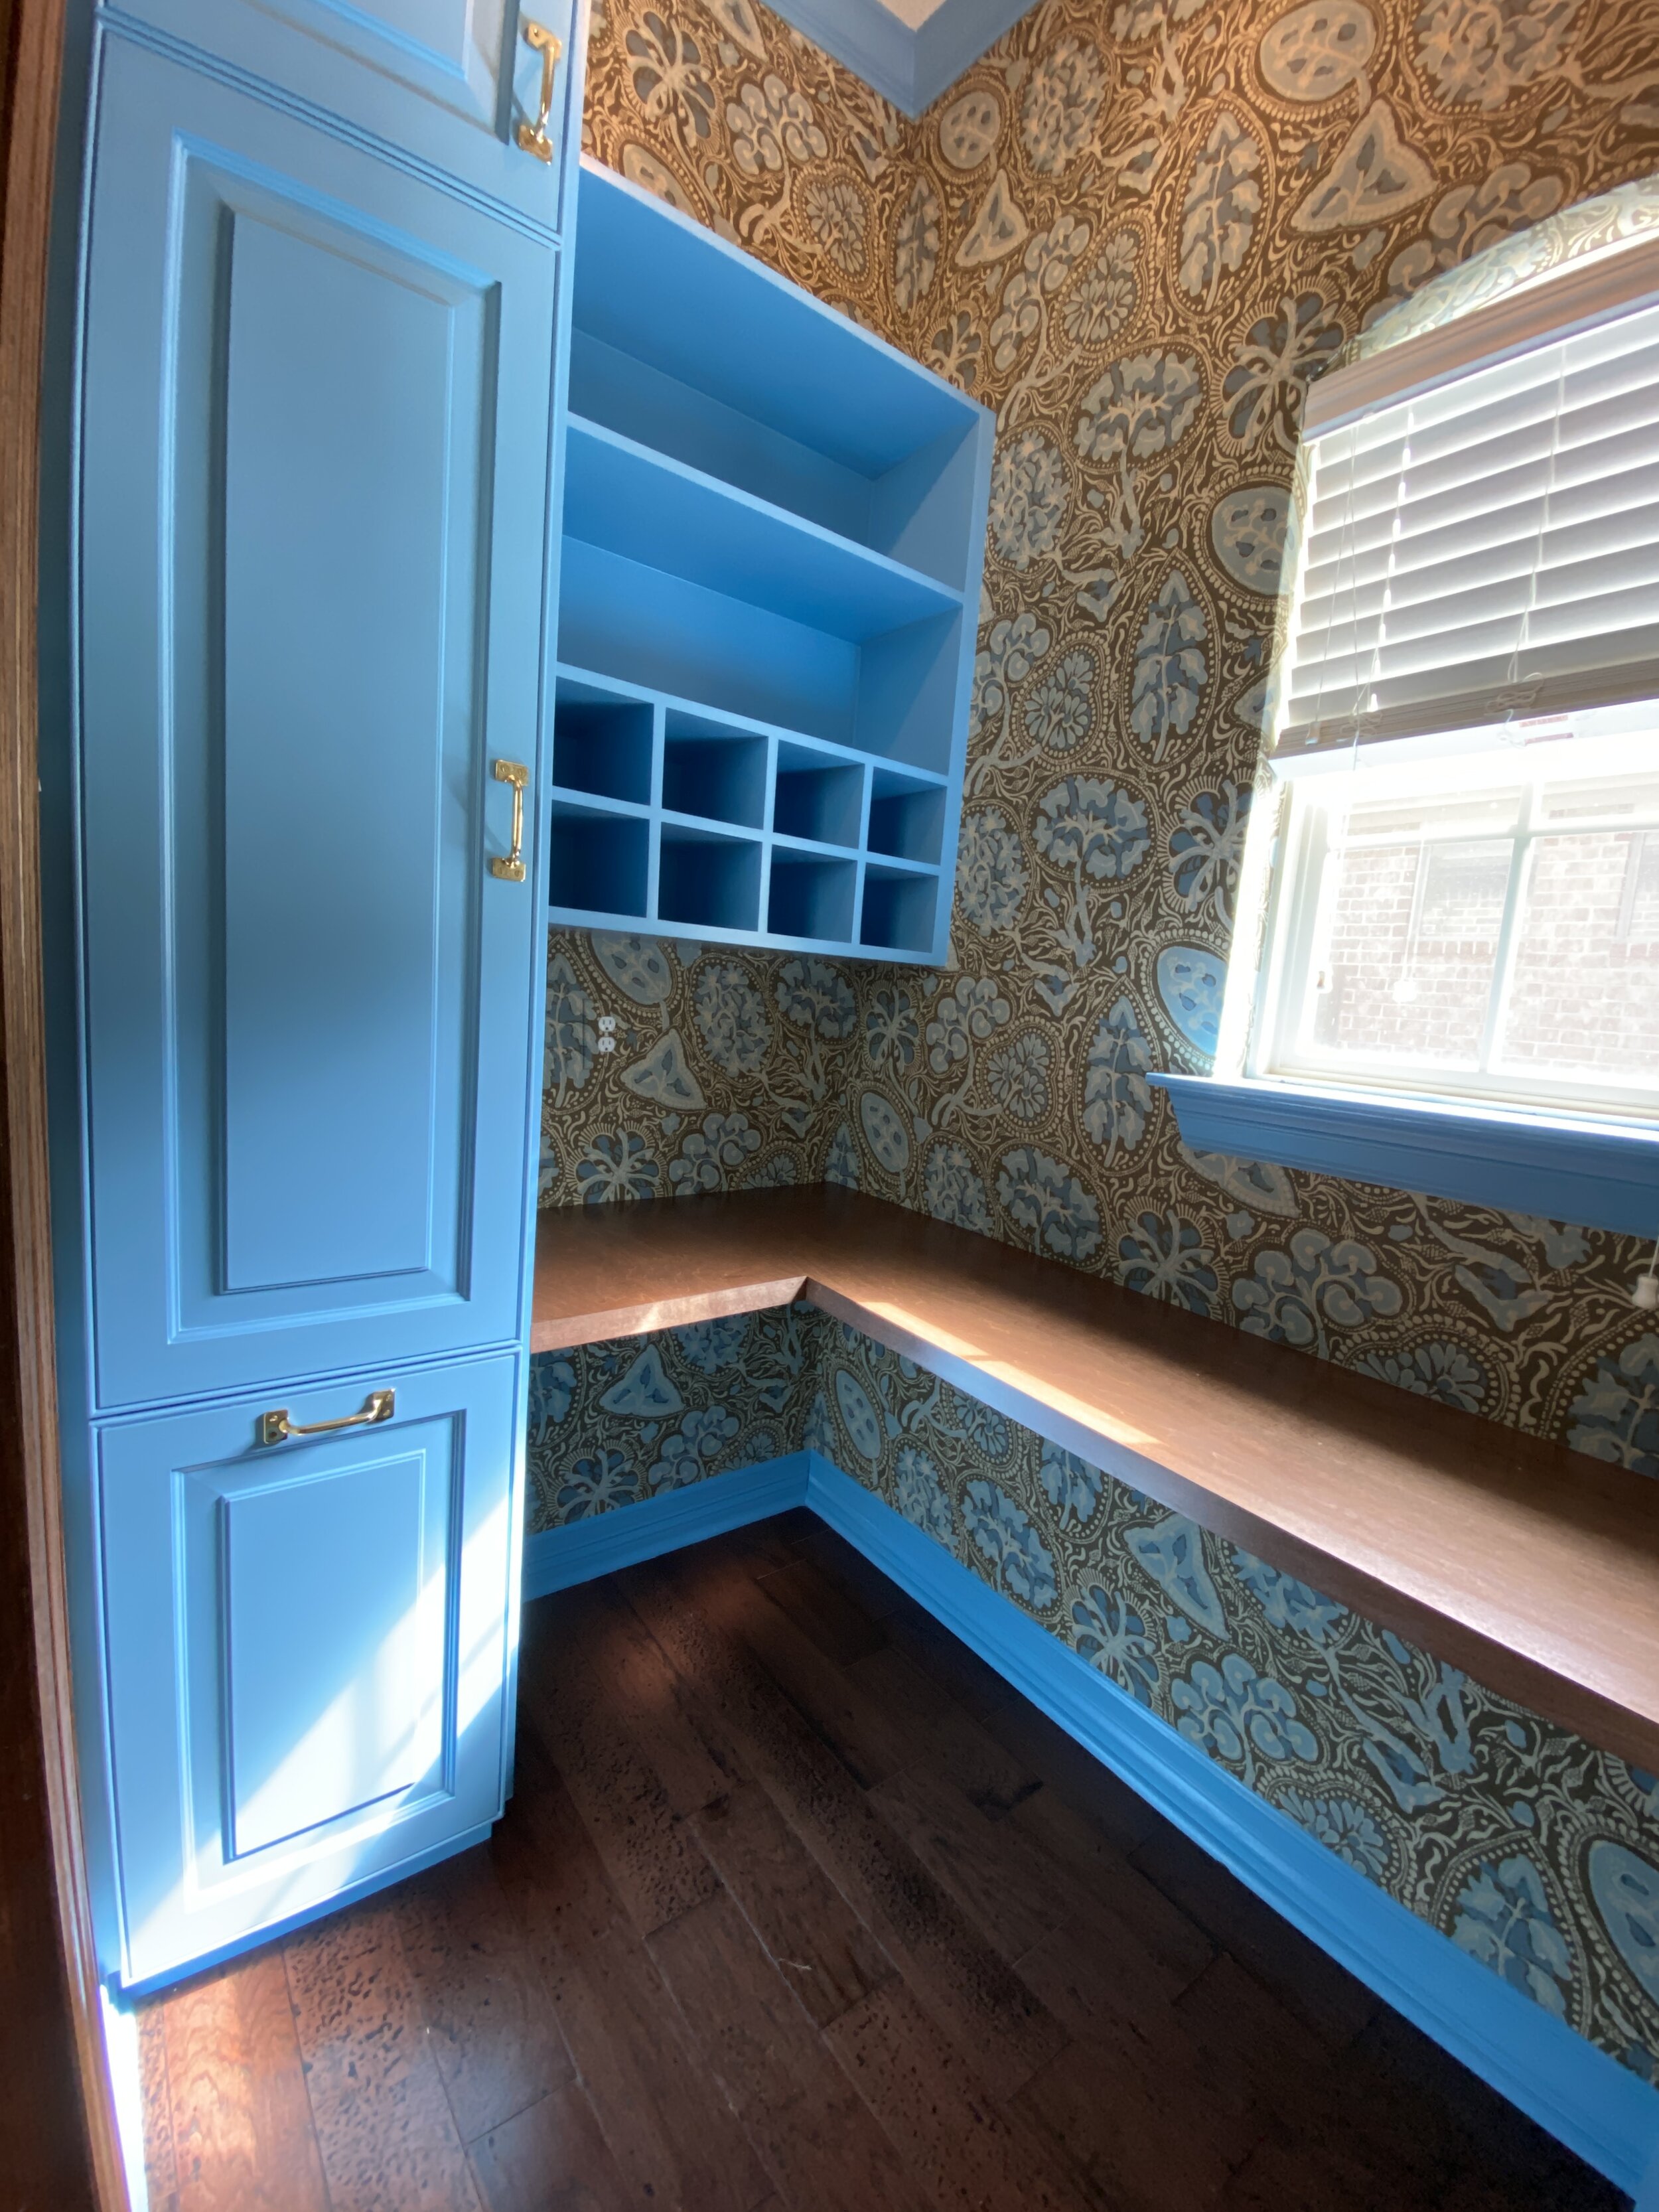
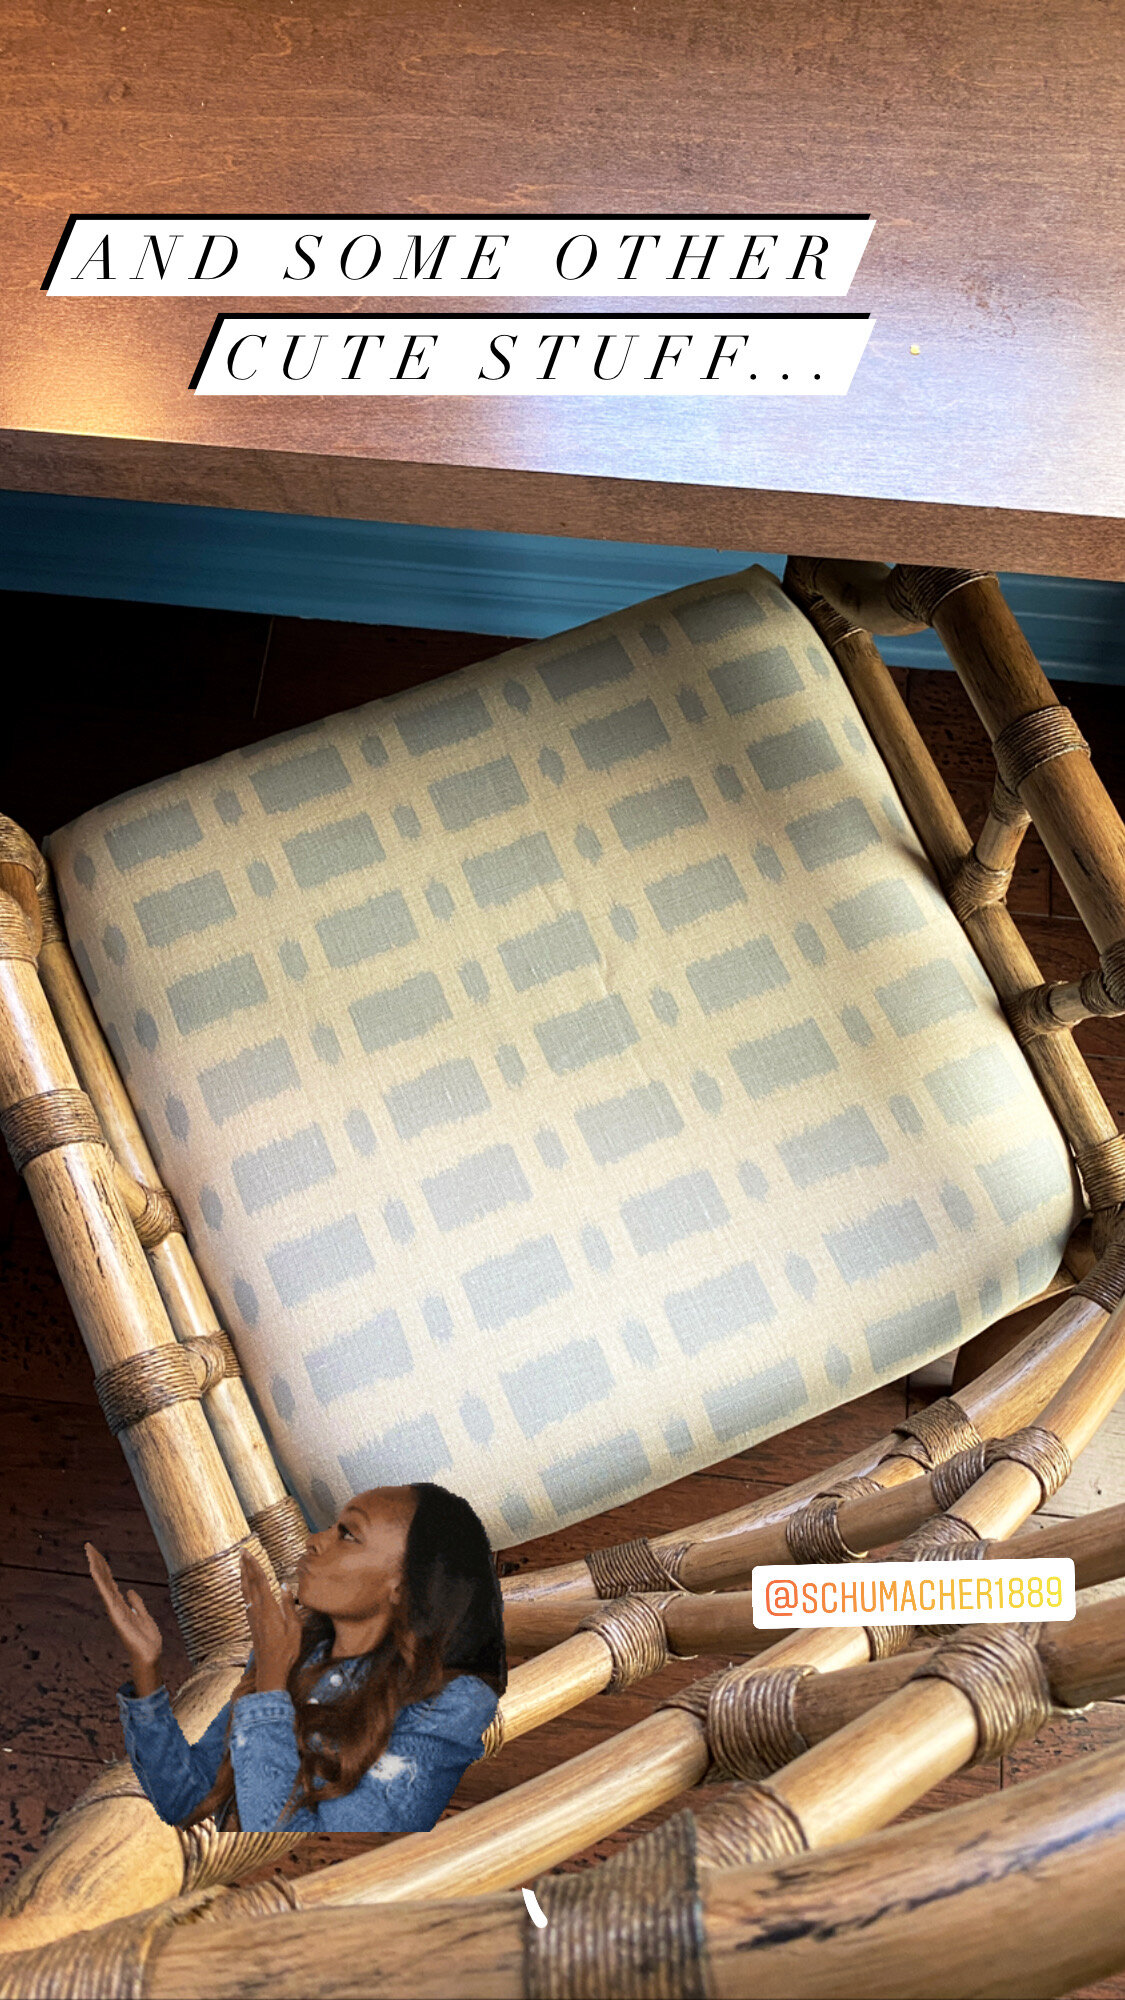
I love creating storage solutions with custom cabinet work! I blended both closed and open storage solutions with cubbies and shelving for organizing projects and storing supplies. This room was the perfect height to include a storage tower with ample interior shelving and a slide out trash bin. Because there wasn’t much space for independent furniture solutions, I designed a floating work surface that would warp around two of the walls creating an L-shape. This offered plenty of usable counter space and all the open knee space below managed to keep the small room from feeling tight. The design was functional enough for anyone to use and be productive. With the design approved, I was ready to select and present products (THE FUN PART) to our client for their new studio room! Out they went…
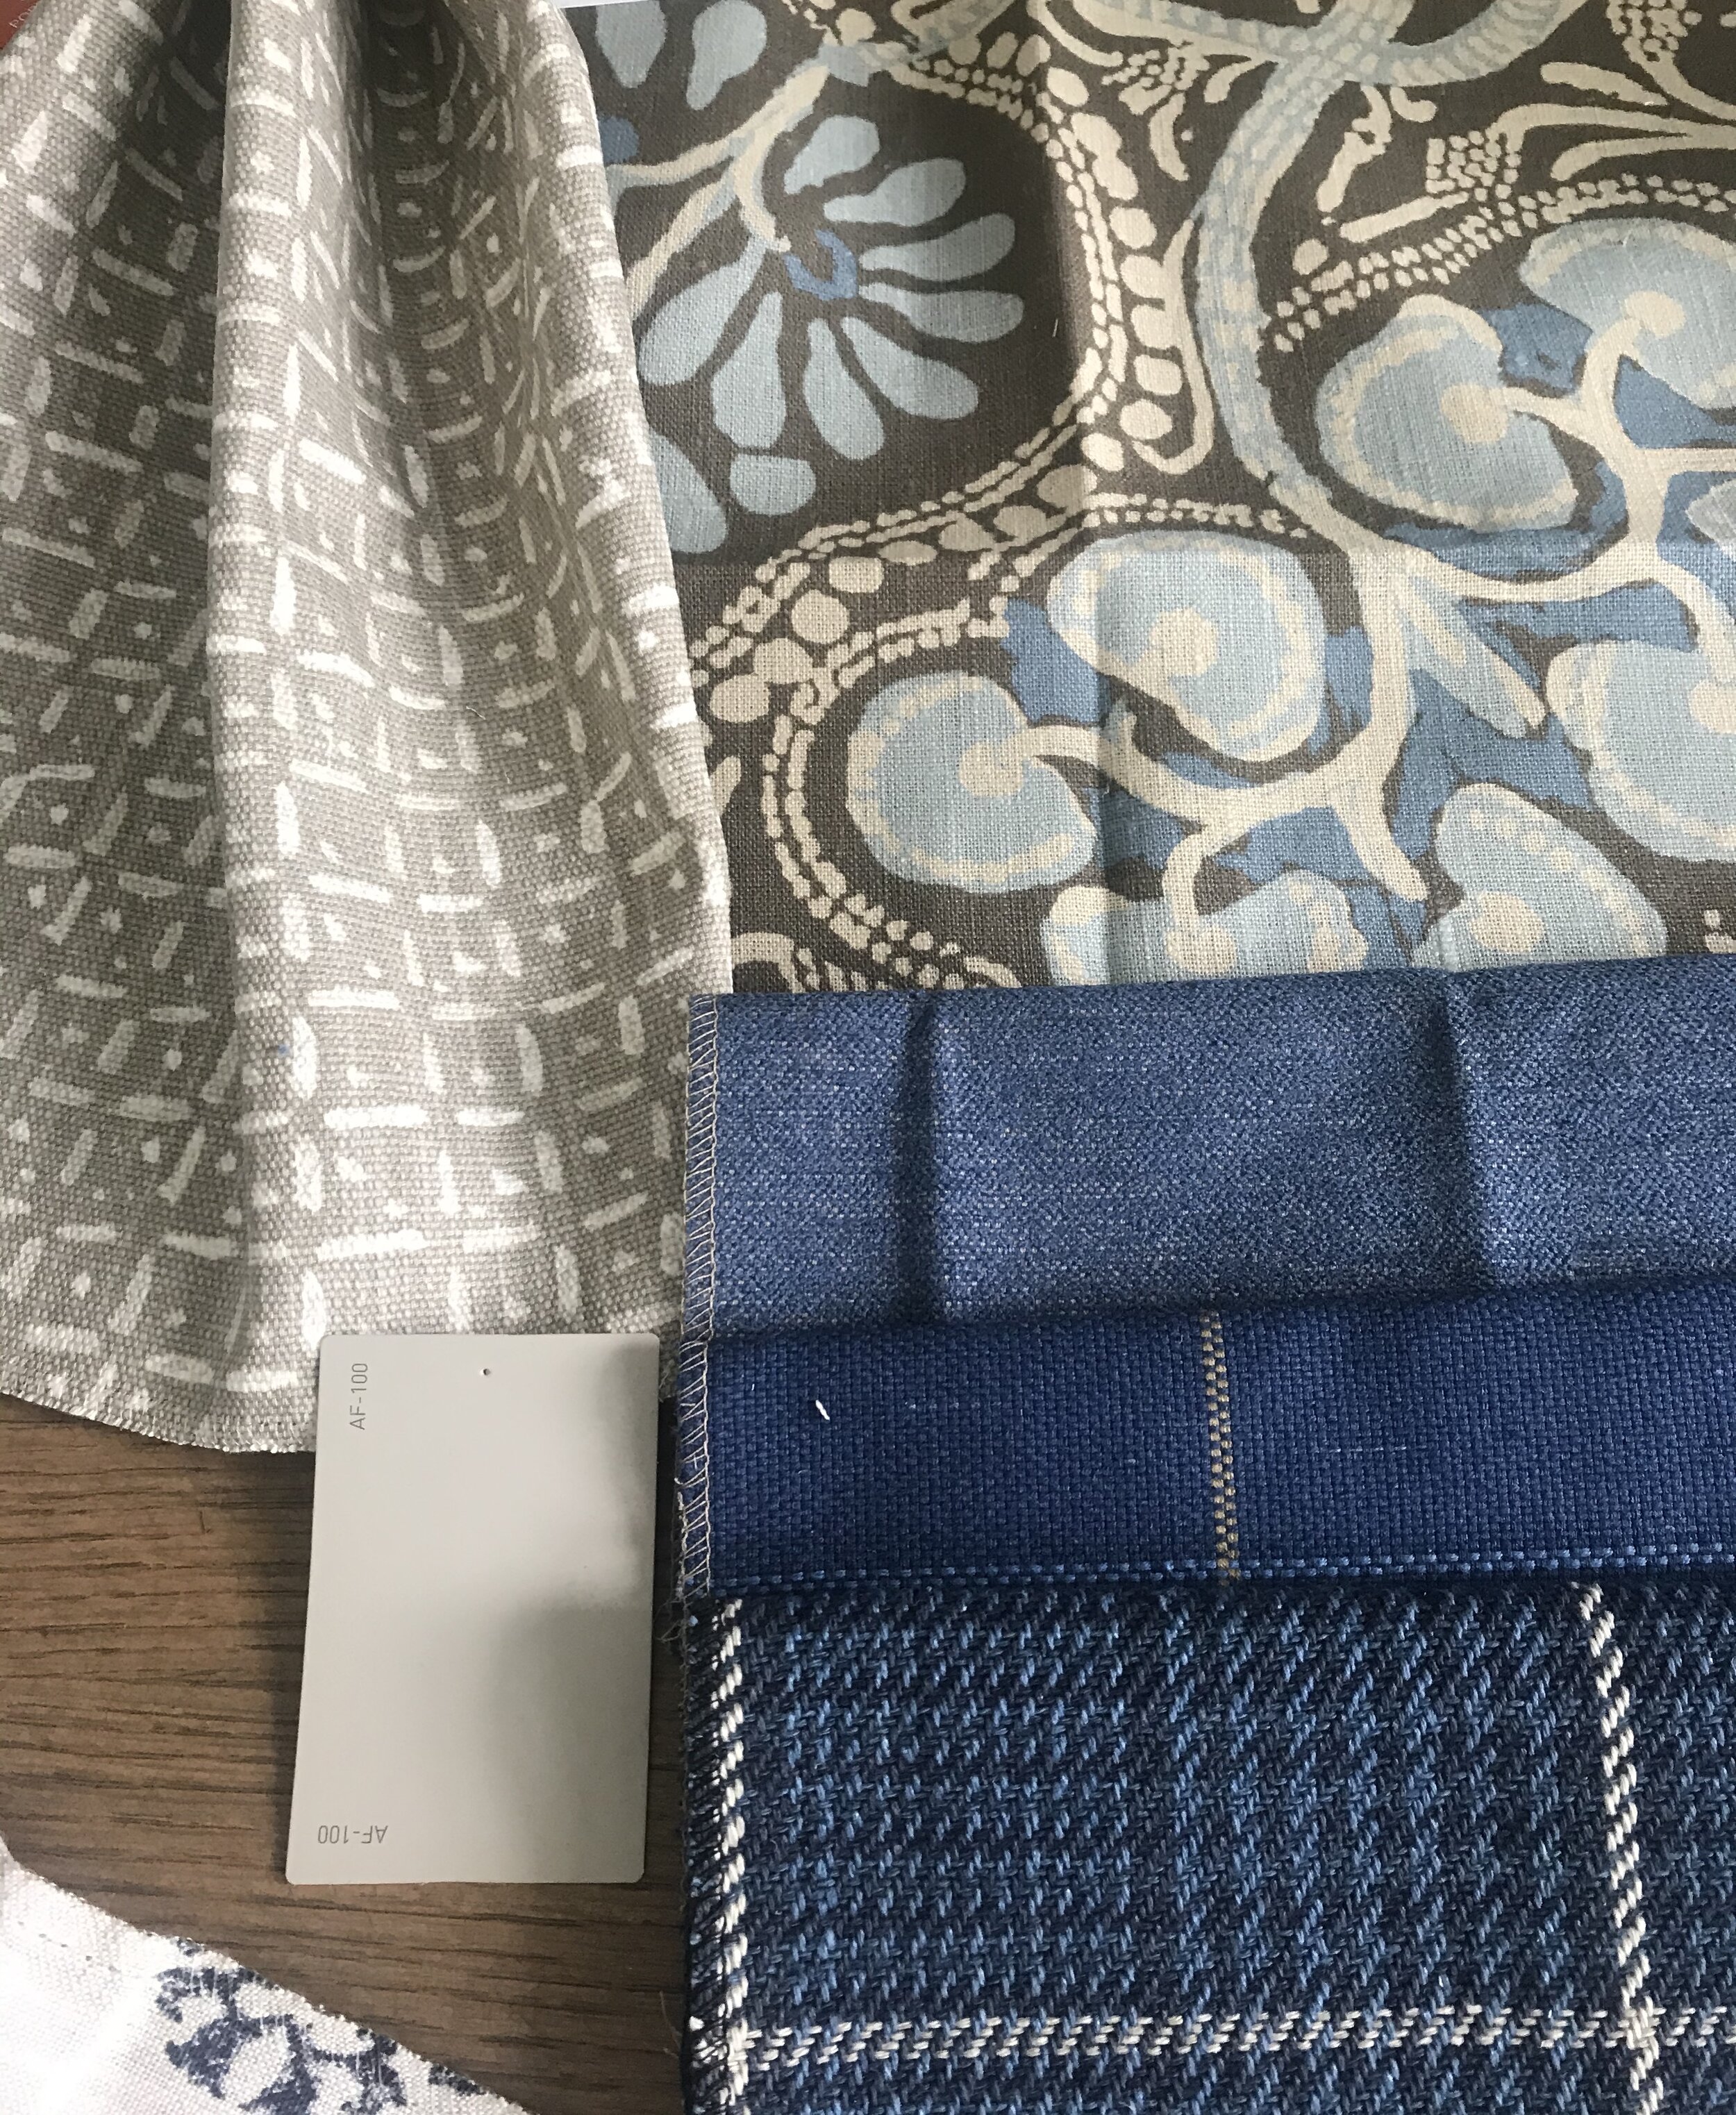
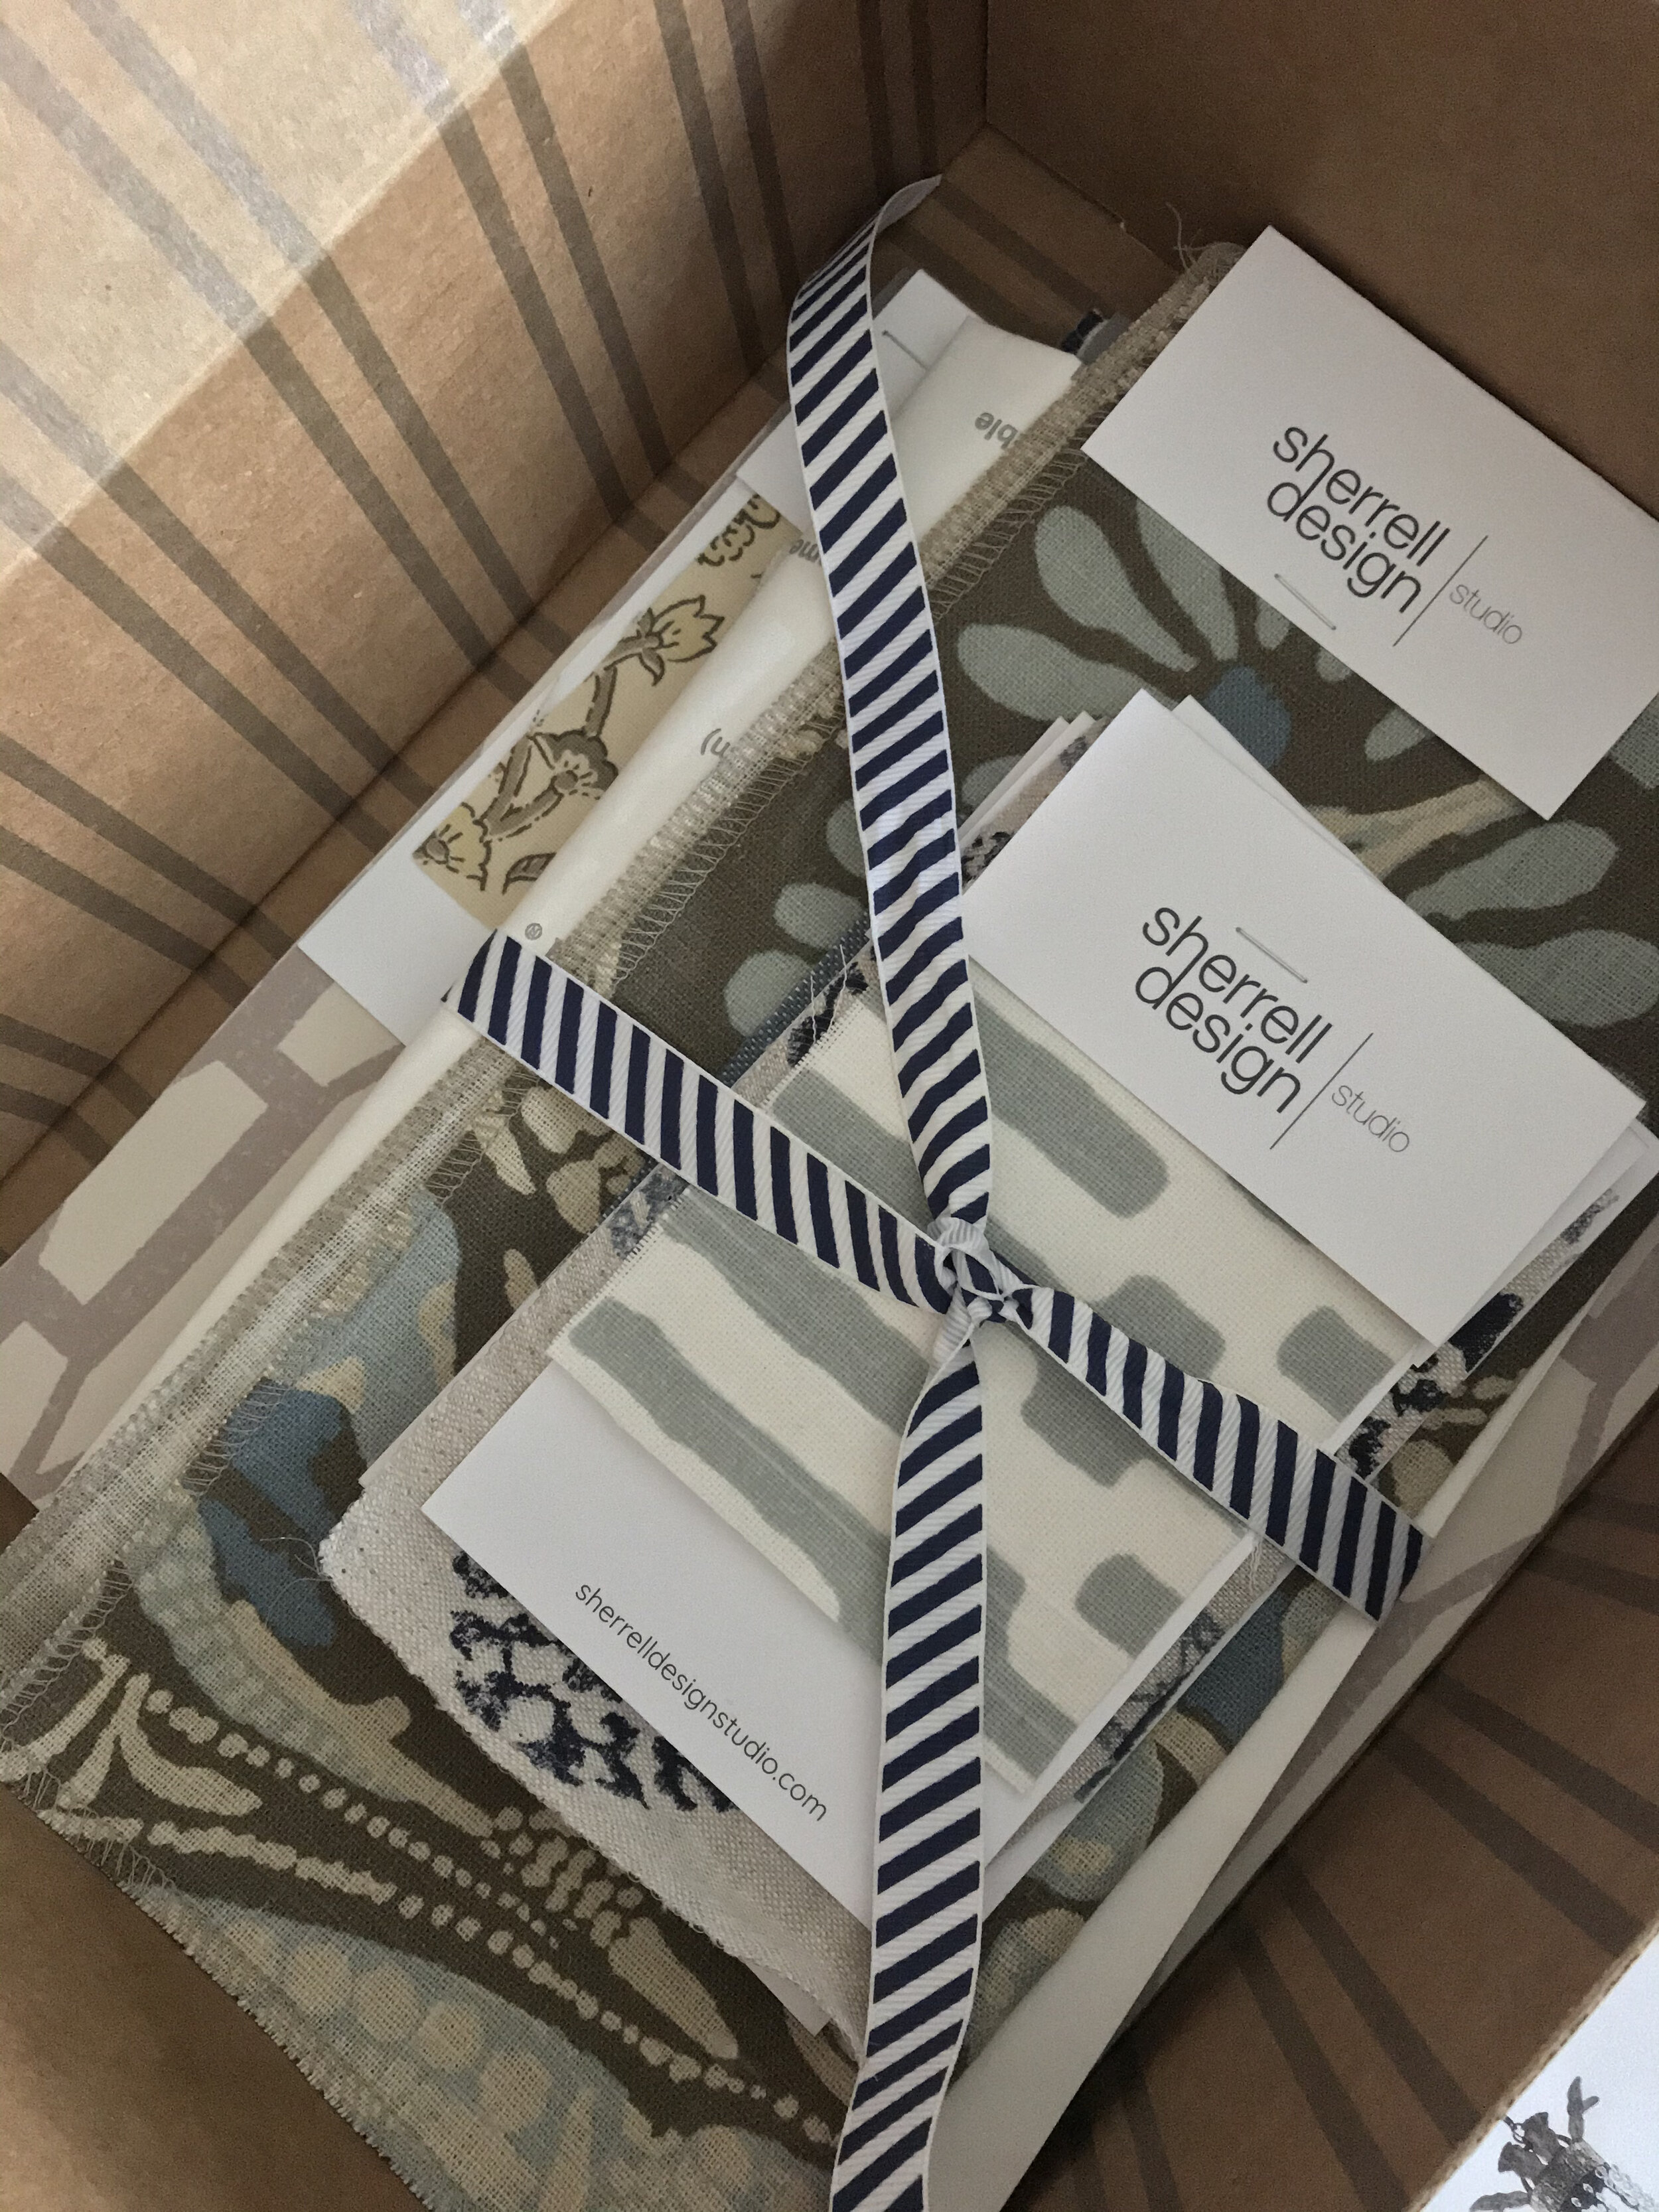
I always like to present my client with at least two design concepts and once they finalized on one, we were ready to move forward with fabrication of the cabinet work and ordering all the products. Although I wanted to ensure the adjacent office space felt cohesive, I didn’t want to miss on the opportunity to use playful colors and patterns, especially since this small room was the perfect size to create that wow factor. So, I elevated the paint color selections from what was originally presented and our client LOVED IT! Remember, we’re still in the middle of this pandemic. So relying on photos and lots of remote communication between all parties was essential to make the results of this project a success. And it was exciting to see the progress we were making…
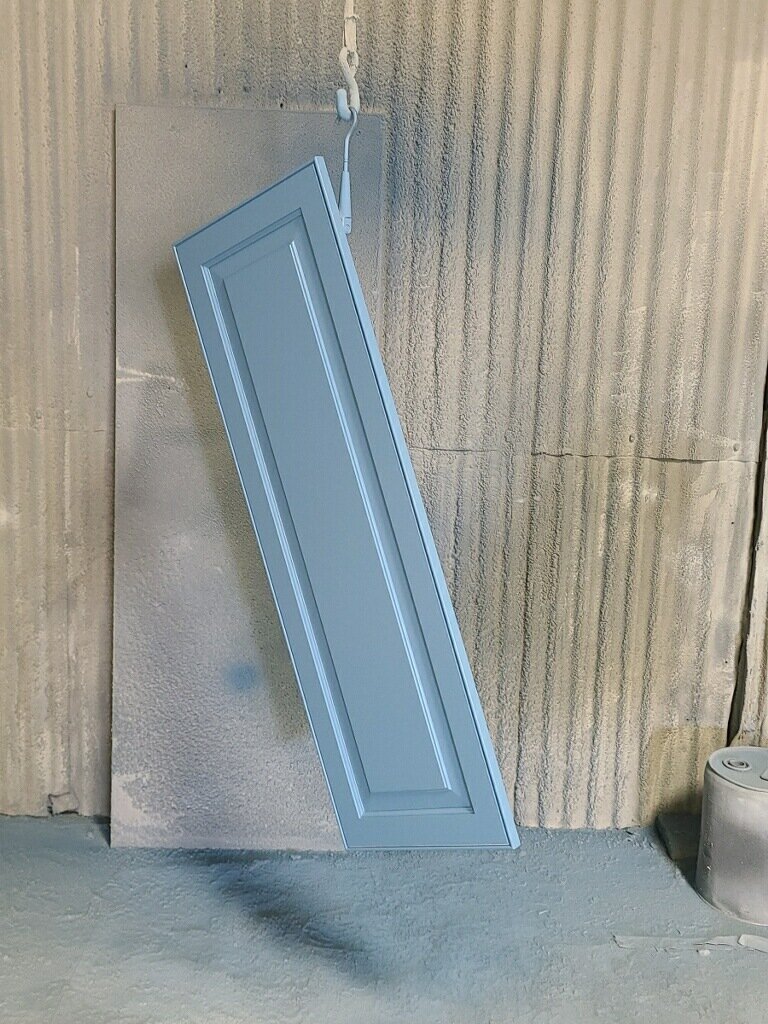
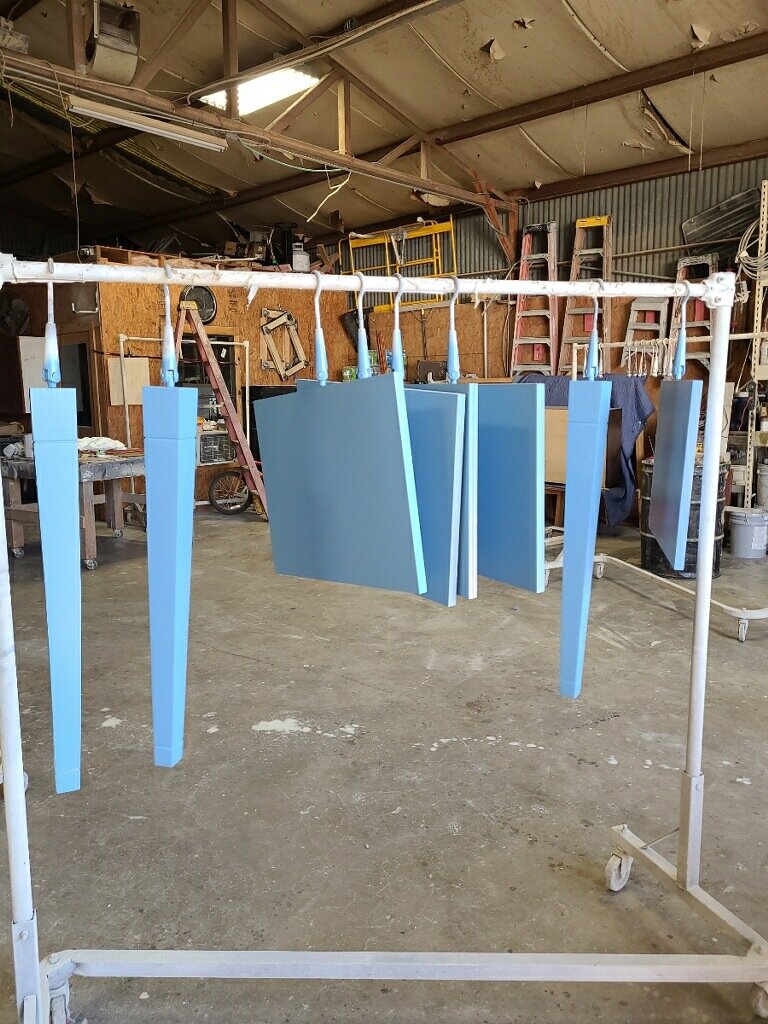
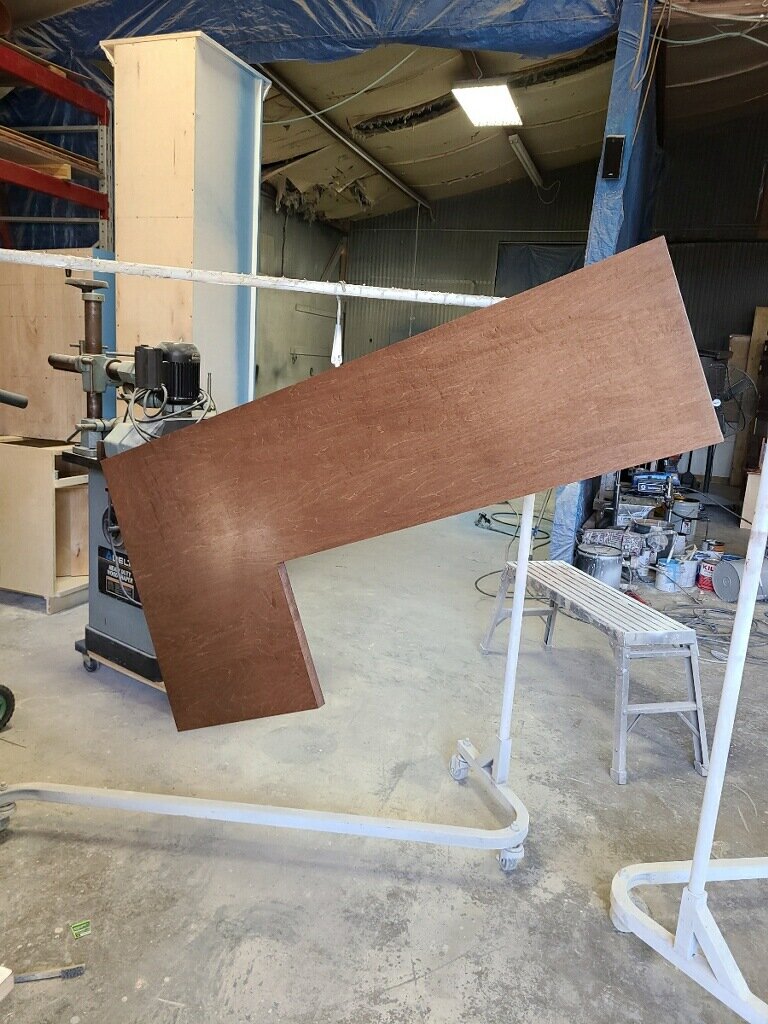
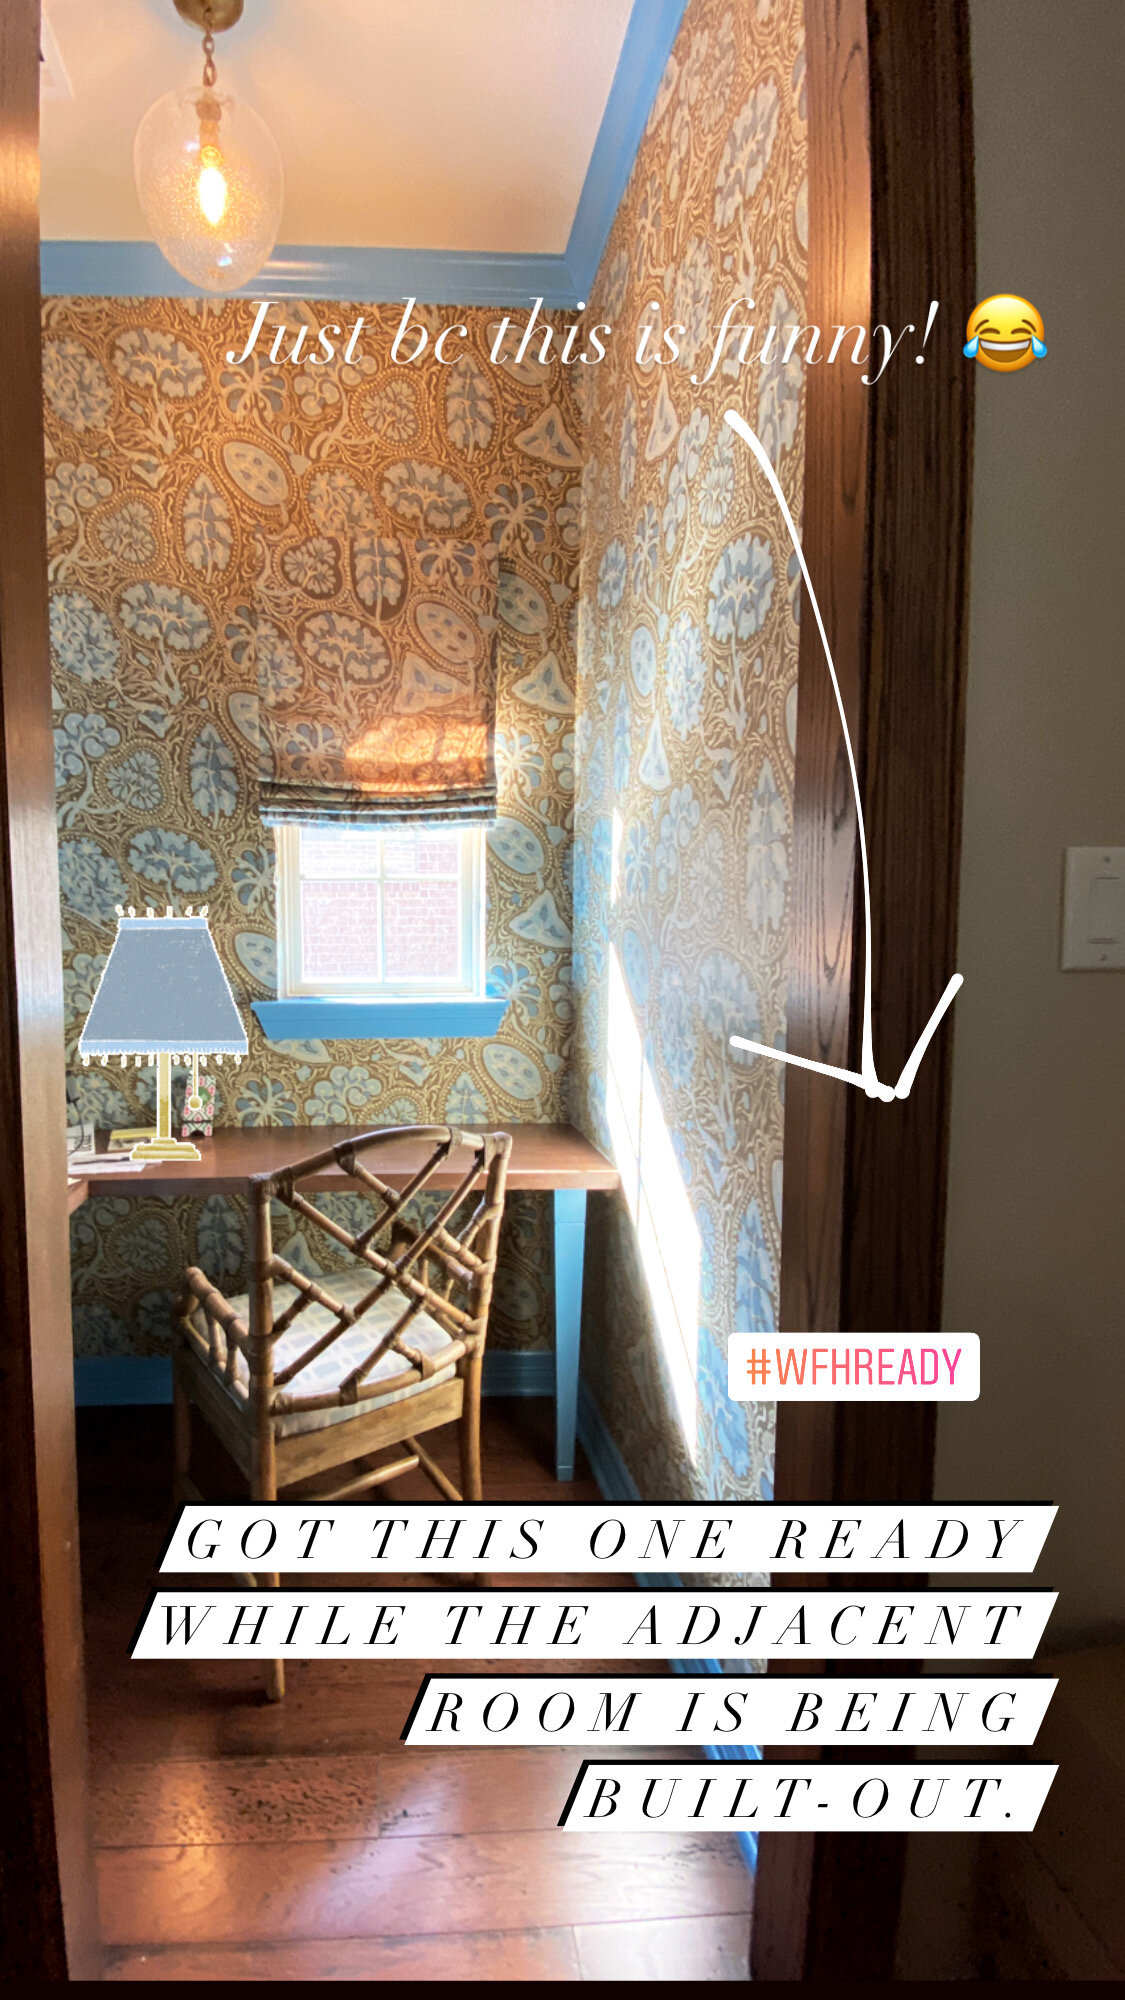
Finally, after five weeks install day soon approached and the room was prepped and ready to receive it’s new blue custom cabinets and stained desk-top. With the wallpaper, office chair, and lighting all en-route it seemed everything was moving rather quickly and on-time for our little project. It was a breath of fresh air in the midst of longer lead times, limited resources, and factories running under capacity in order to remain compliant under the CDC standards during COVID. We were faced with the same number of challenges and the responsibility to keep our clients and our crew members safe during site visits. Yet, we successfully strategized crew schedules to ensure our clients felt comfortable and confident we were following all required protocols to keep their families safe.
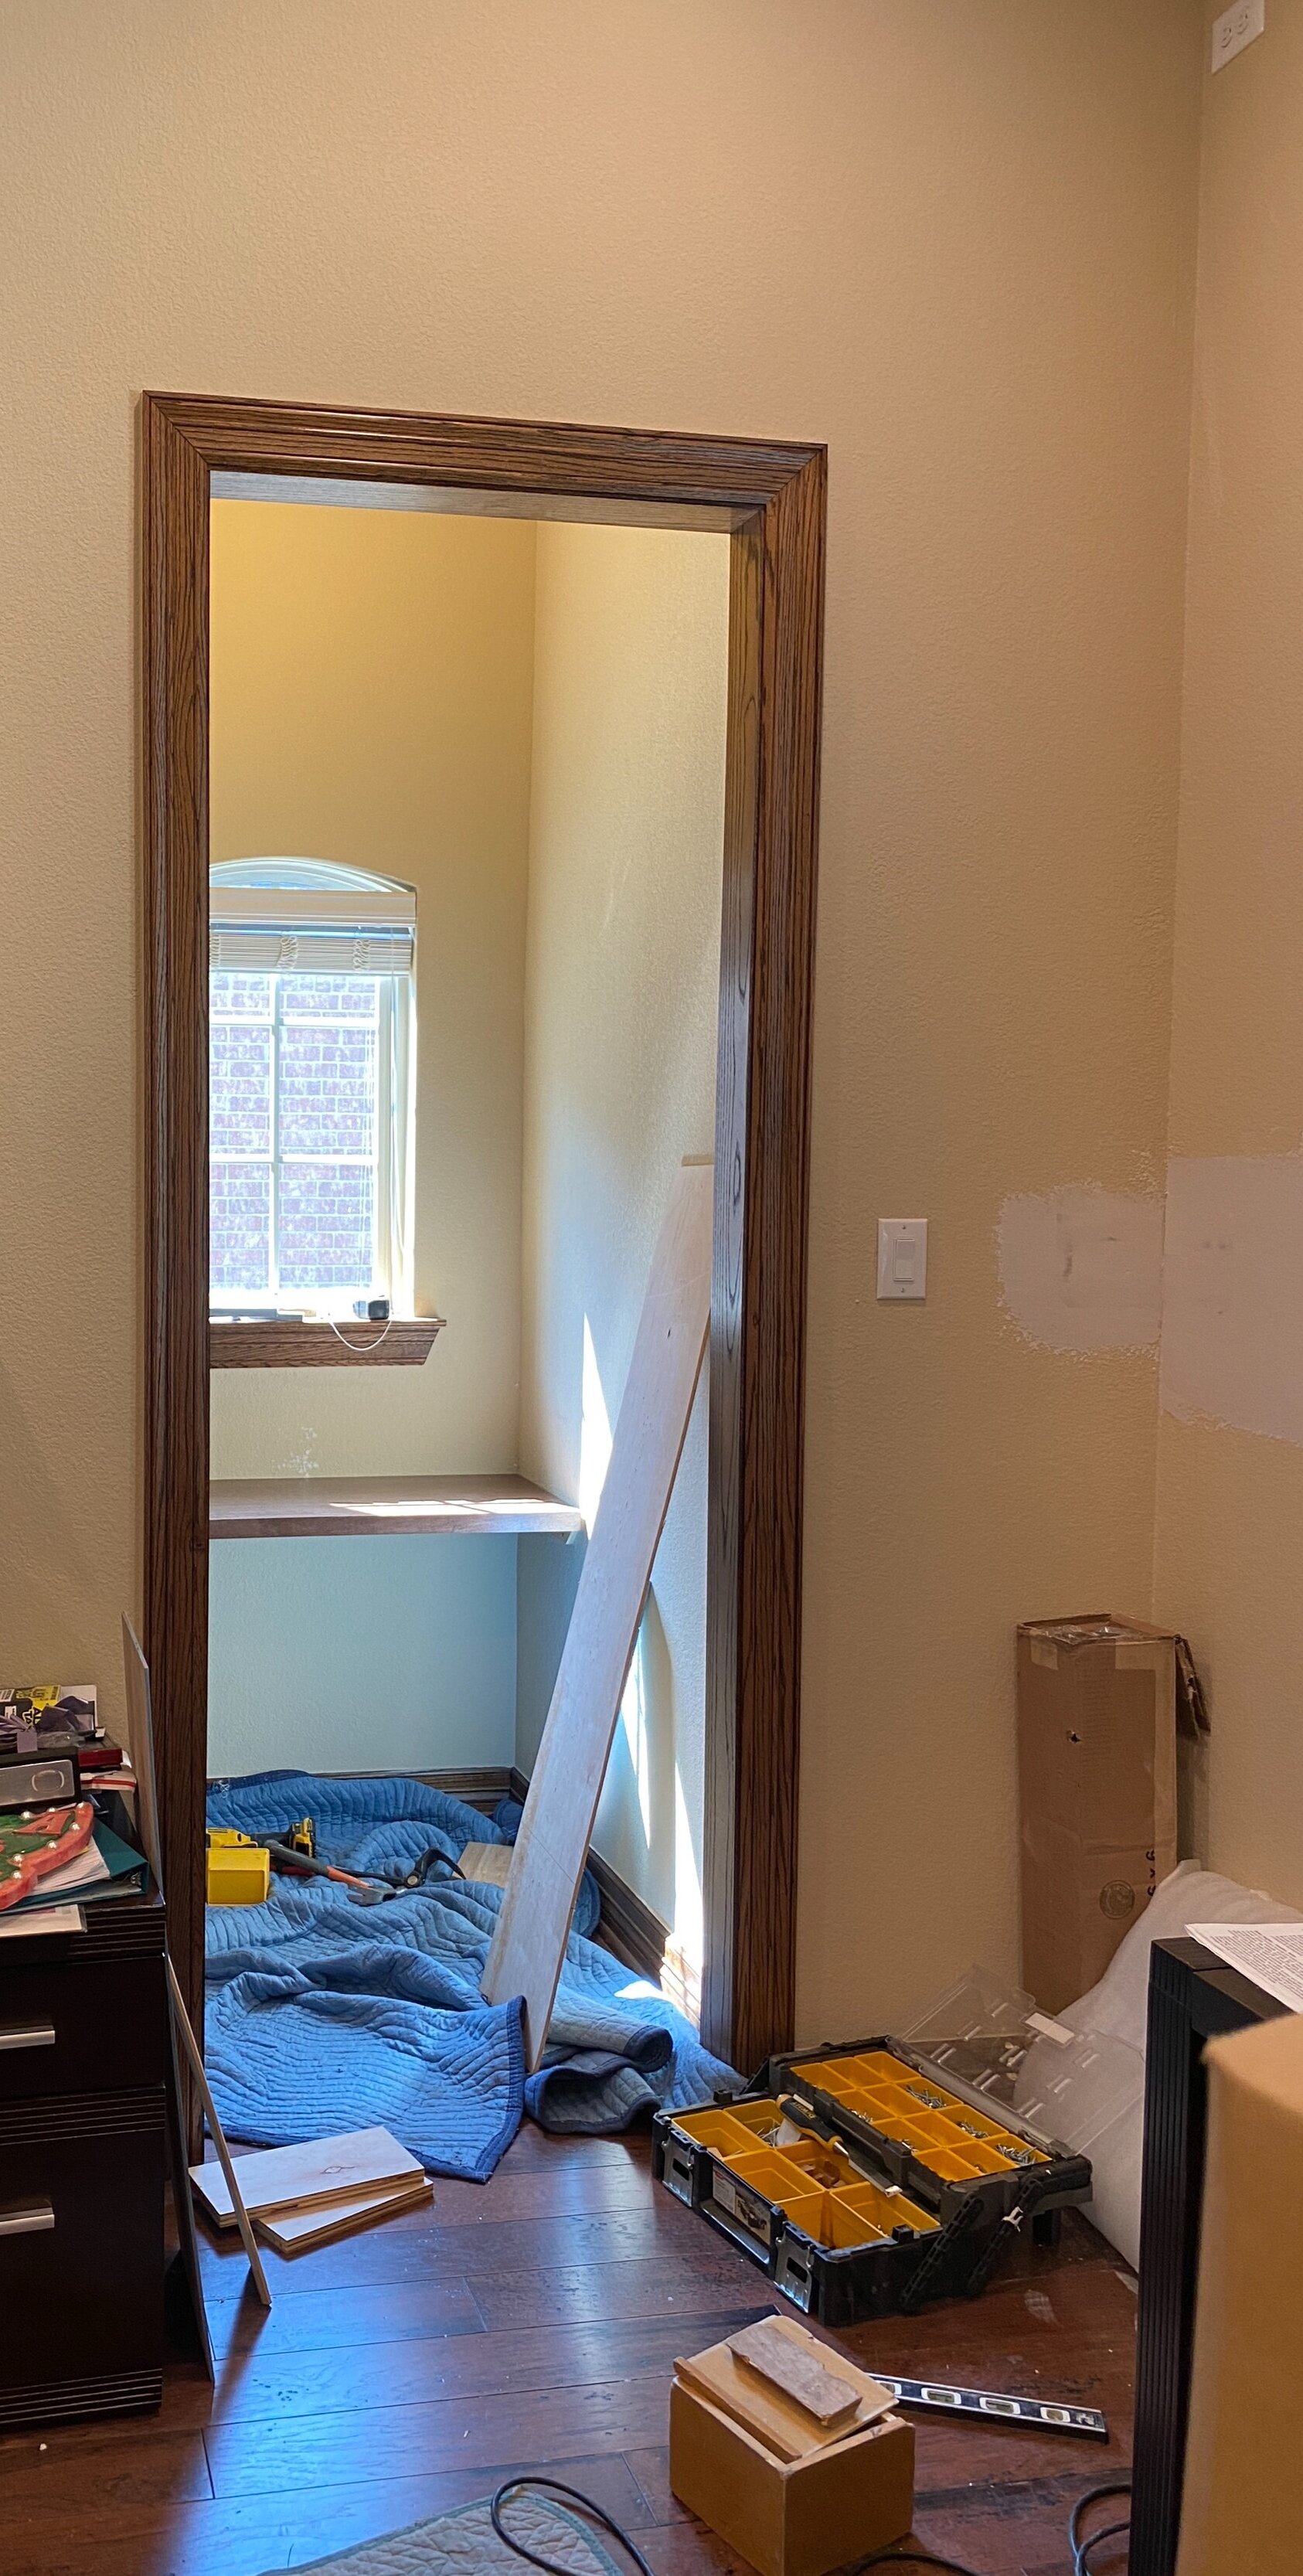
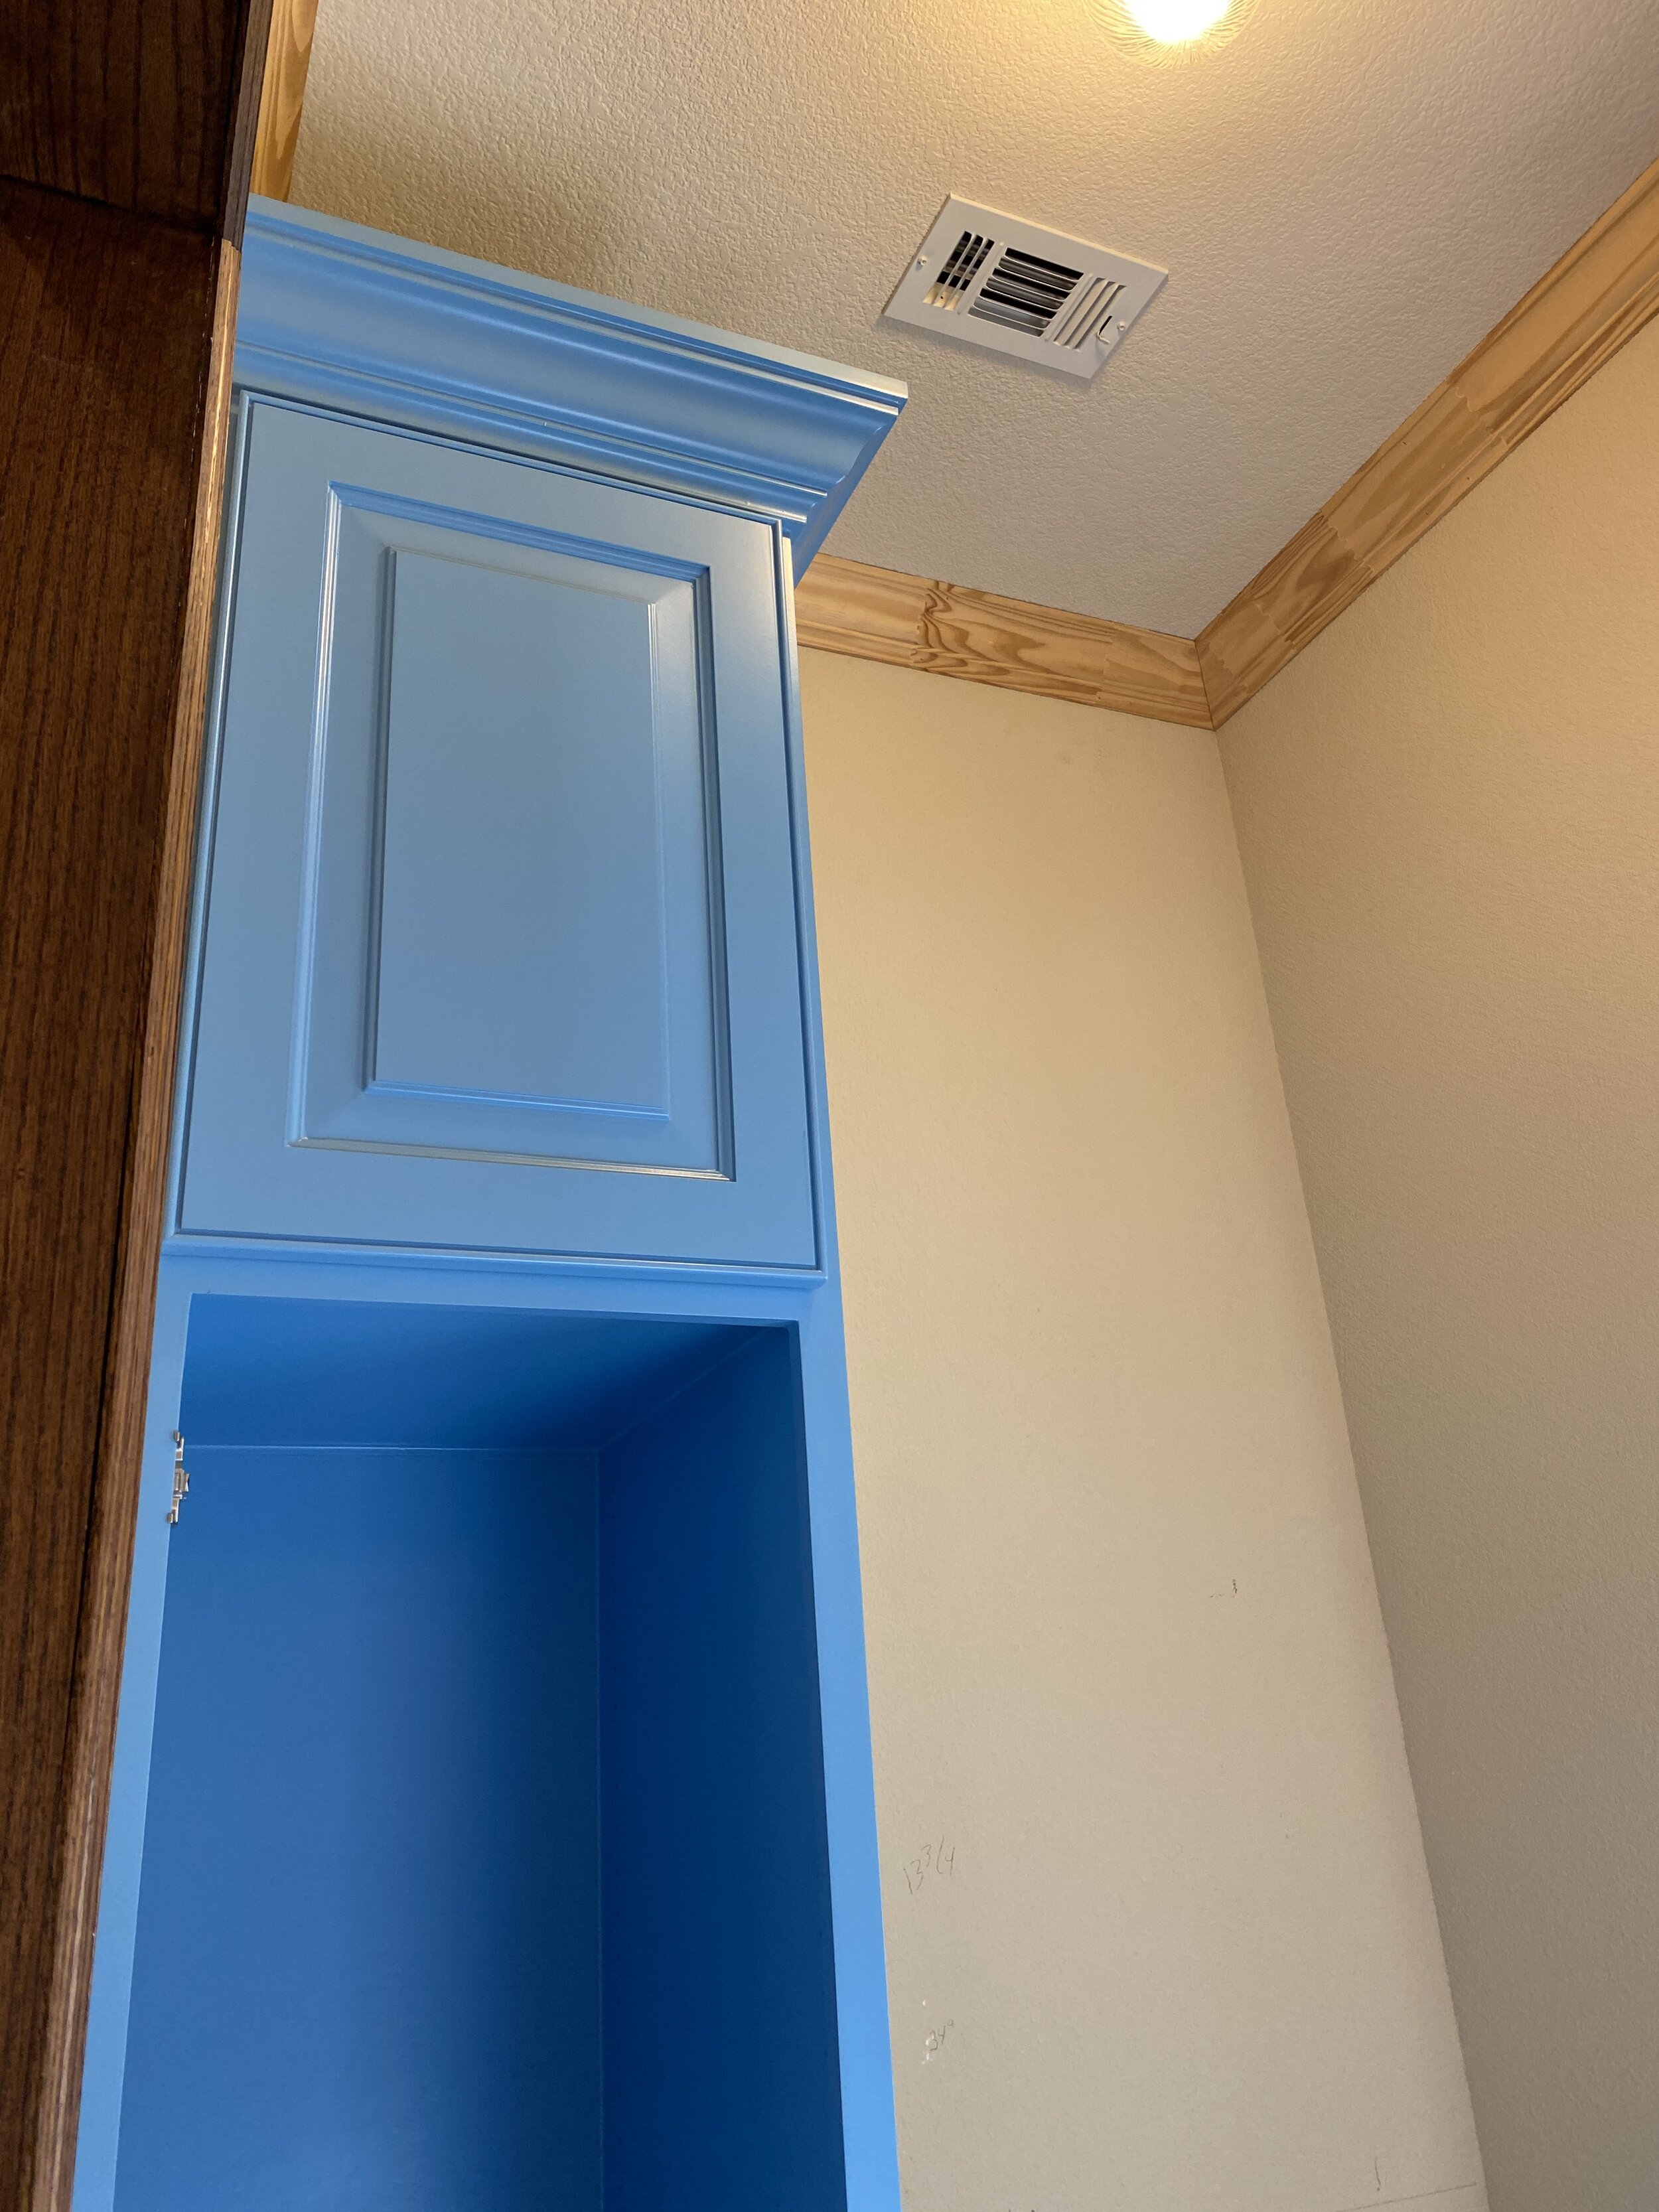


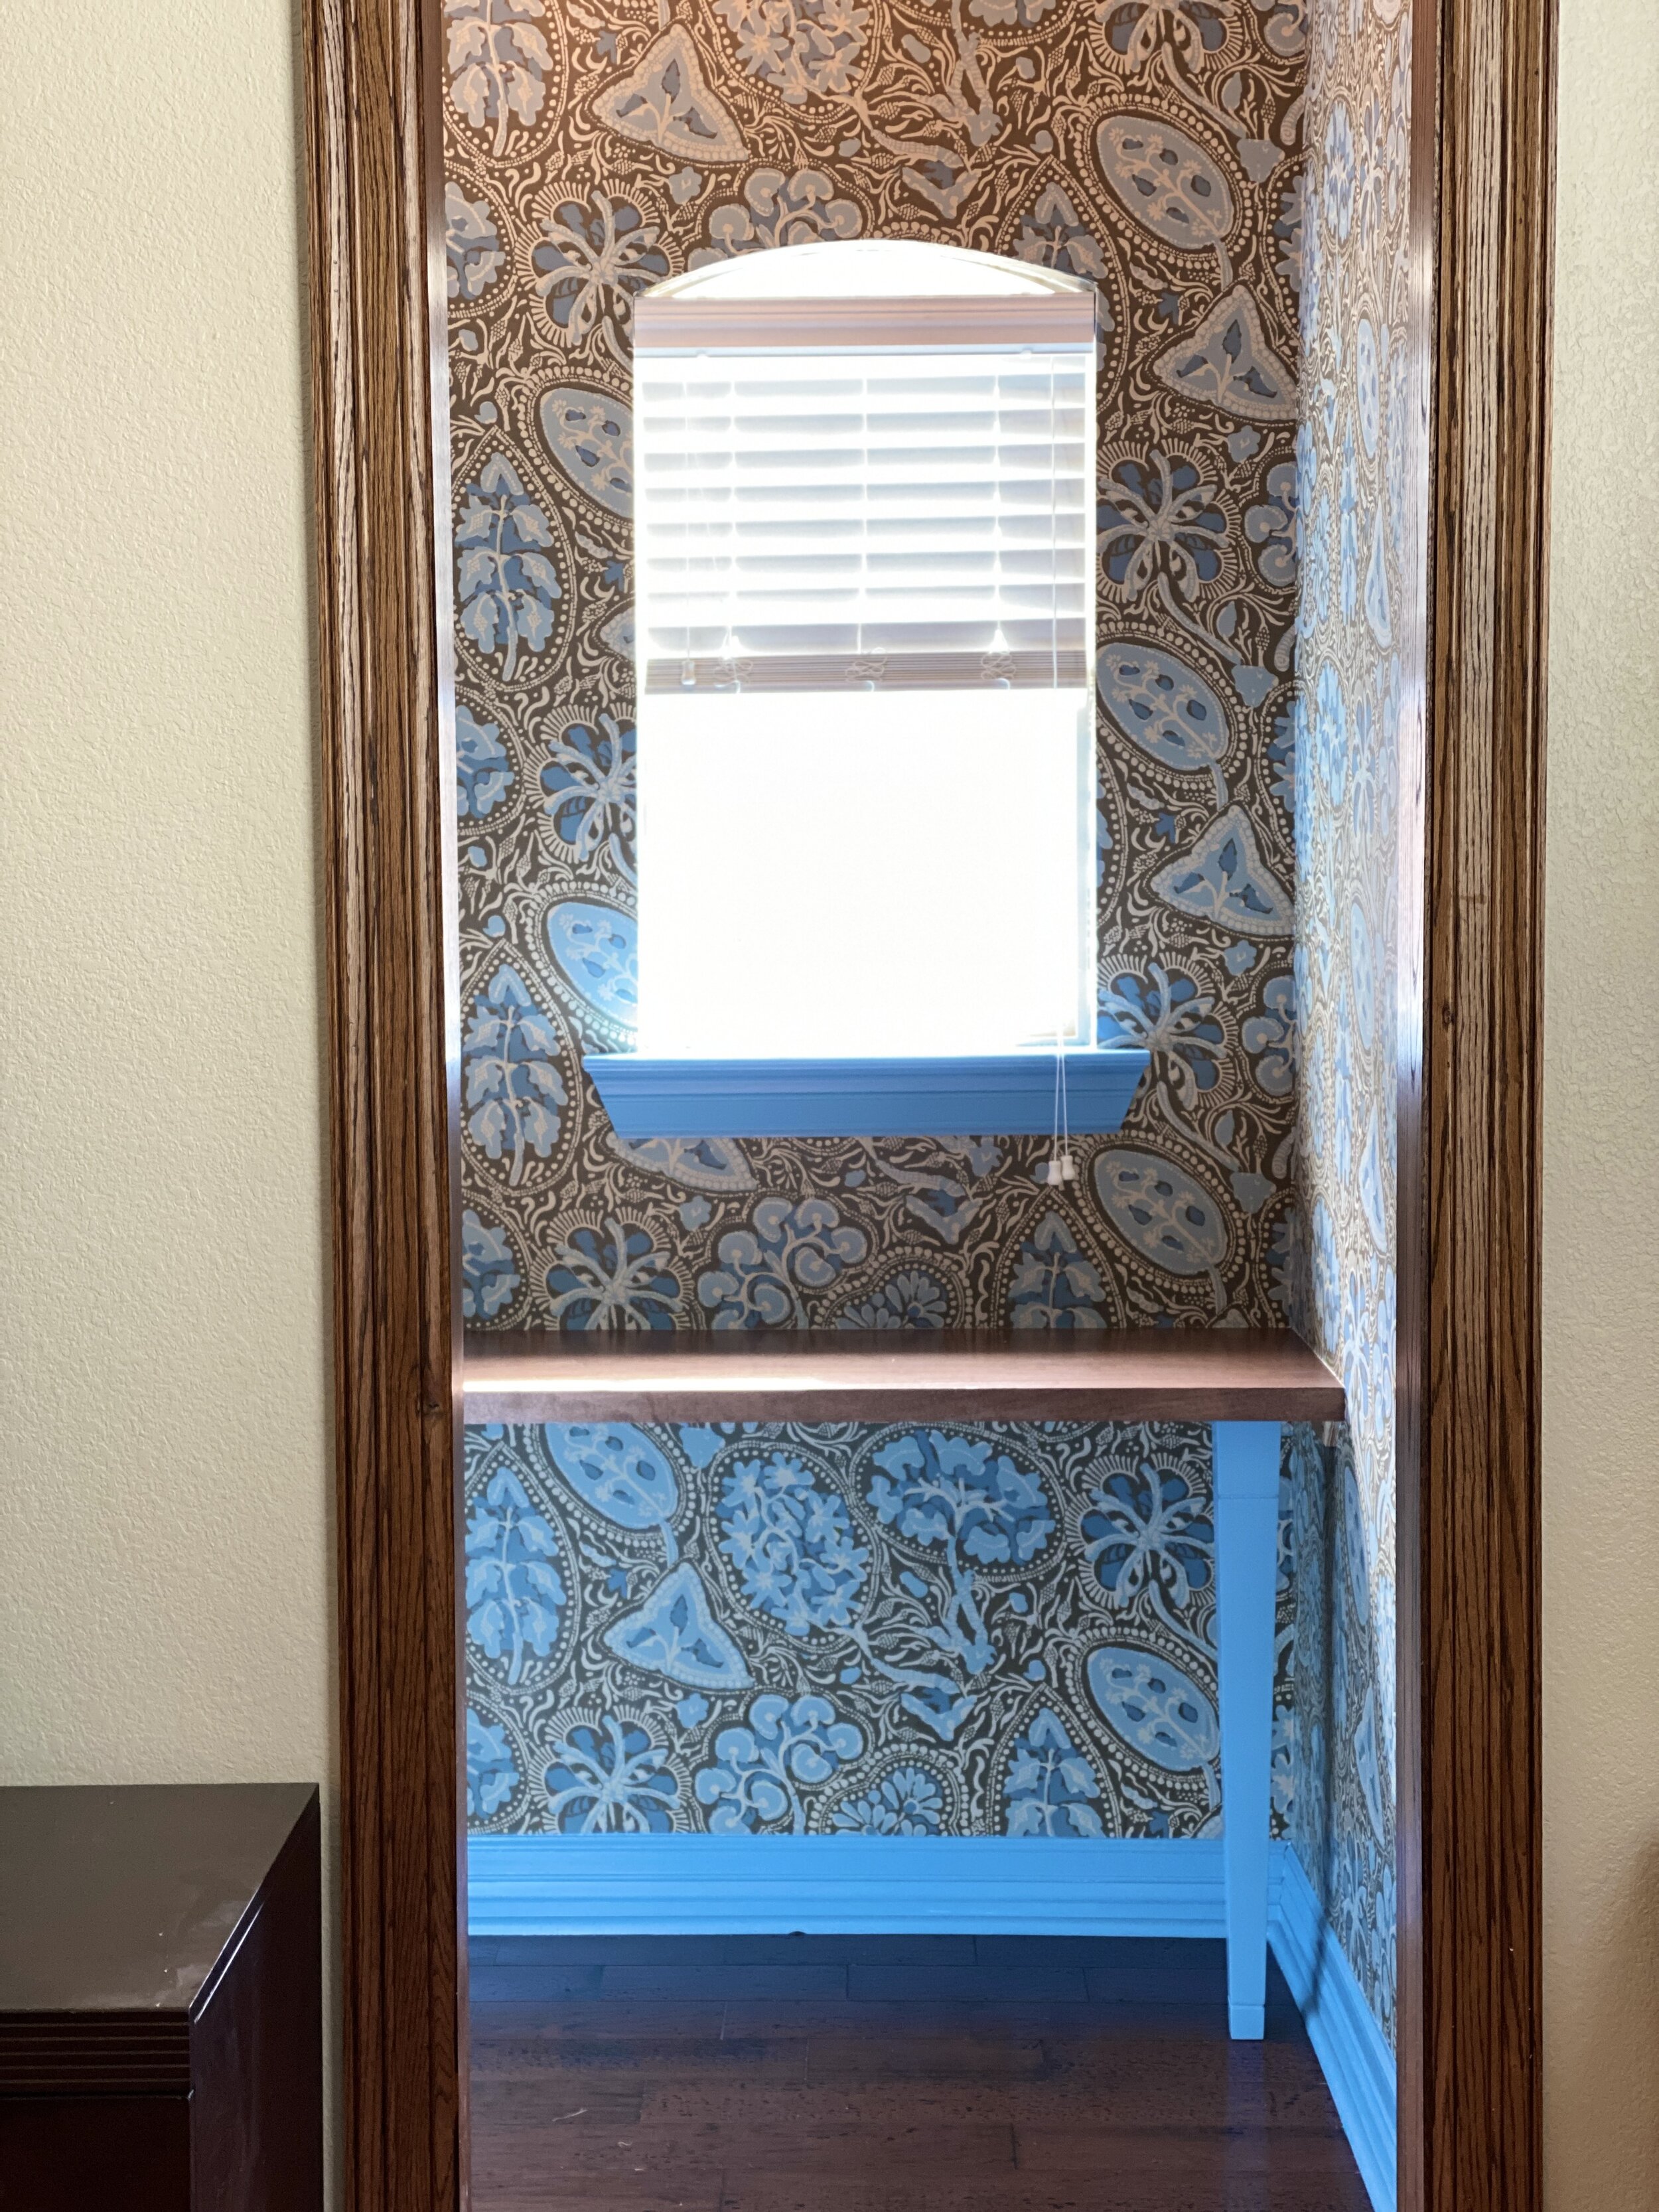
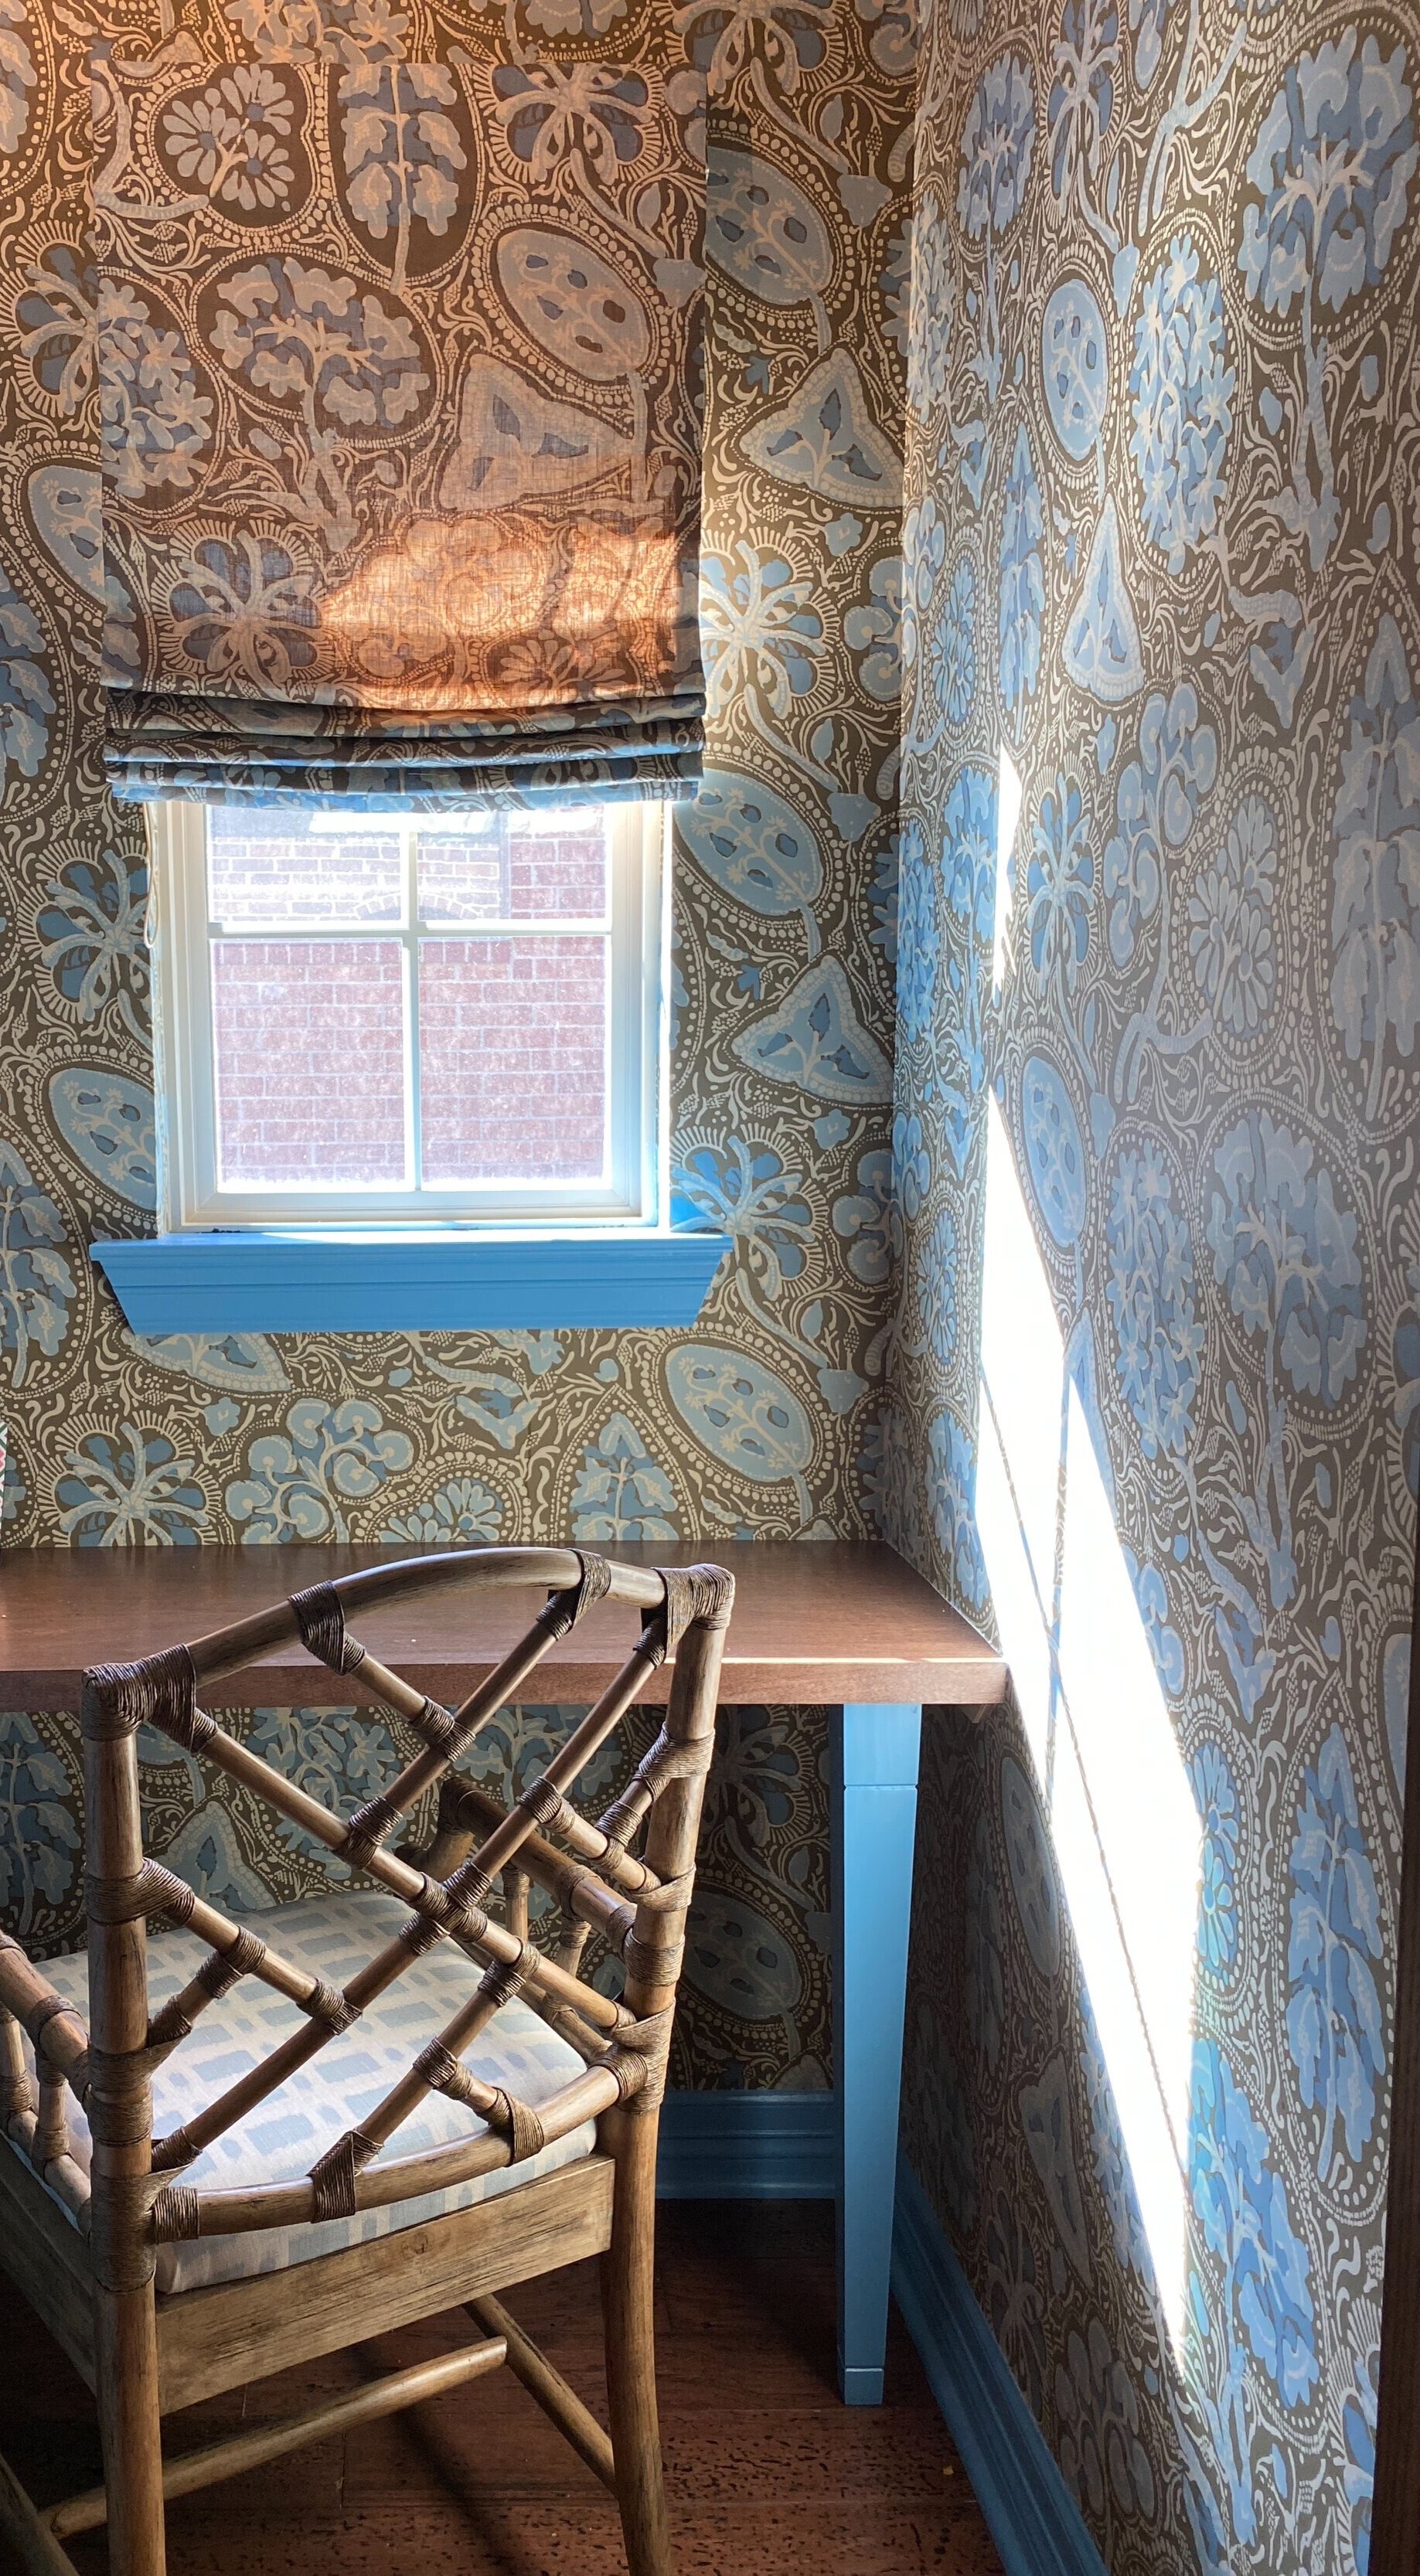
We also added crown moulding and painted all trim to match the cabinets including the windowsill. During week six, the walls were wrapped in a whimsy wallpaper with a custom roman shade for the window to match, new lighting, and a fun bamboo chair. We’ll be scheduling the photoshoot as soon as we wrap things up in the adjacent office space. Stay tuned!!
Hope you enjoyed this behind the scenes look at a really incredible Transformation! Looking forward to sharing more details as the construction and finishing touches on this home progress.
-Sherrell


Incorporating more natural materials and performance fabrics into the everyday home has become a new normal as we’re spending more time indoors…